
Search
but not Repairs, Abandoned, Bally -35 OS, P3, Custom ROM
(Click any tag to remove it)
Pinball, pt 2: Cabinet, Playfield Experiments
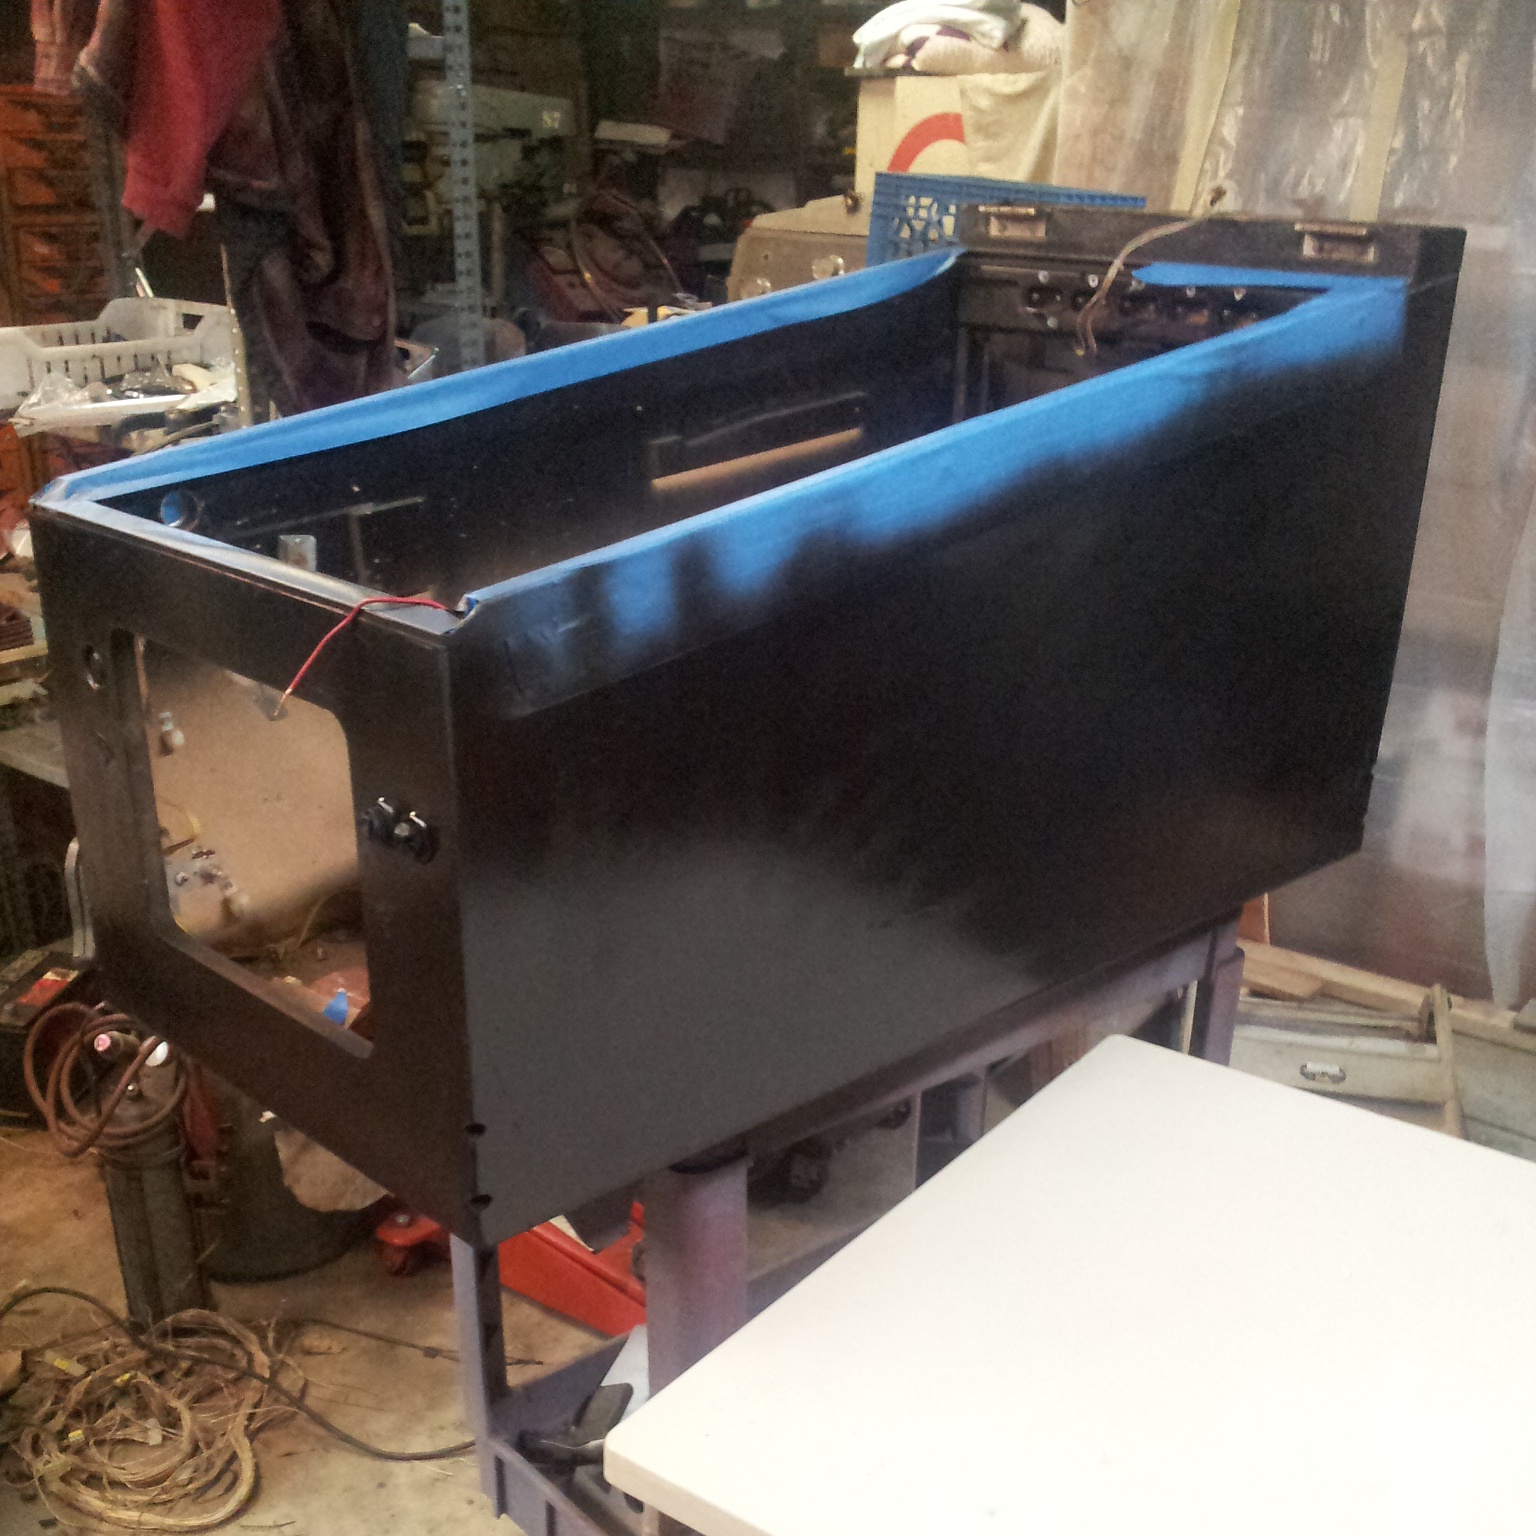
Some ugly Spring Break artwork wouldn't do, so I spray-painted the cabinet black:
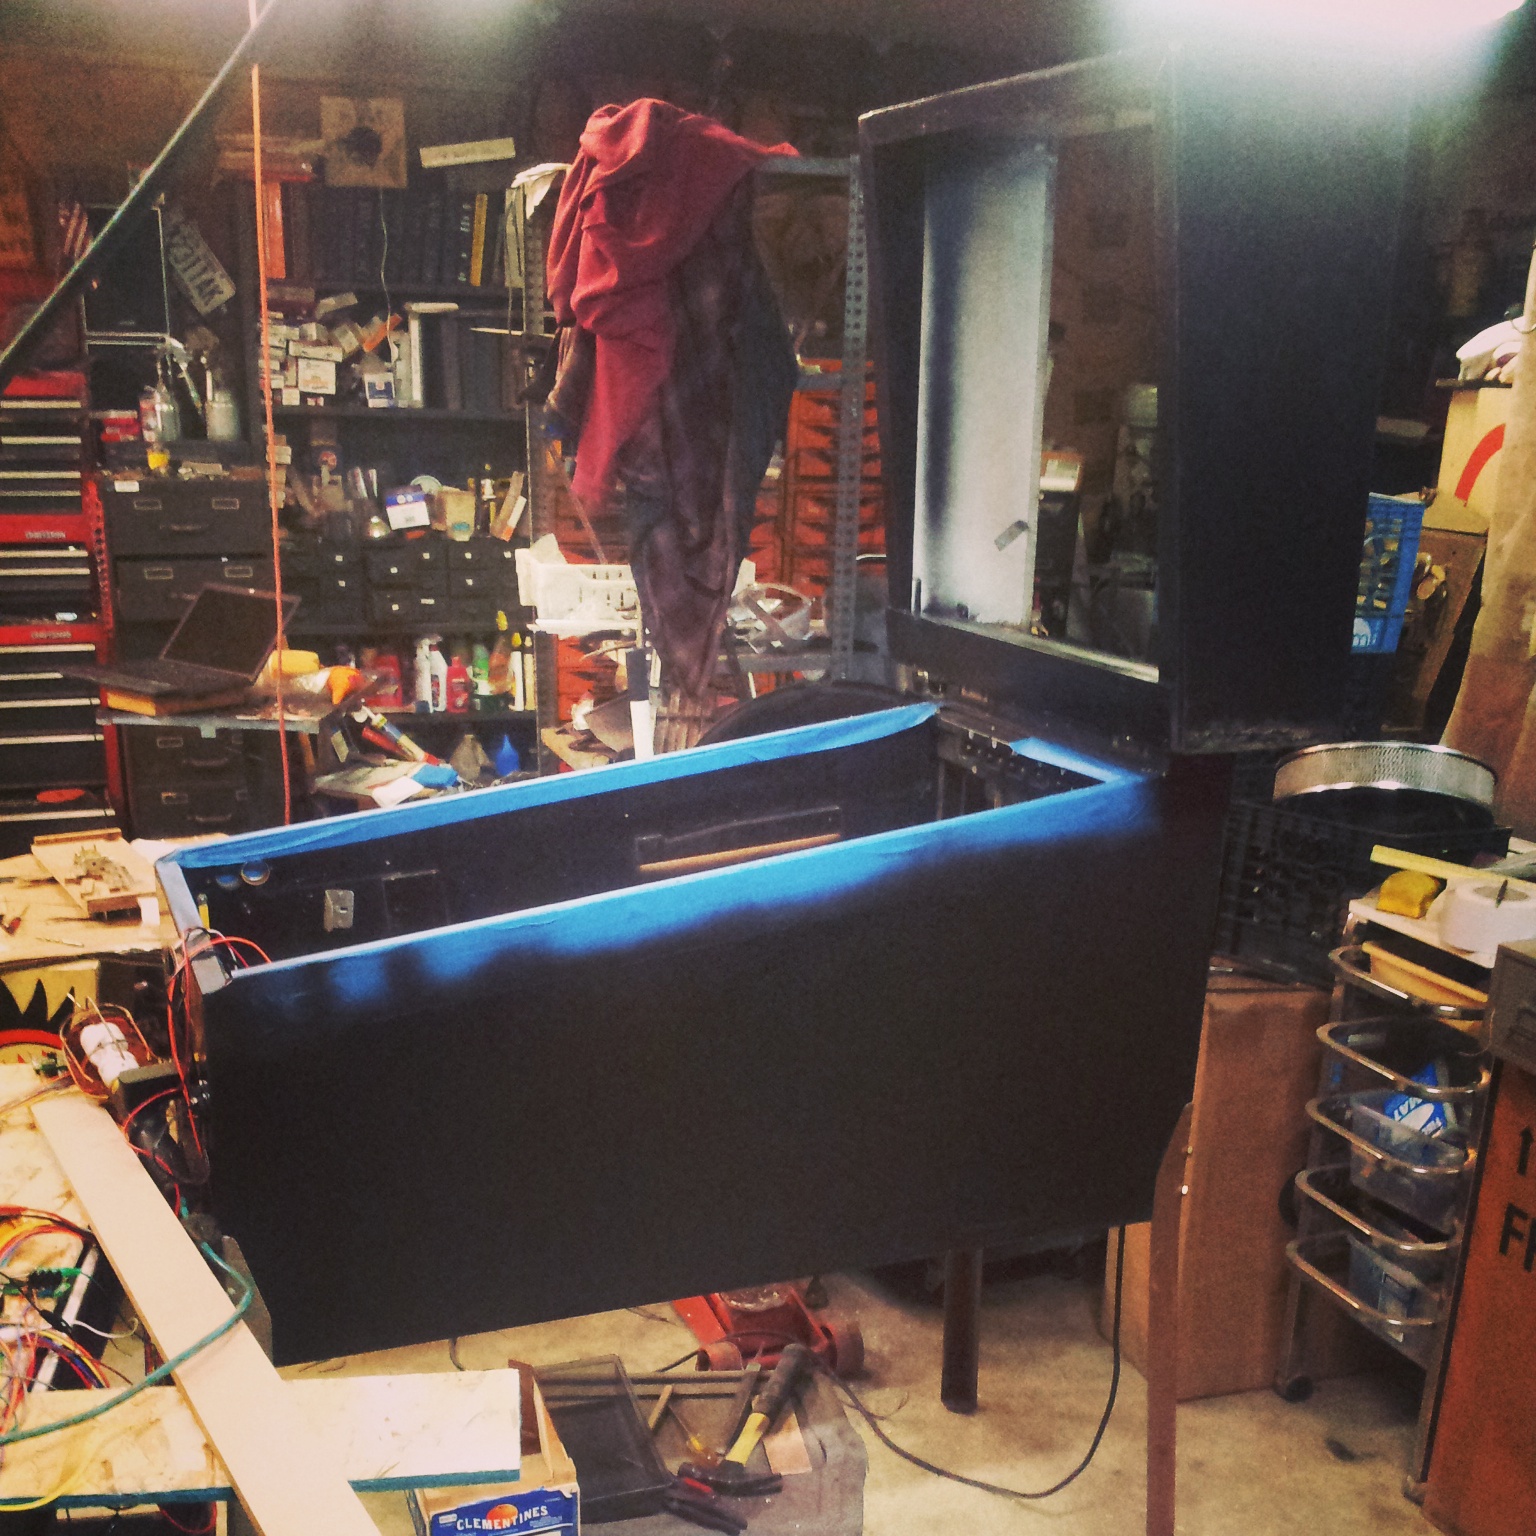
The same went for the head:
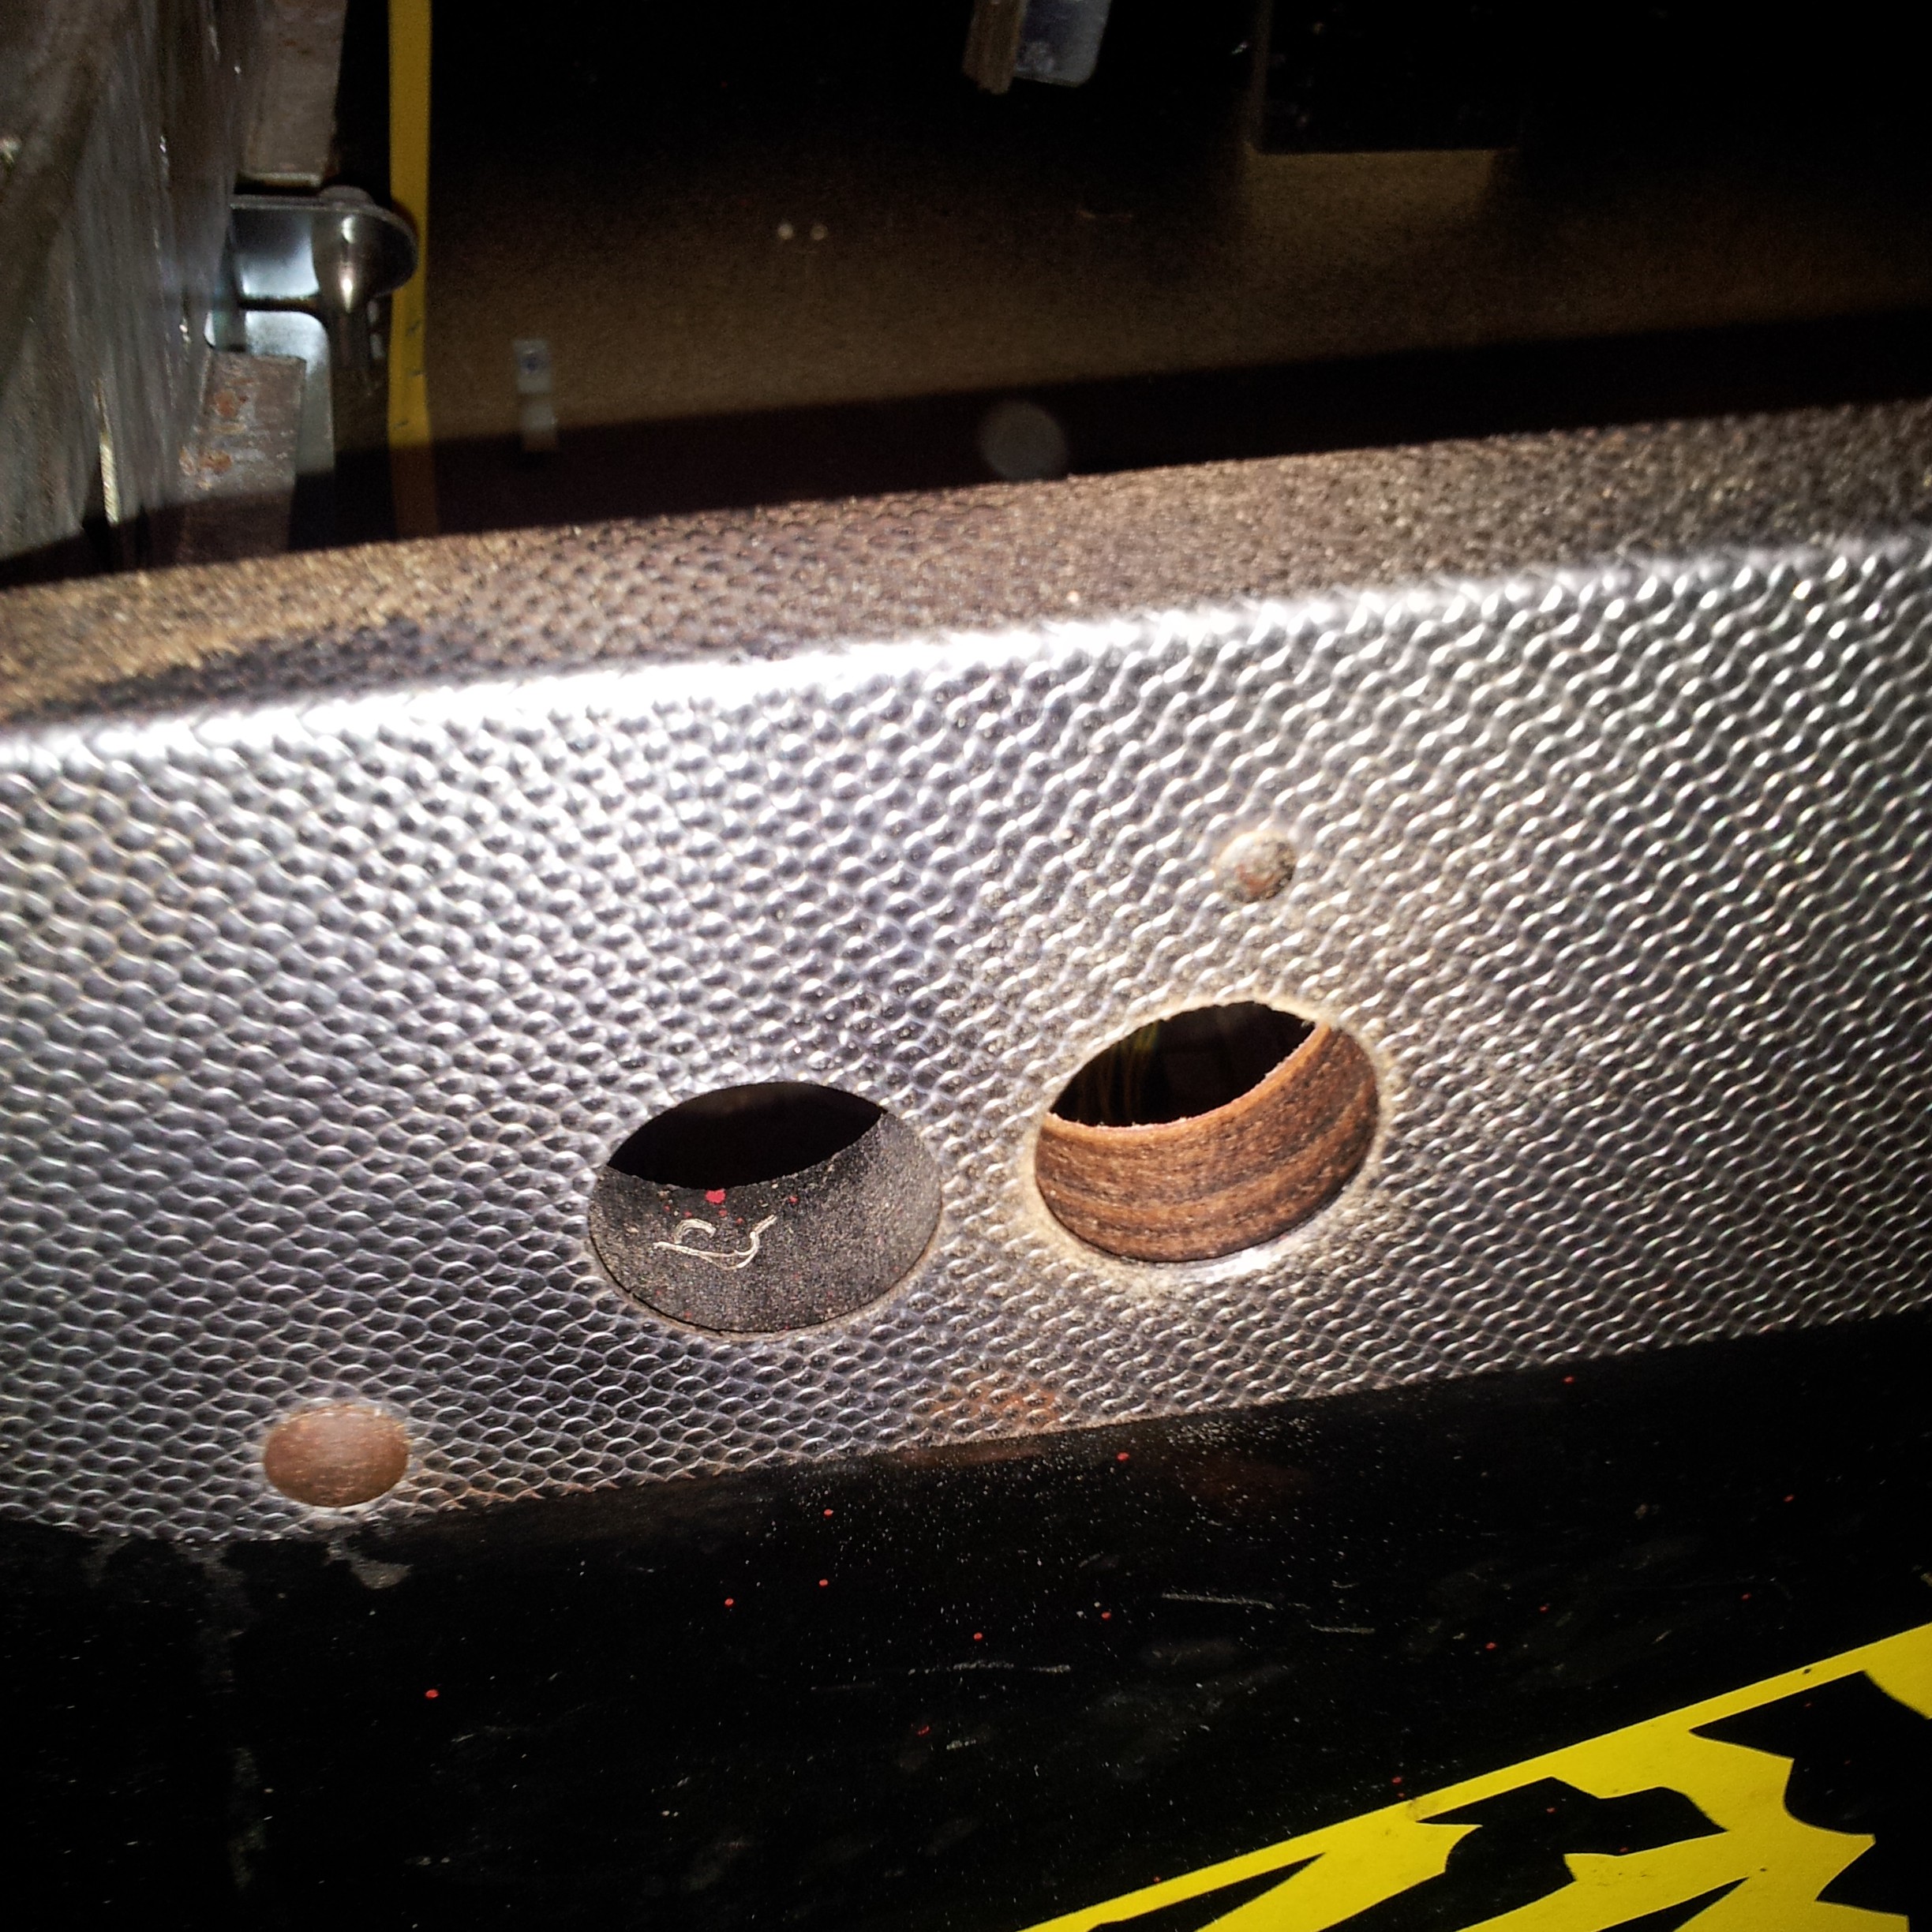
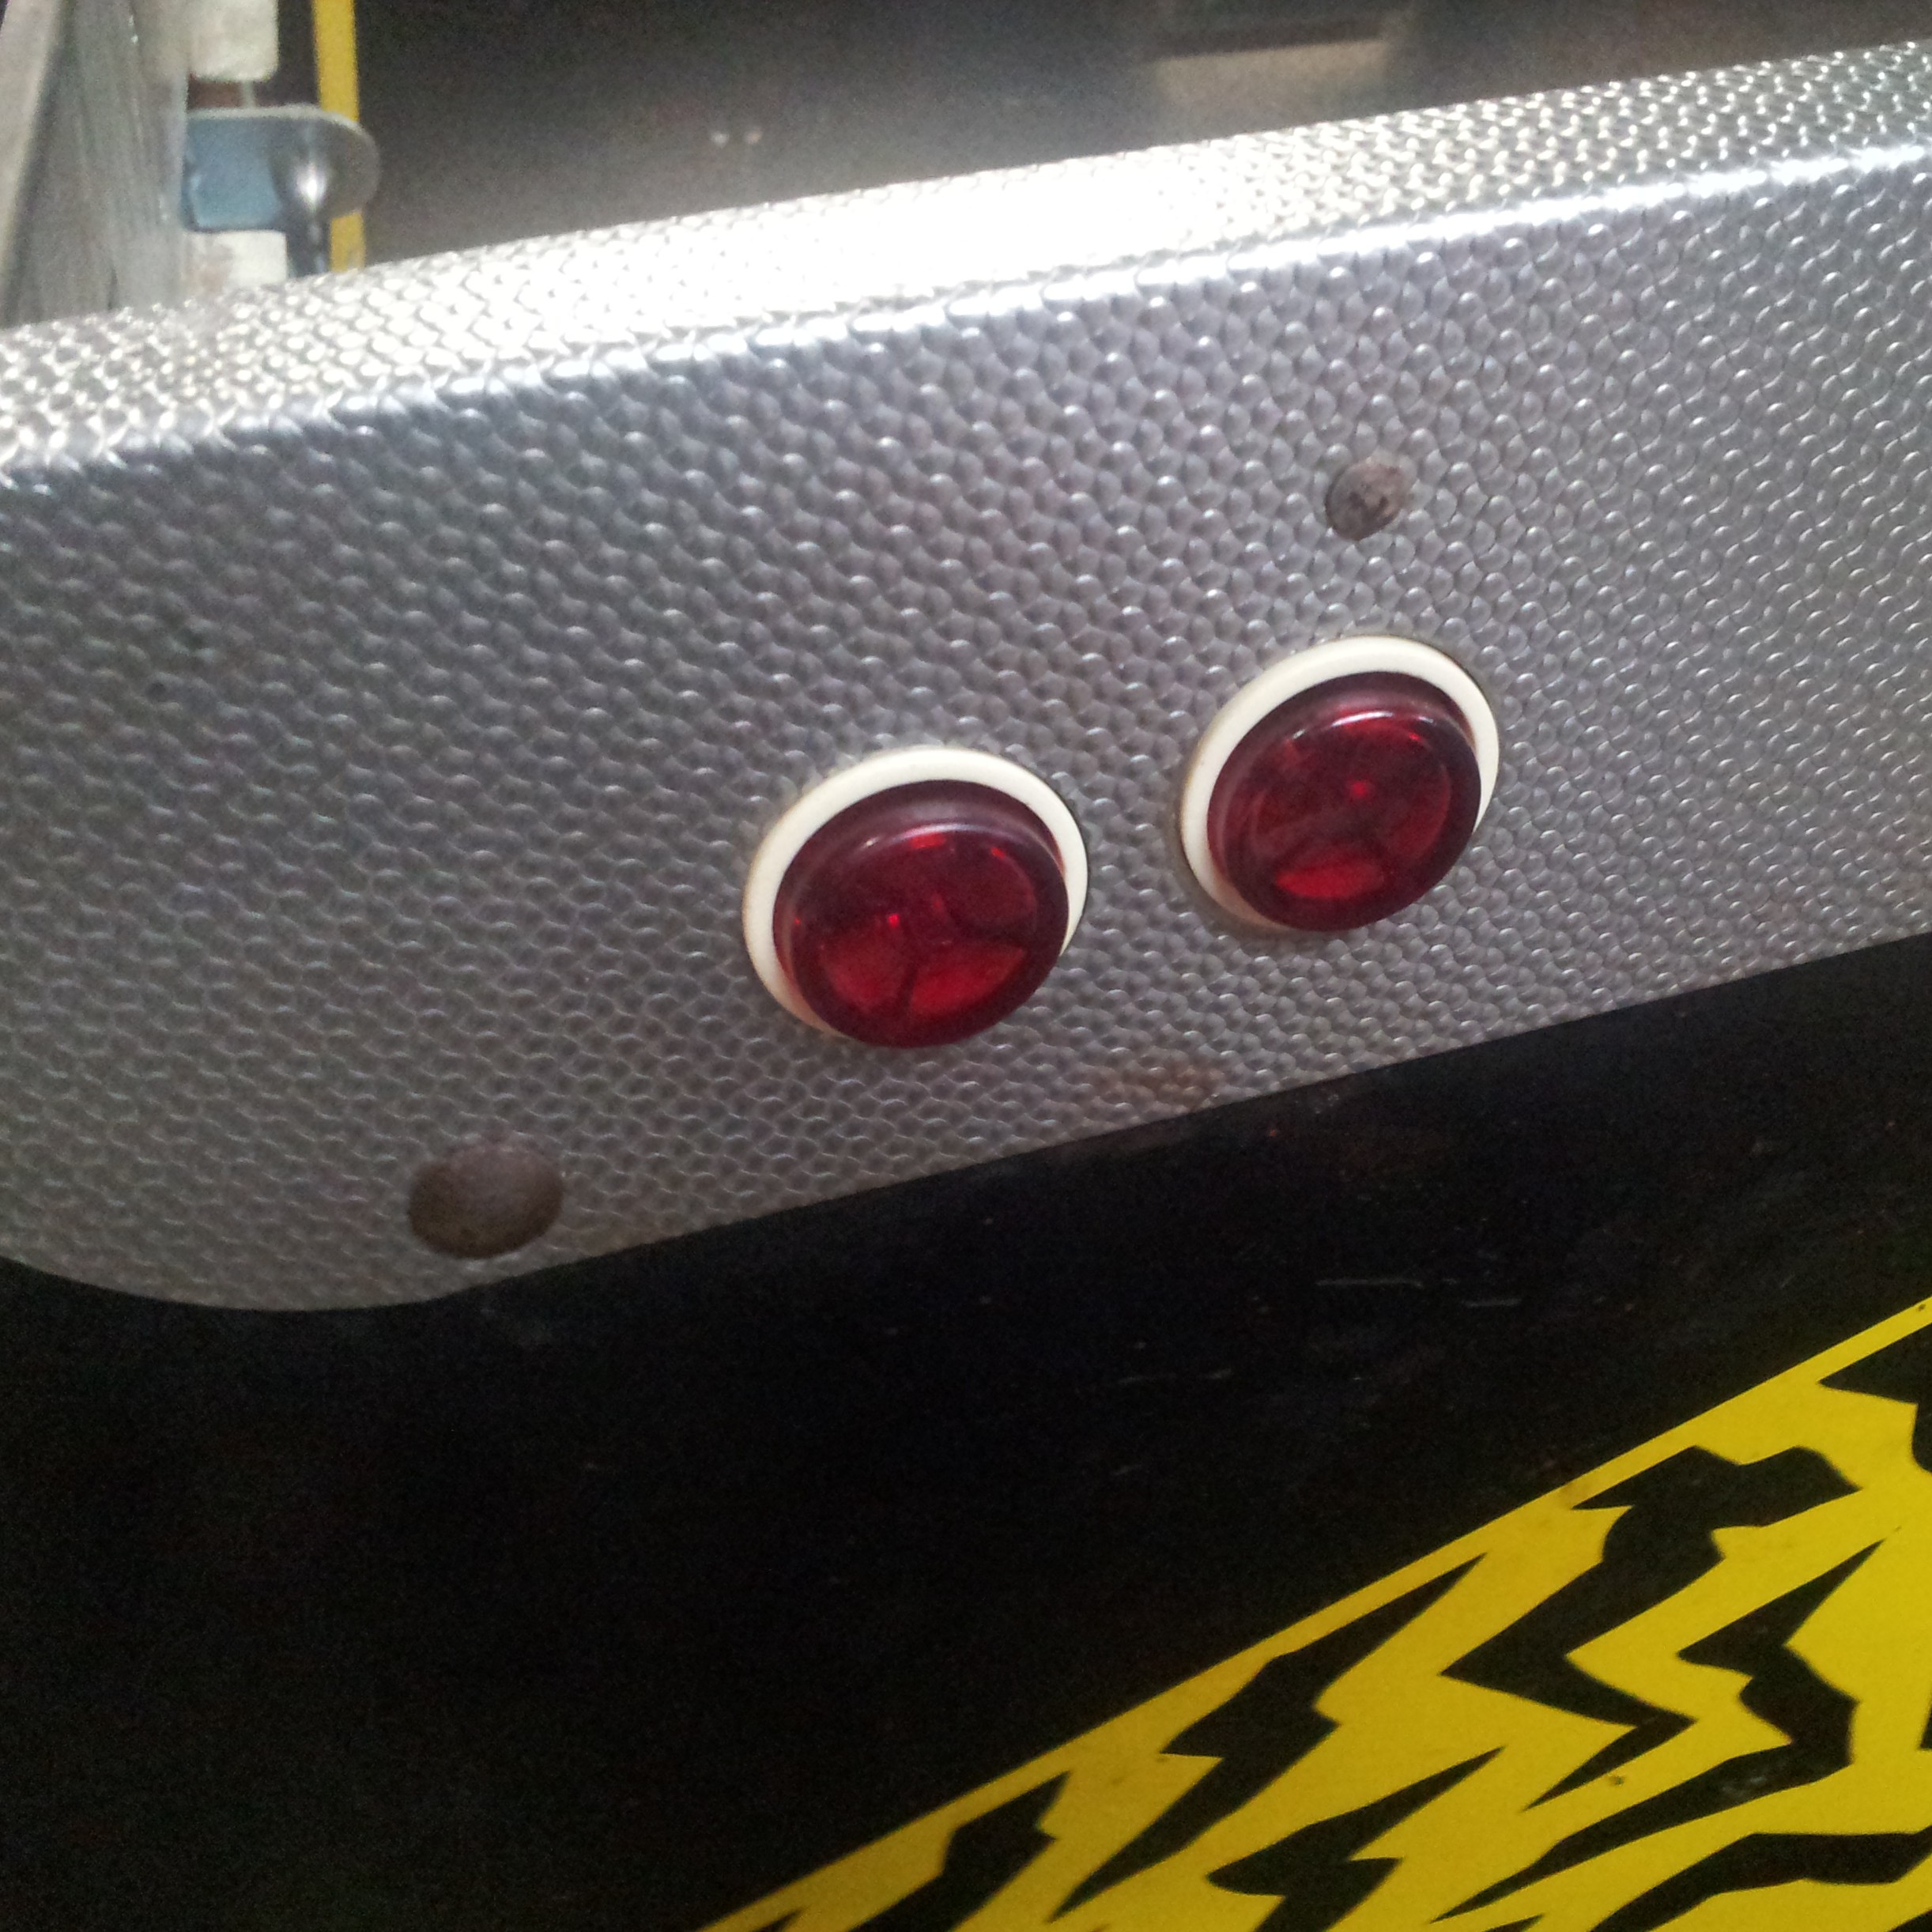
I've never understood pinball machines that couldn't think of a use for more buttons, so I put a second set in:
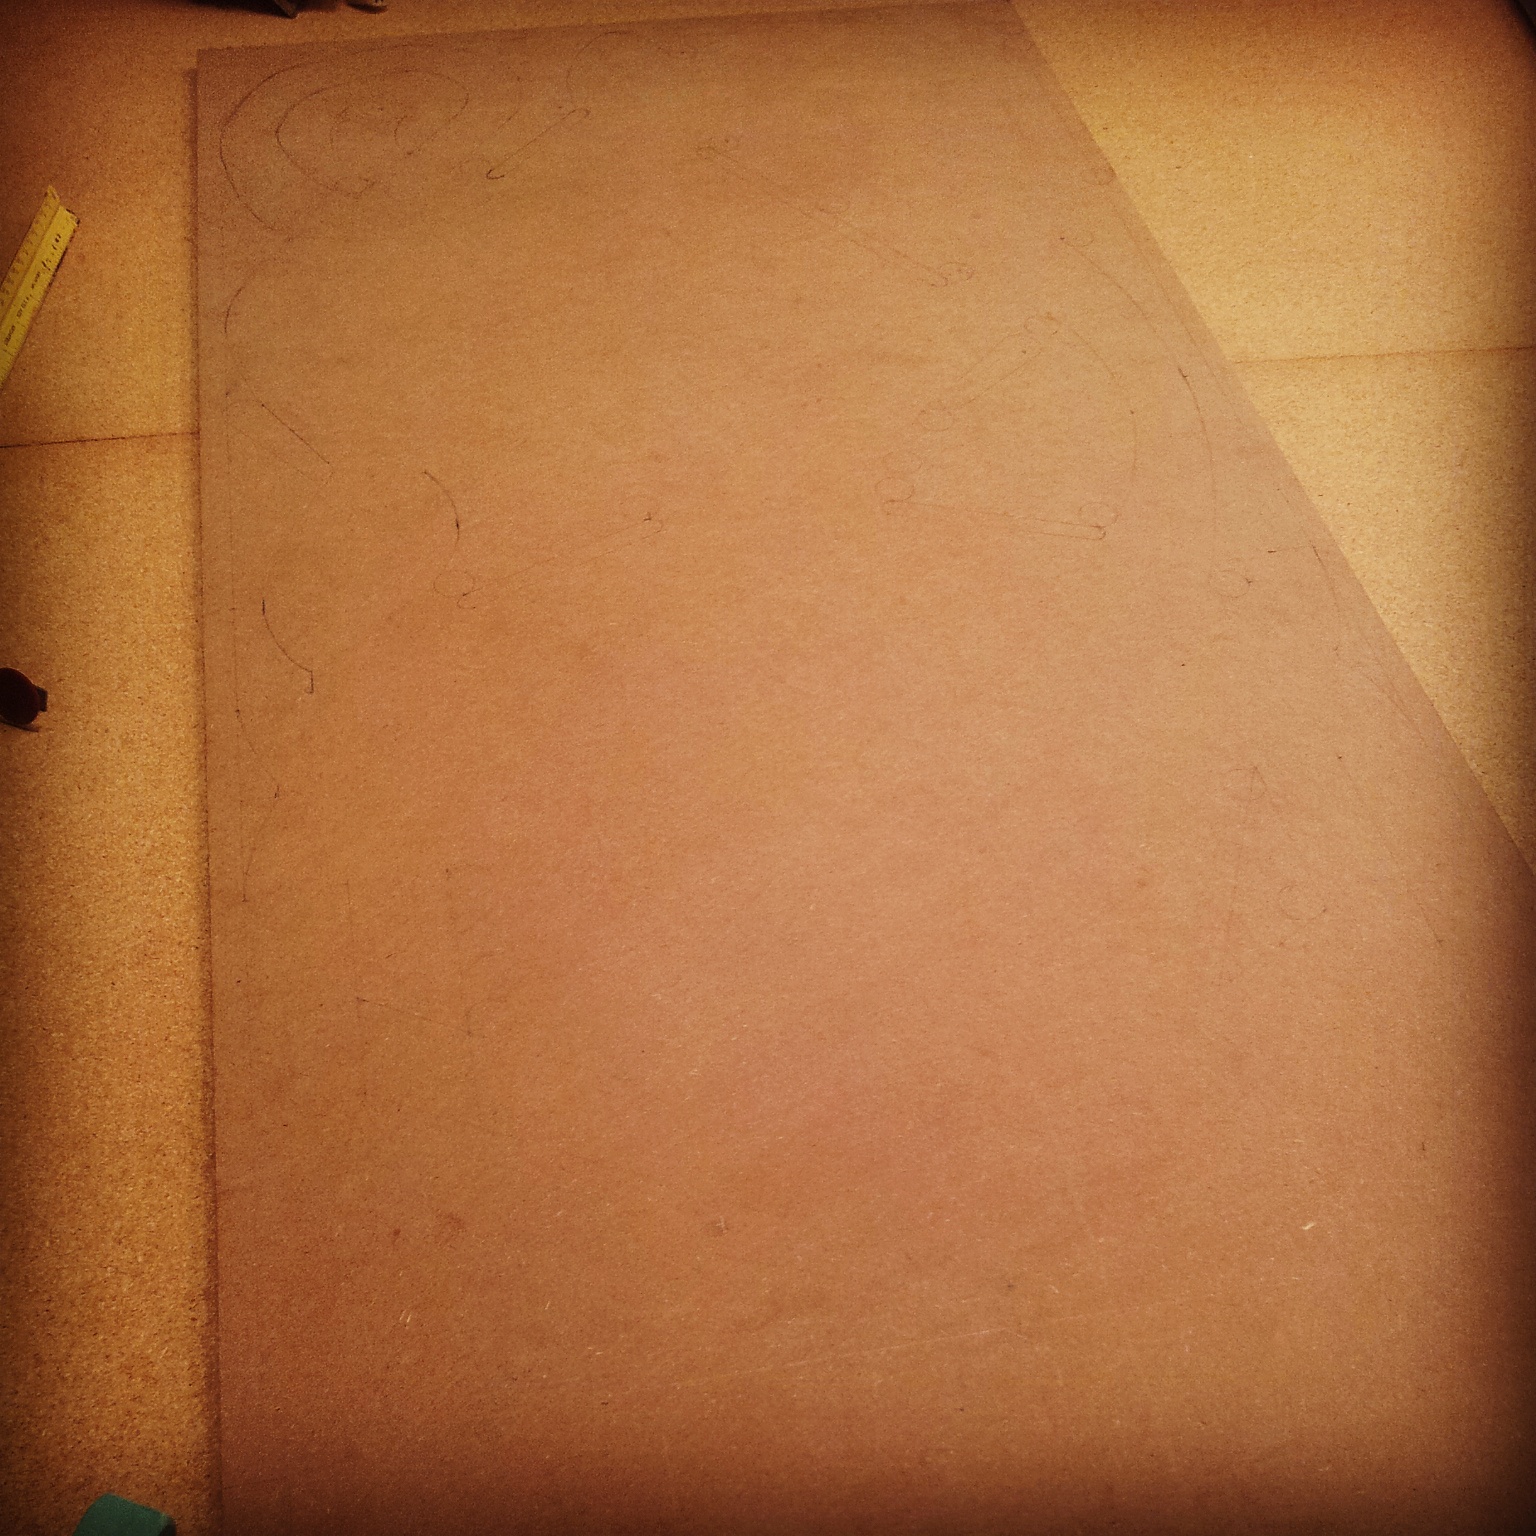
I picked up a sheet of 0.5" MDF at Home Depot, and lightly drew out my layout

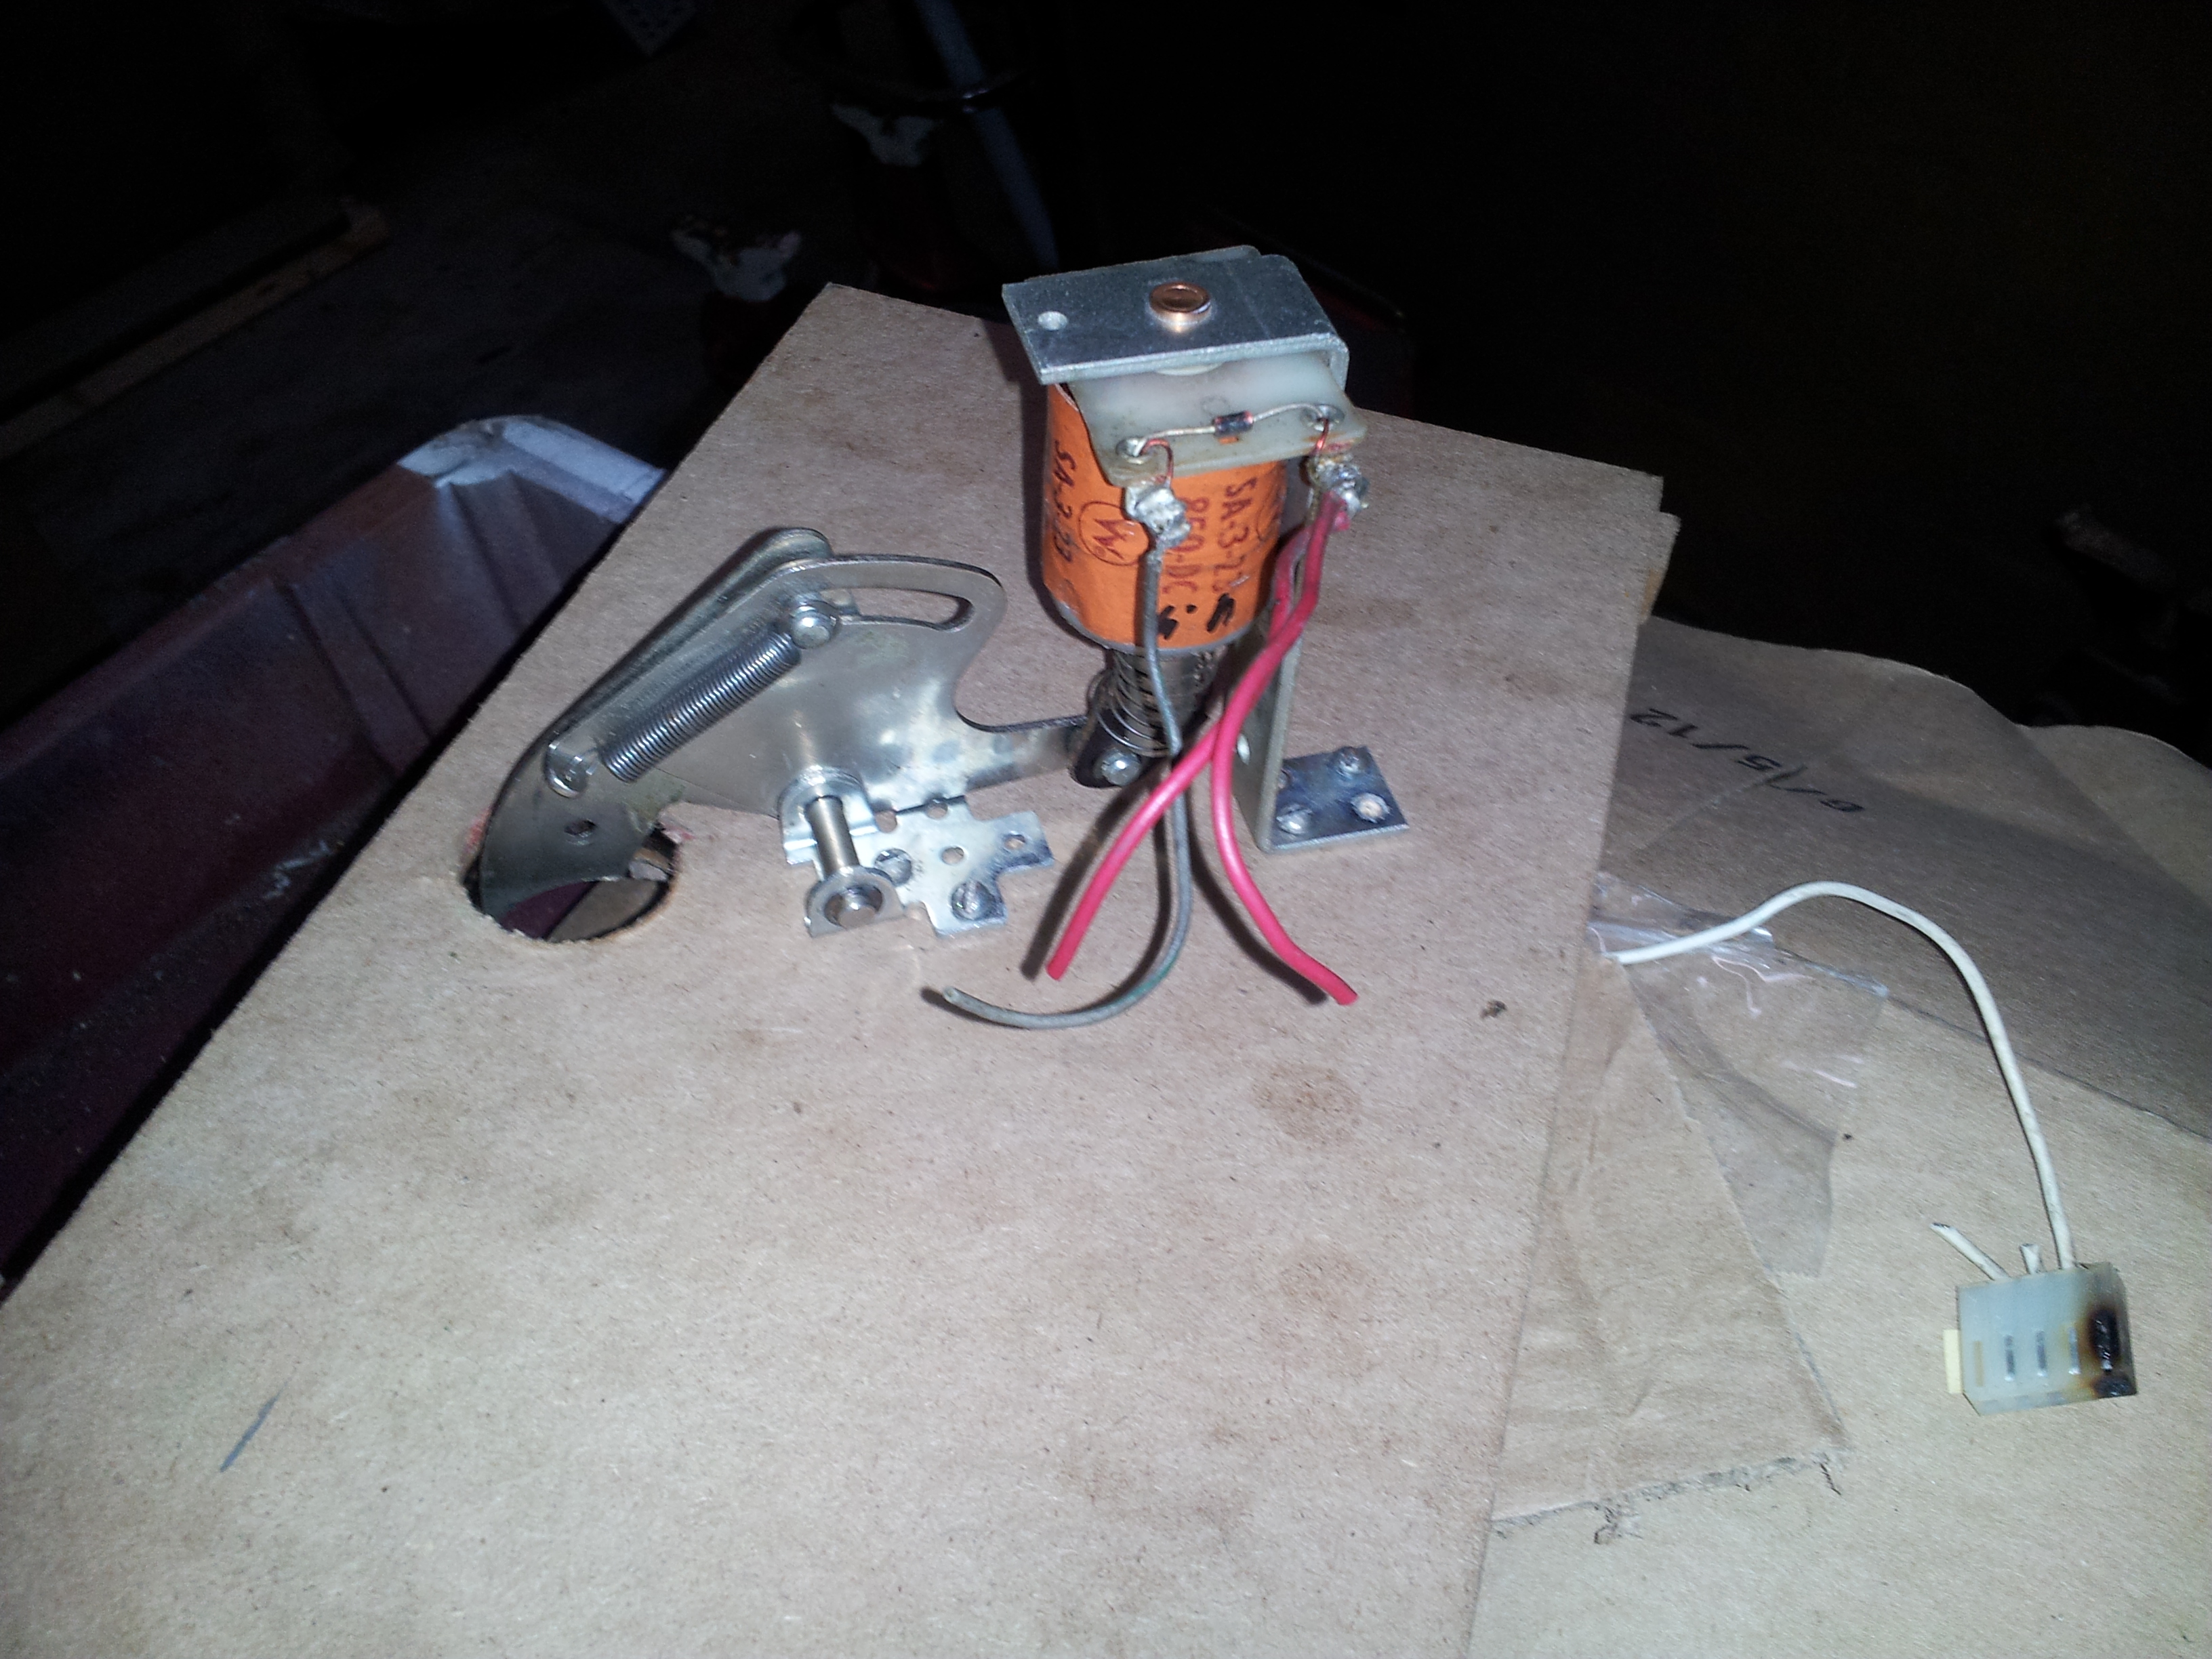
I also used leftover scraps from cutting it to the right size to experiment with mounting components
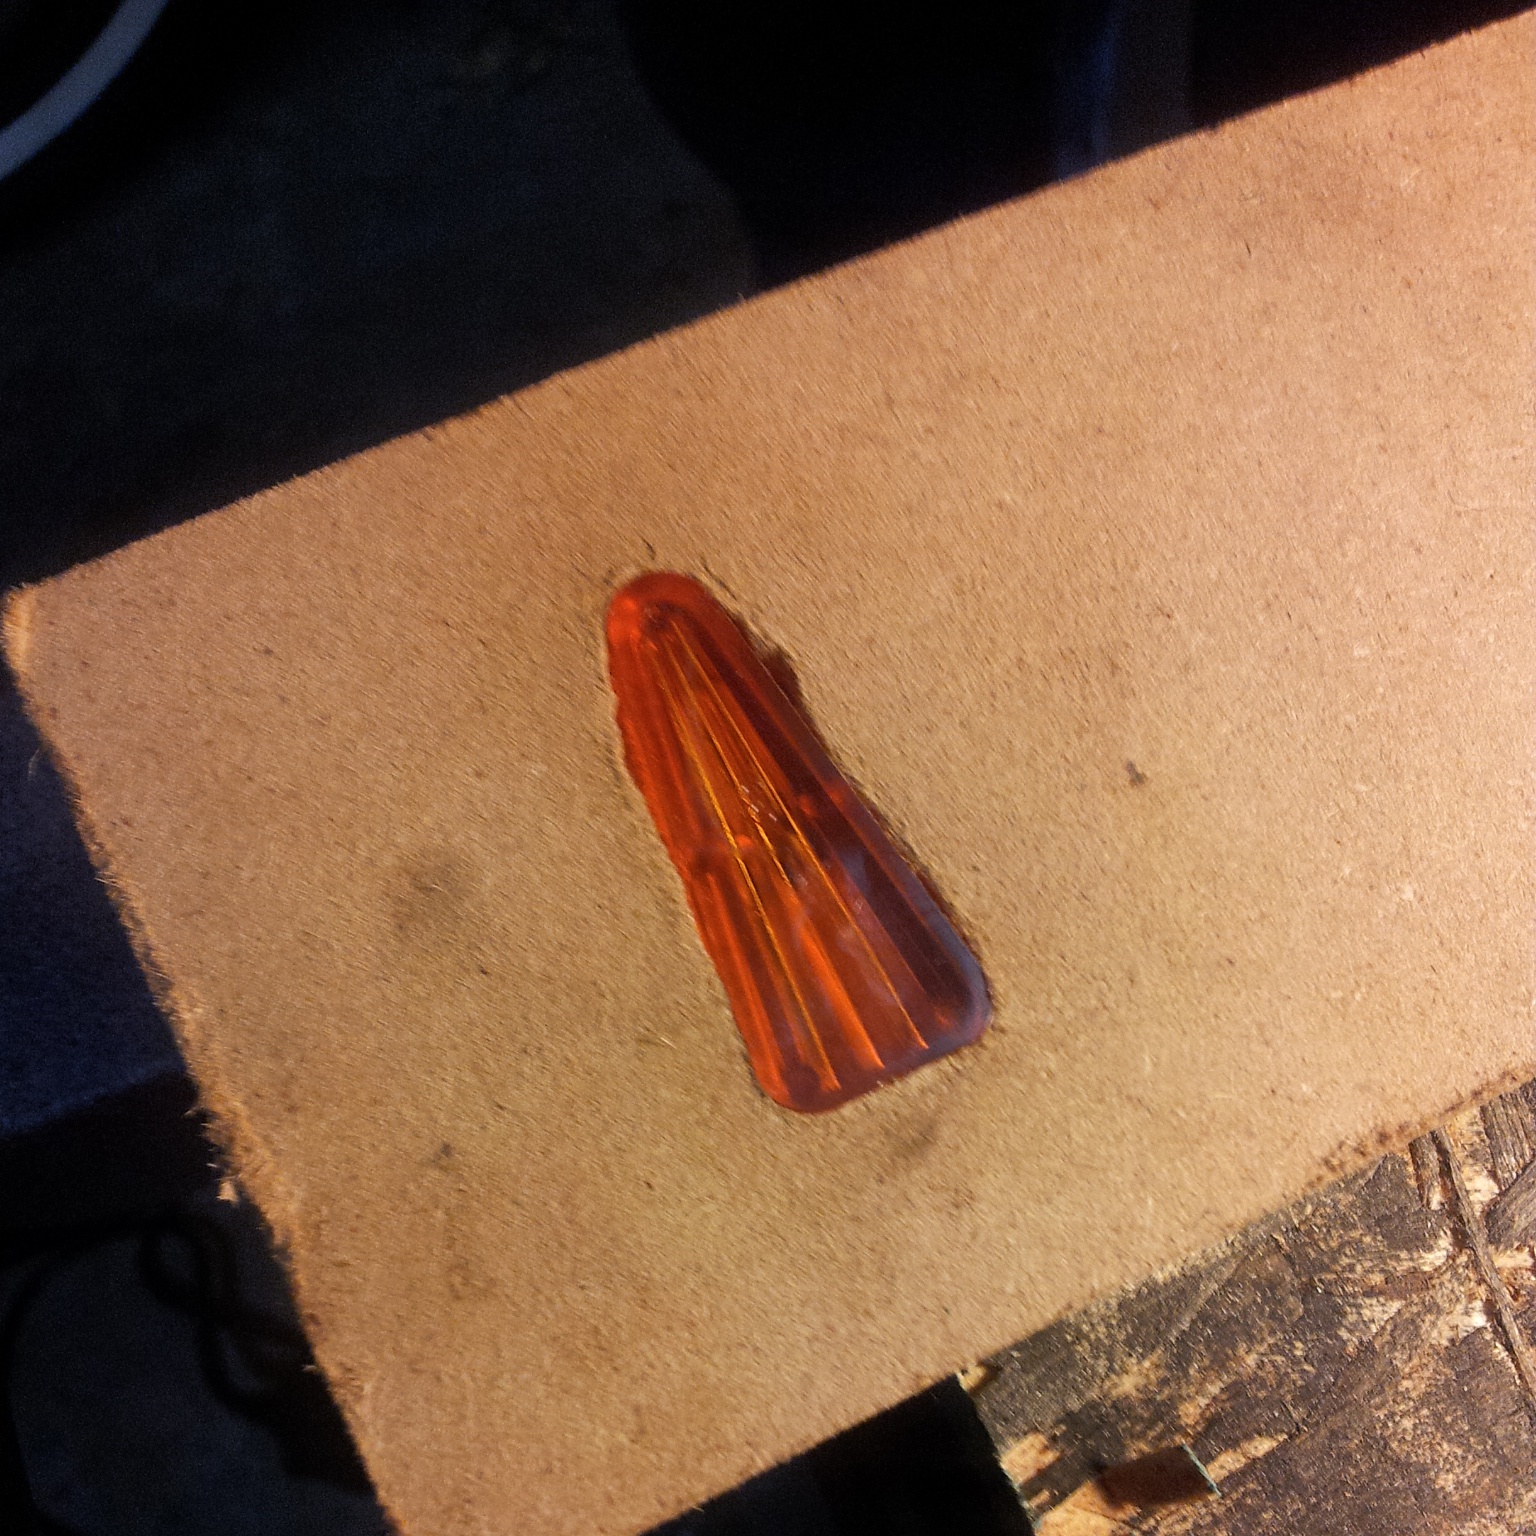
Using a small router and an 1/8" bit, I found that, as long as you go slowly, it can produce workable light insert holes
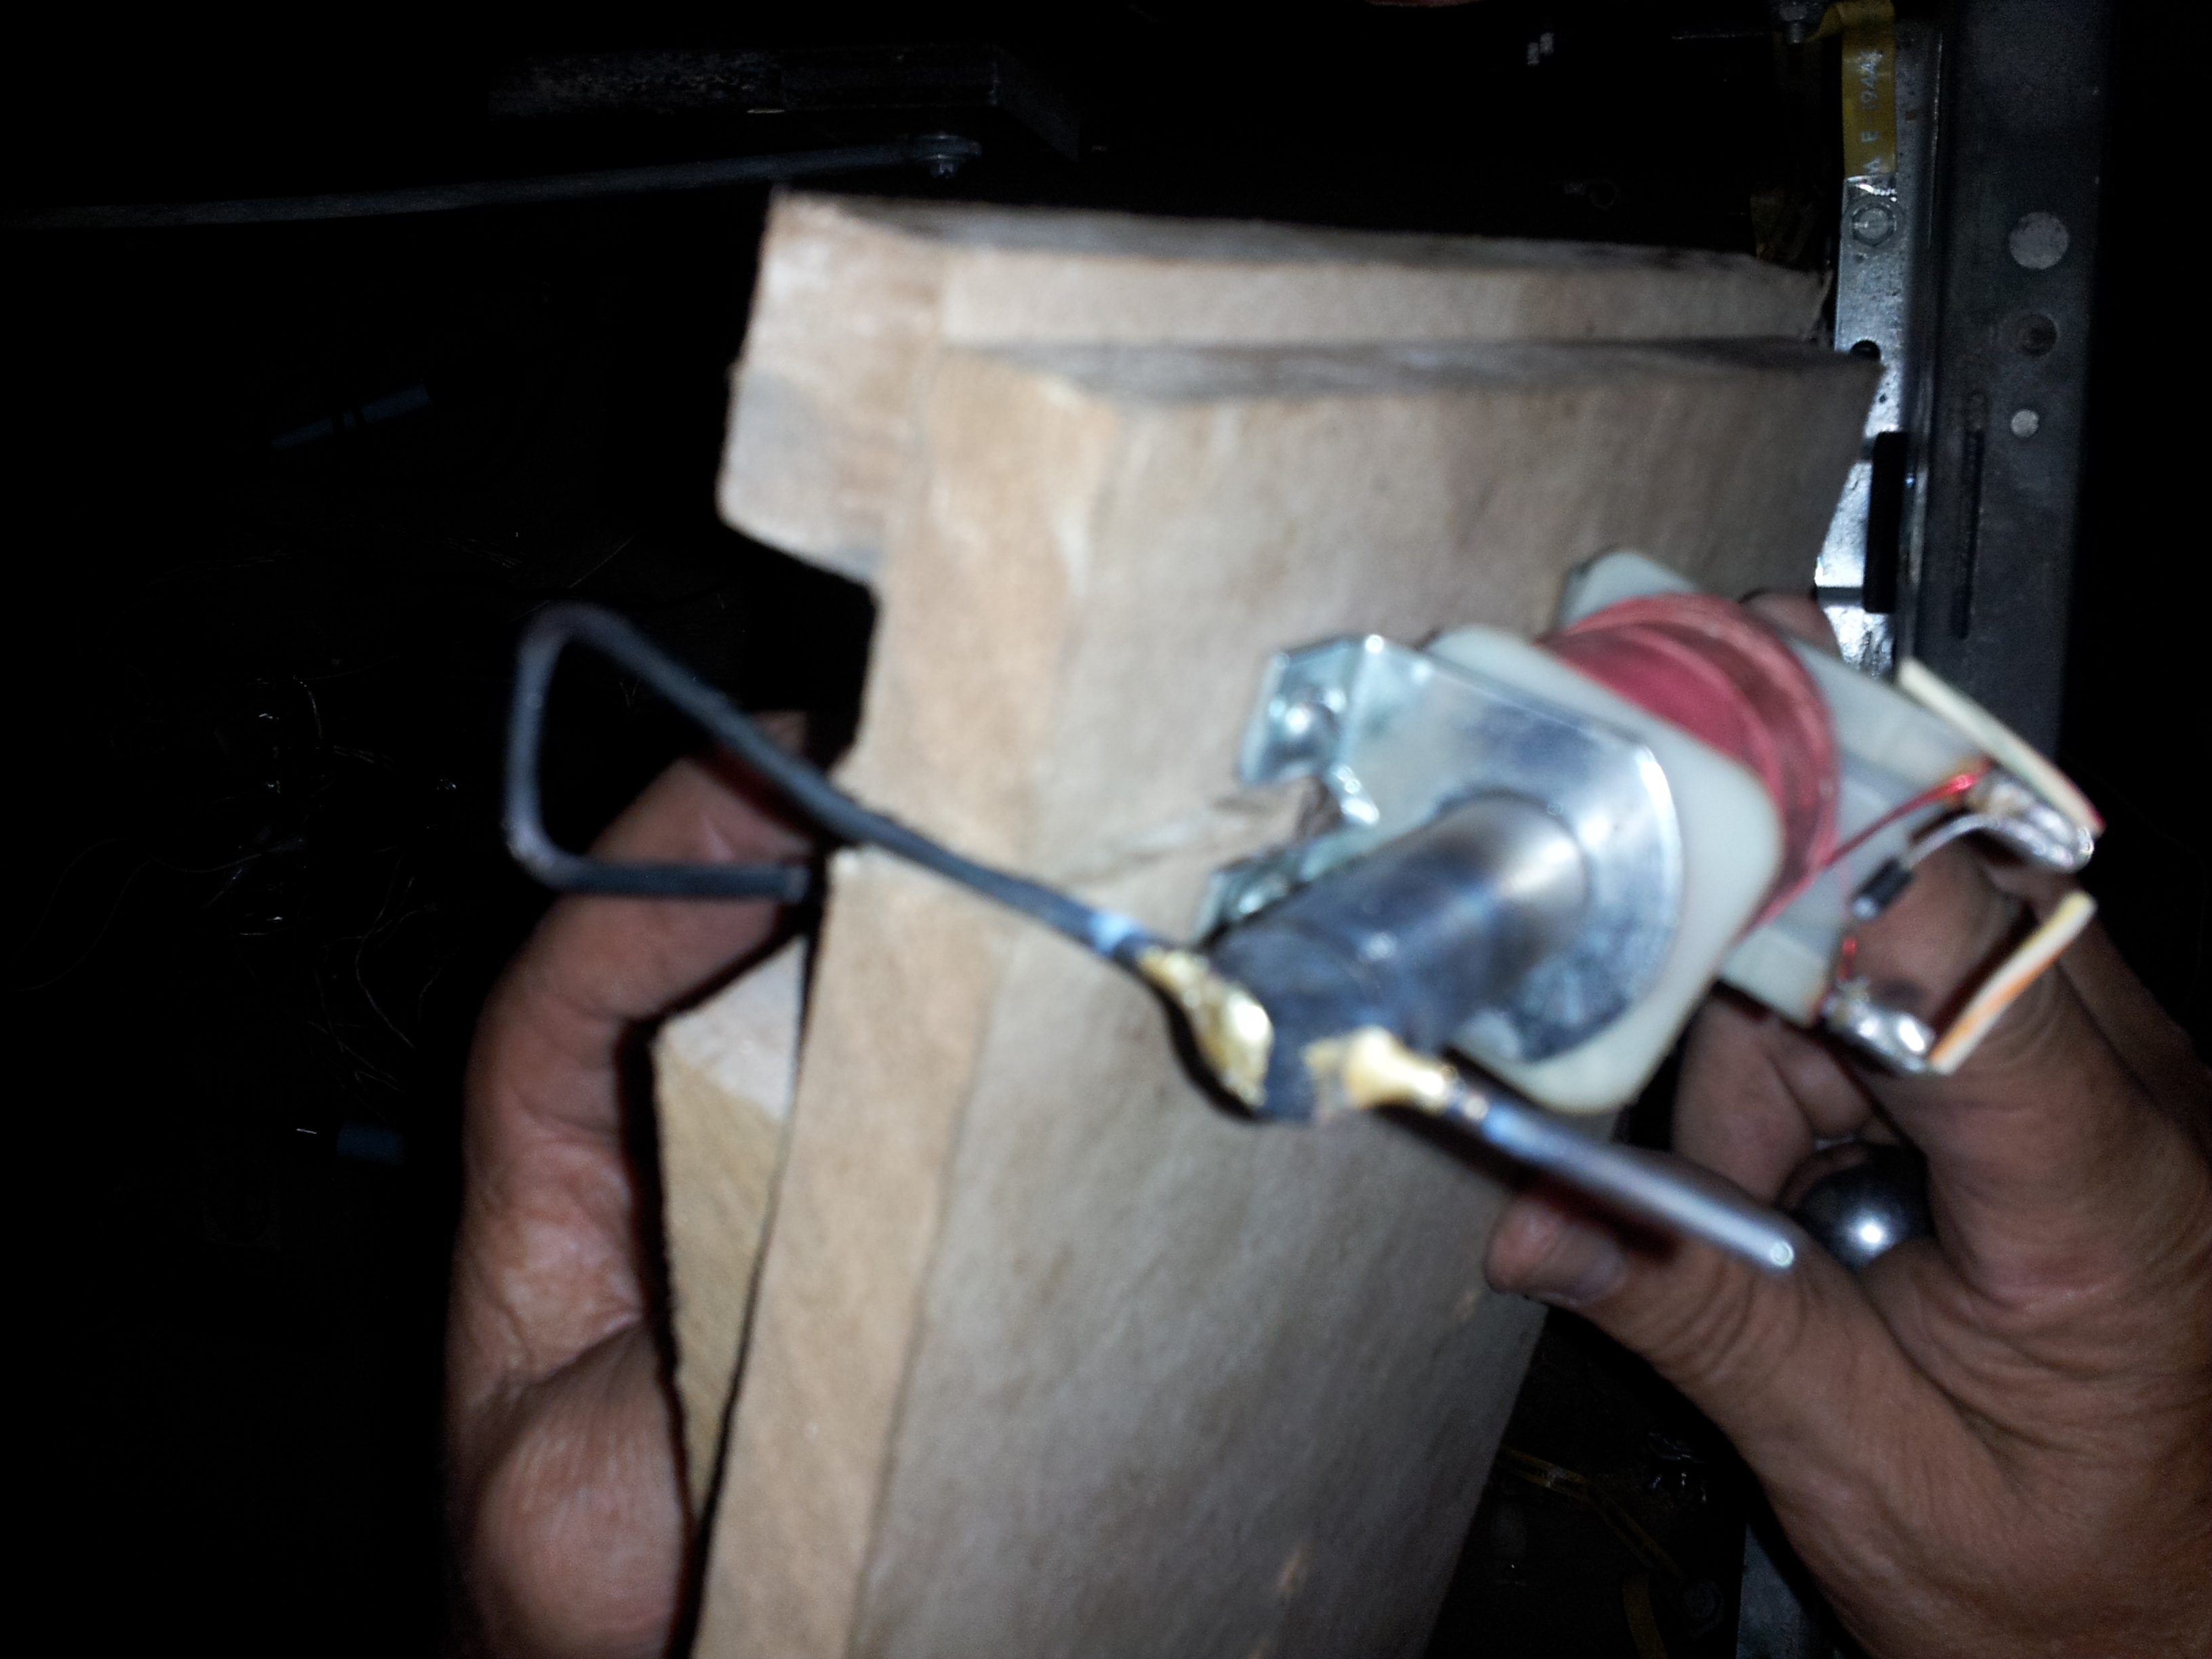
Since I couldn't find any launchers, I made one myself by welding a scoop to a piece of 0.5" iron stock and attaching some plastic to the front to guide it
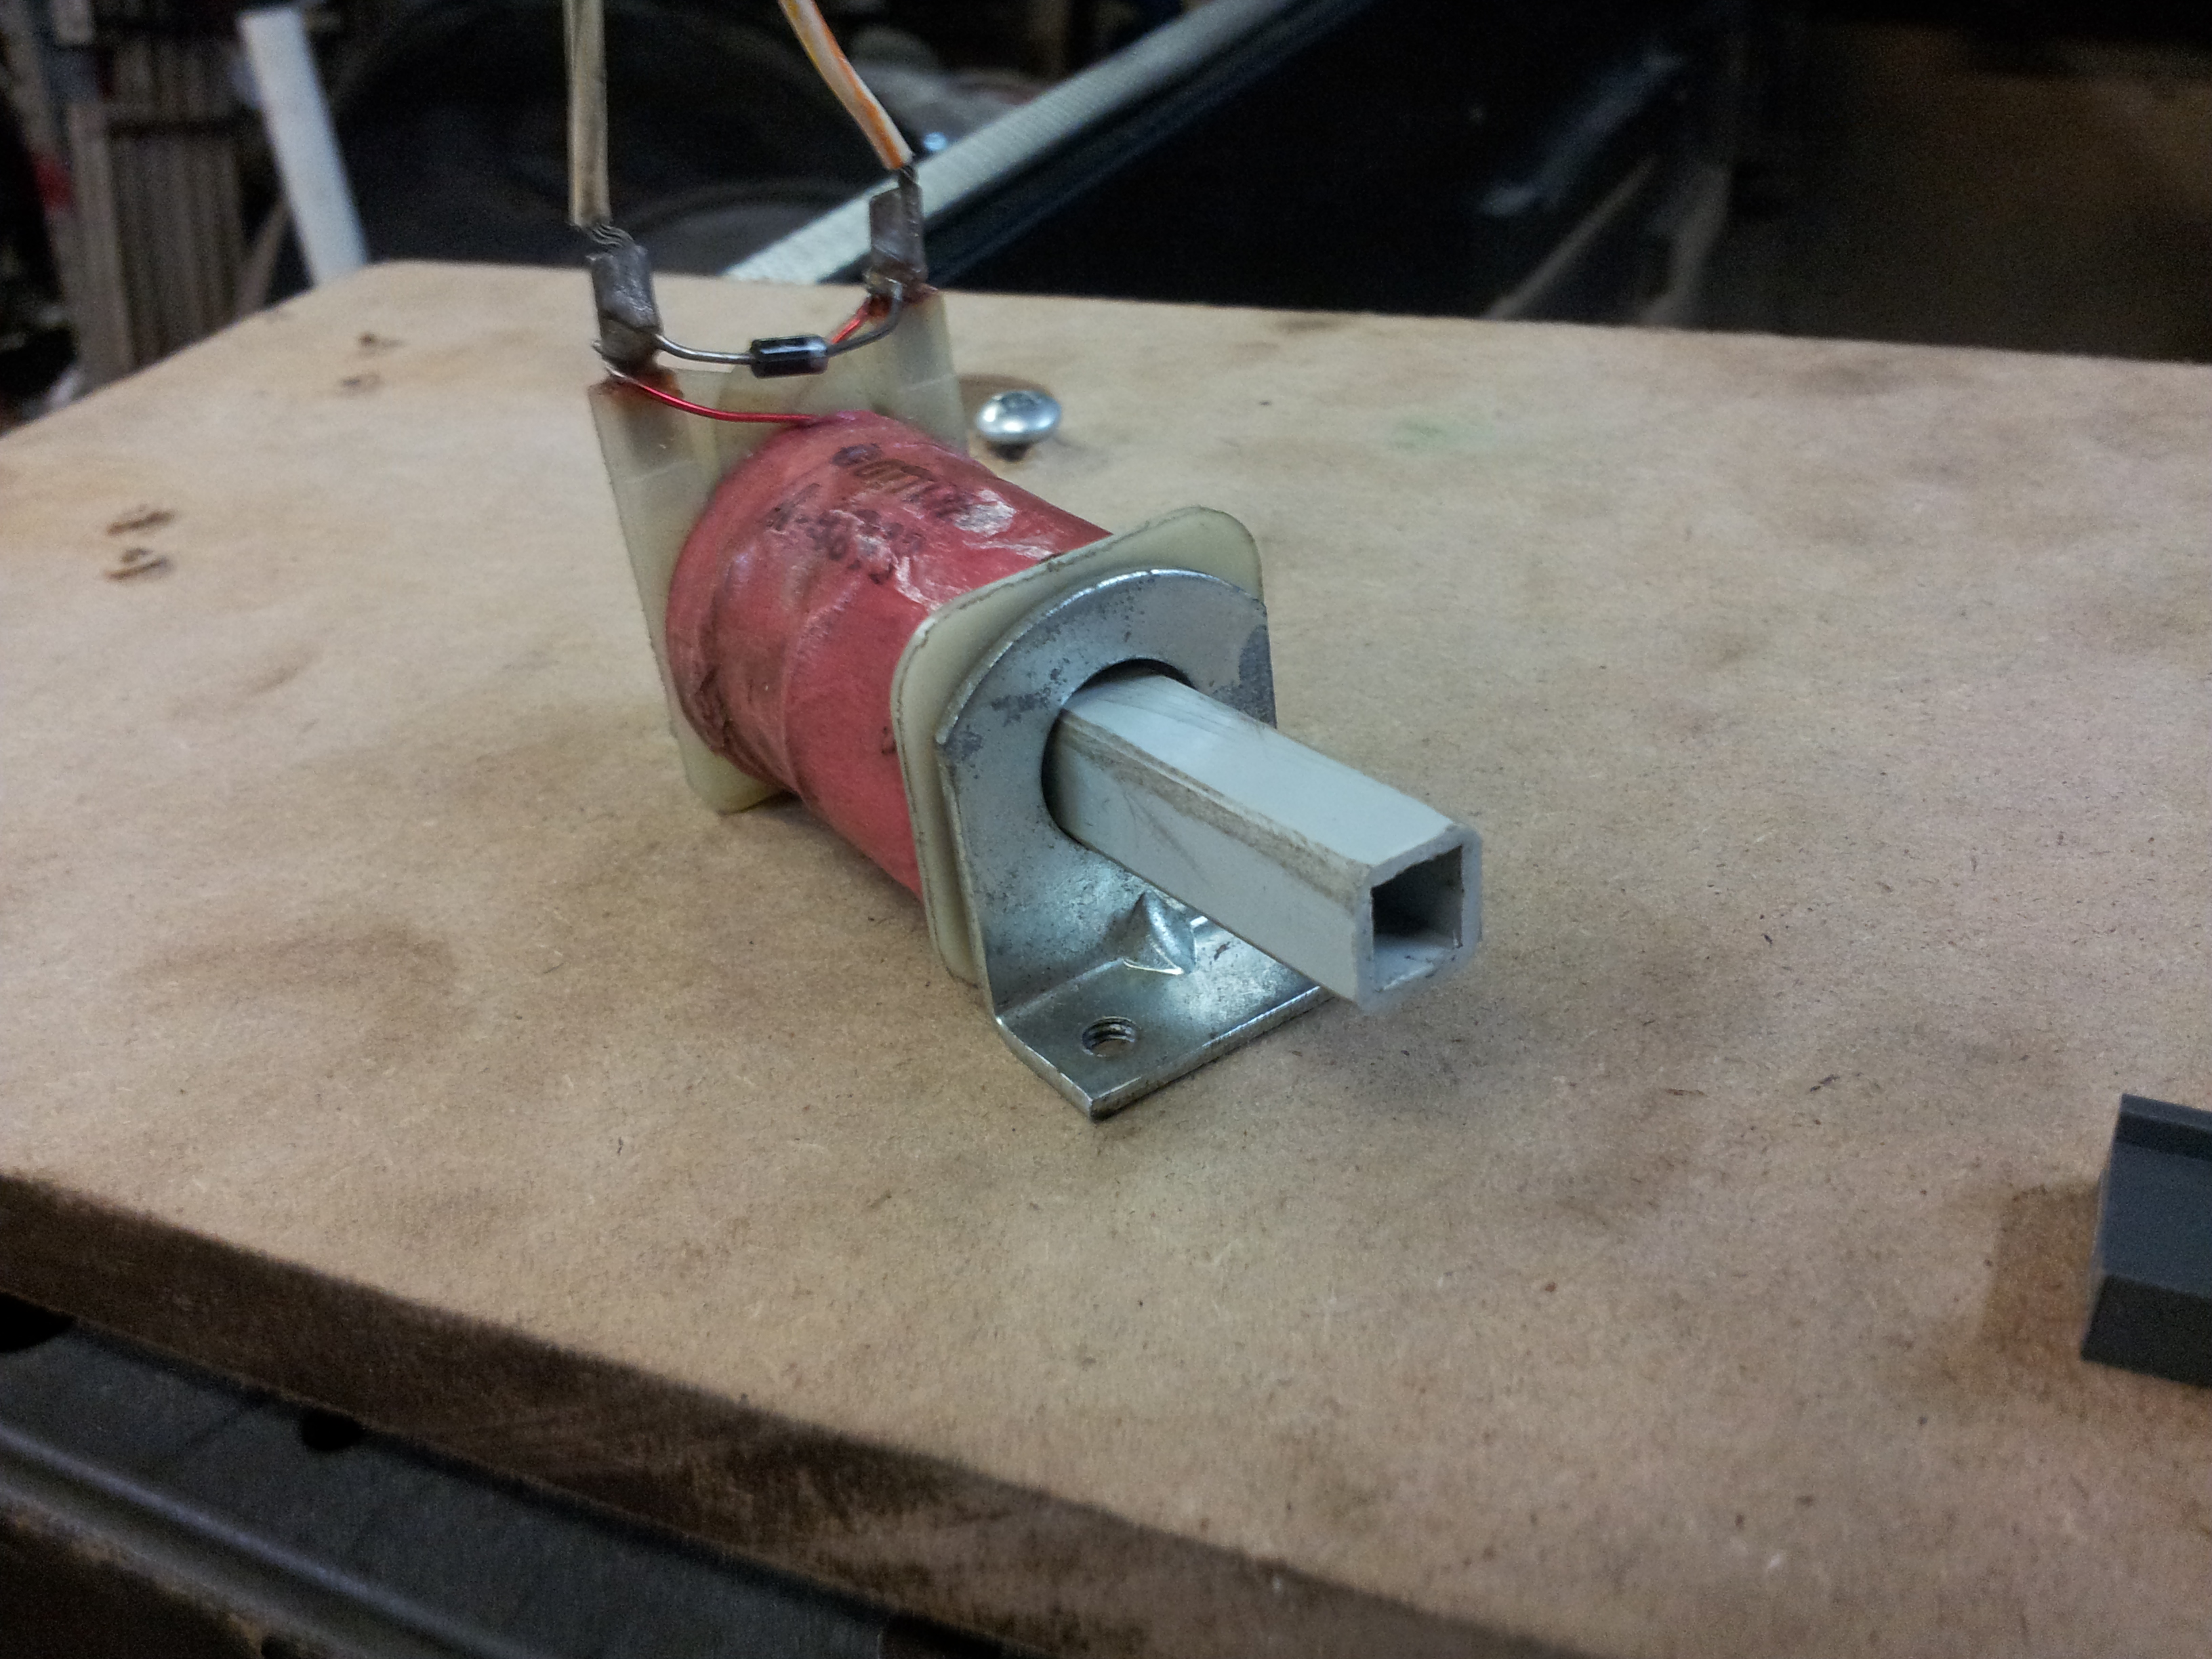
When you power the coil, it pulls the iron stock in, and the plastic guides it through
Pinball, pt 1: Parts
After two trips to the Allentown PinFest, I've managed to get together pretty much all the components I'll need for the build.
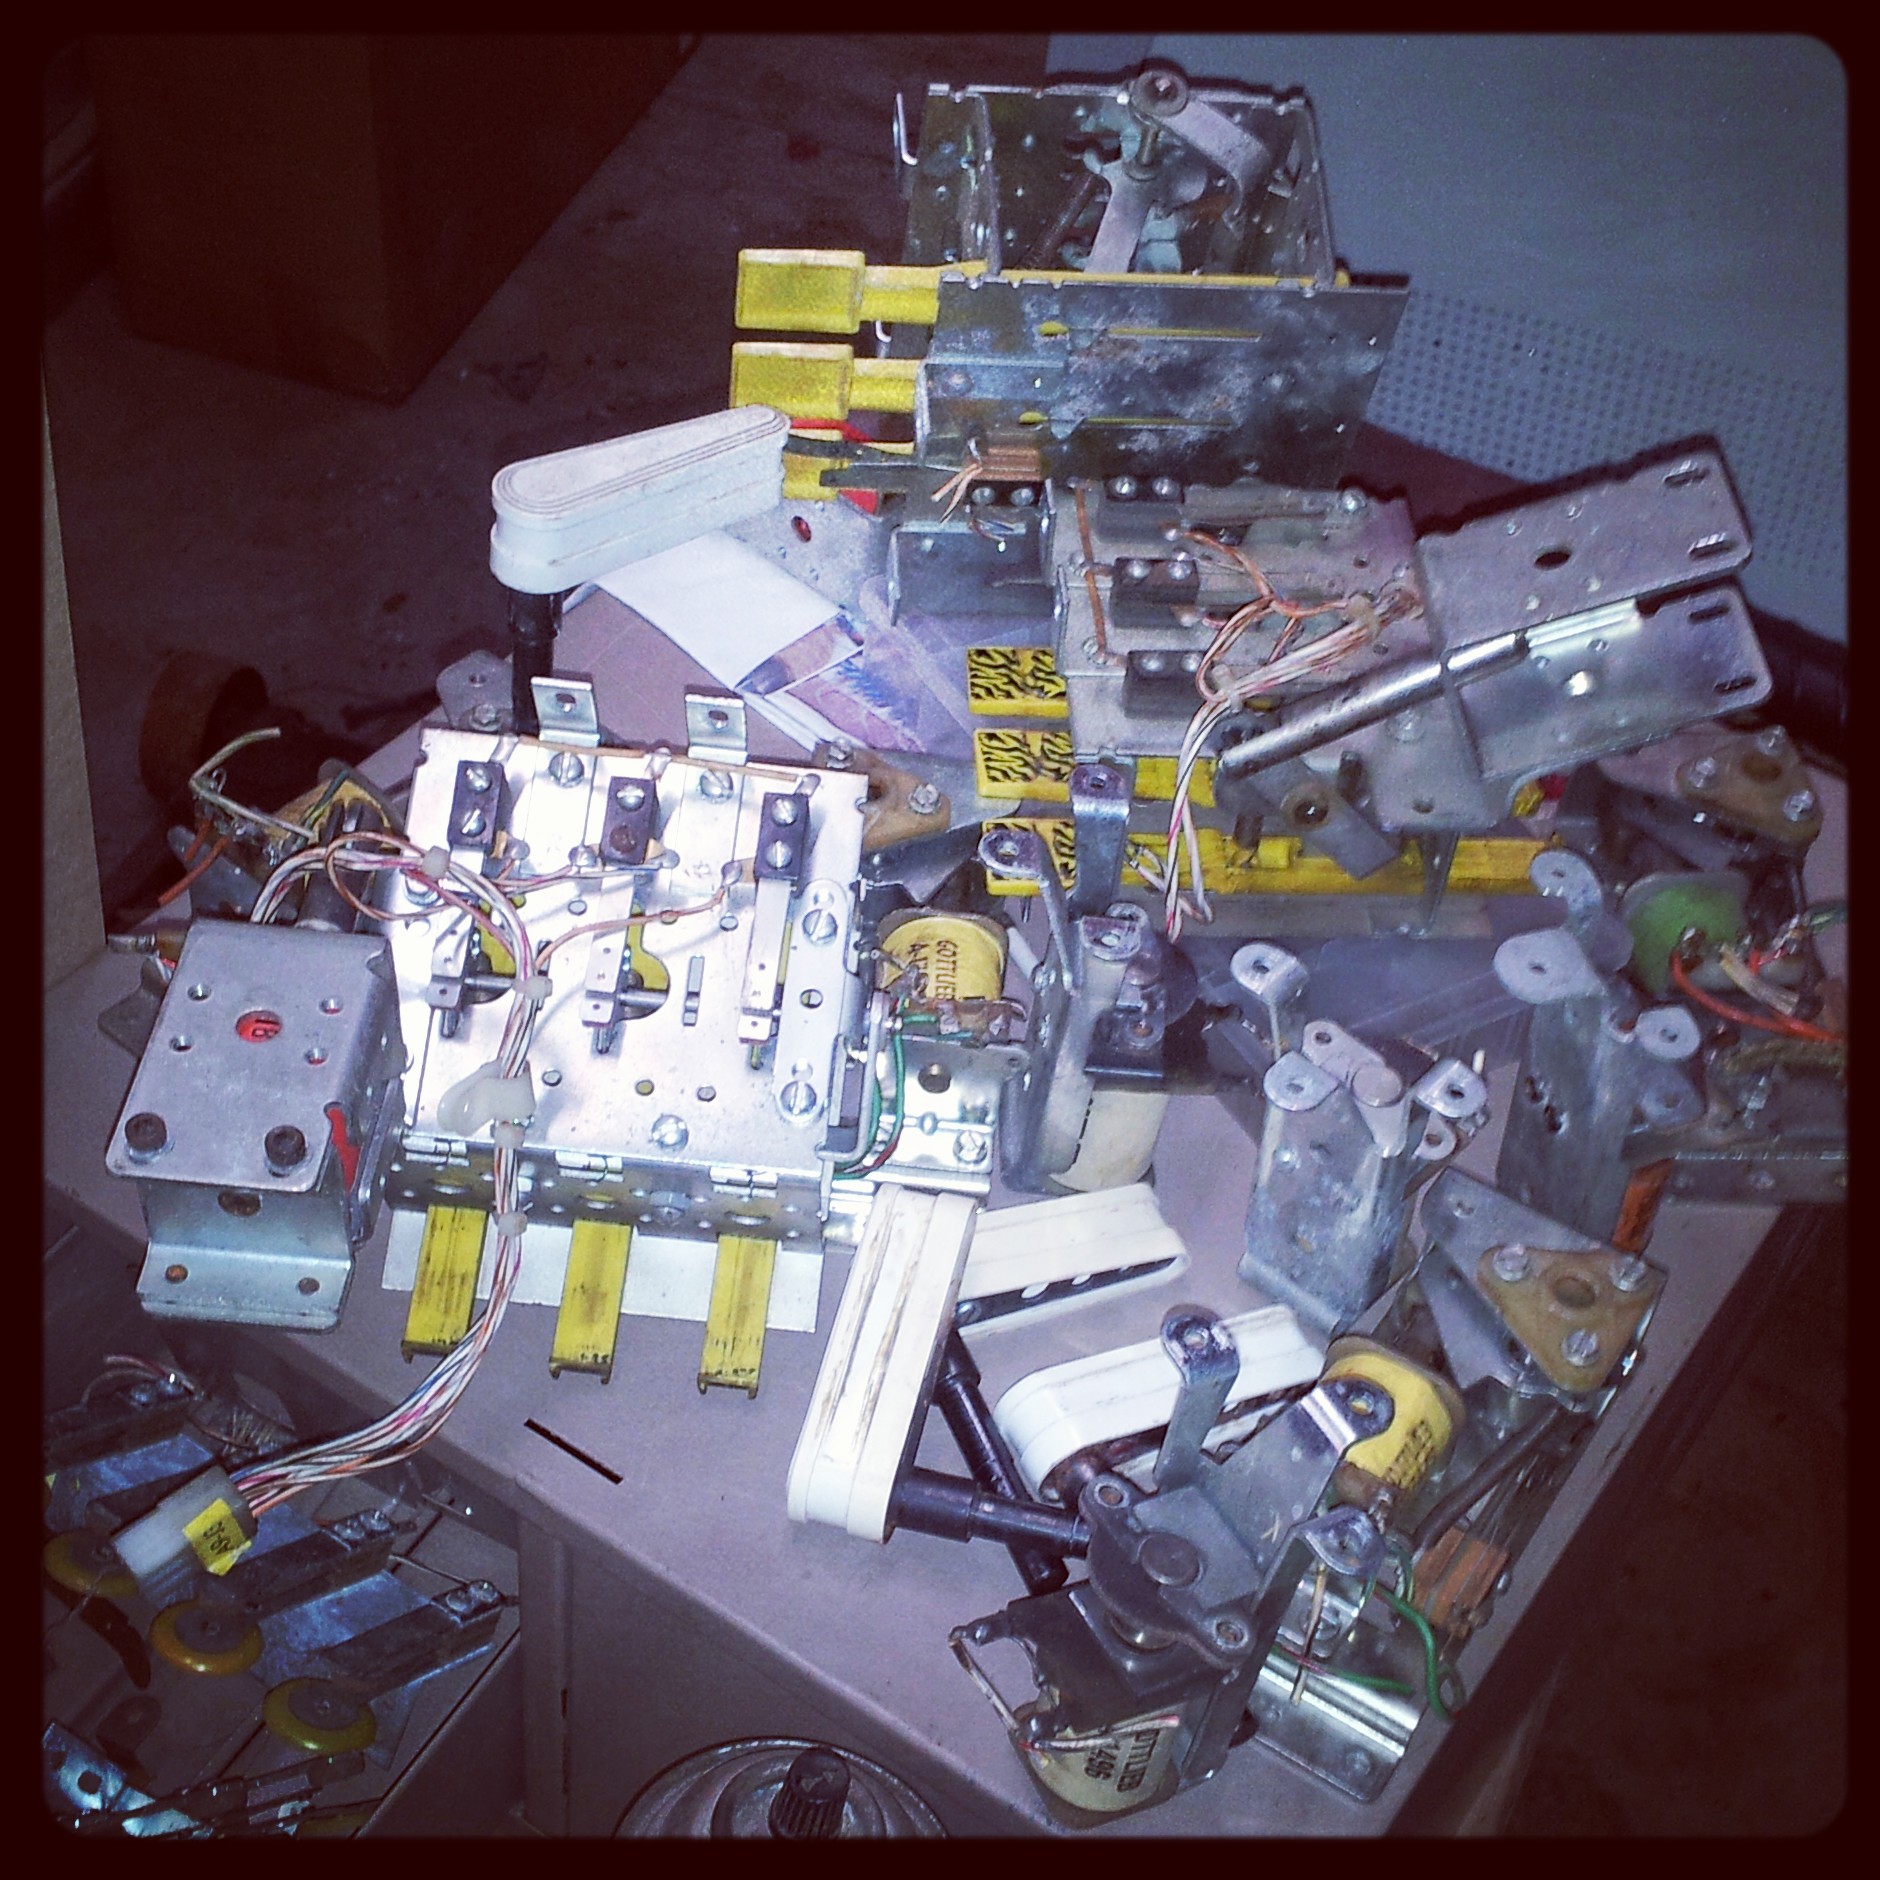
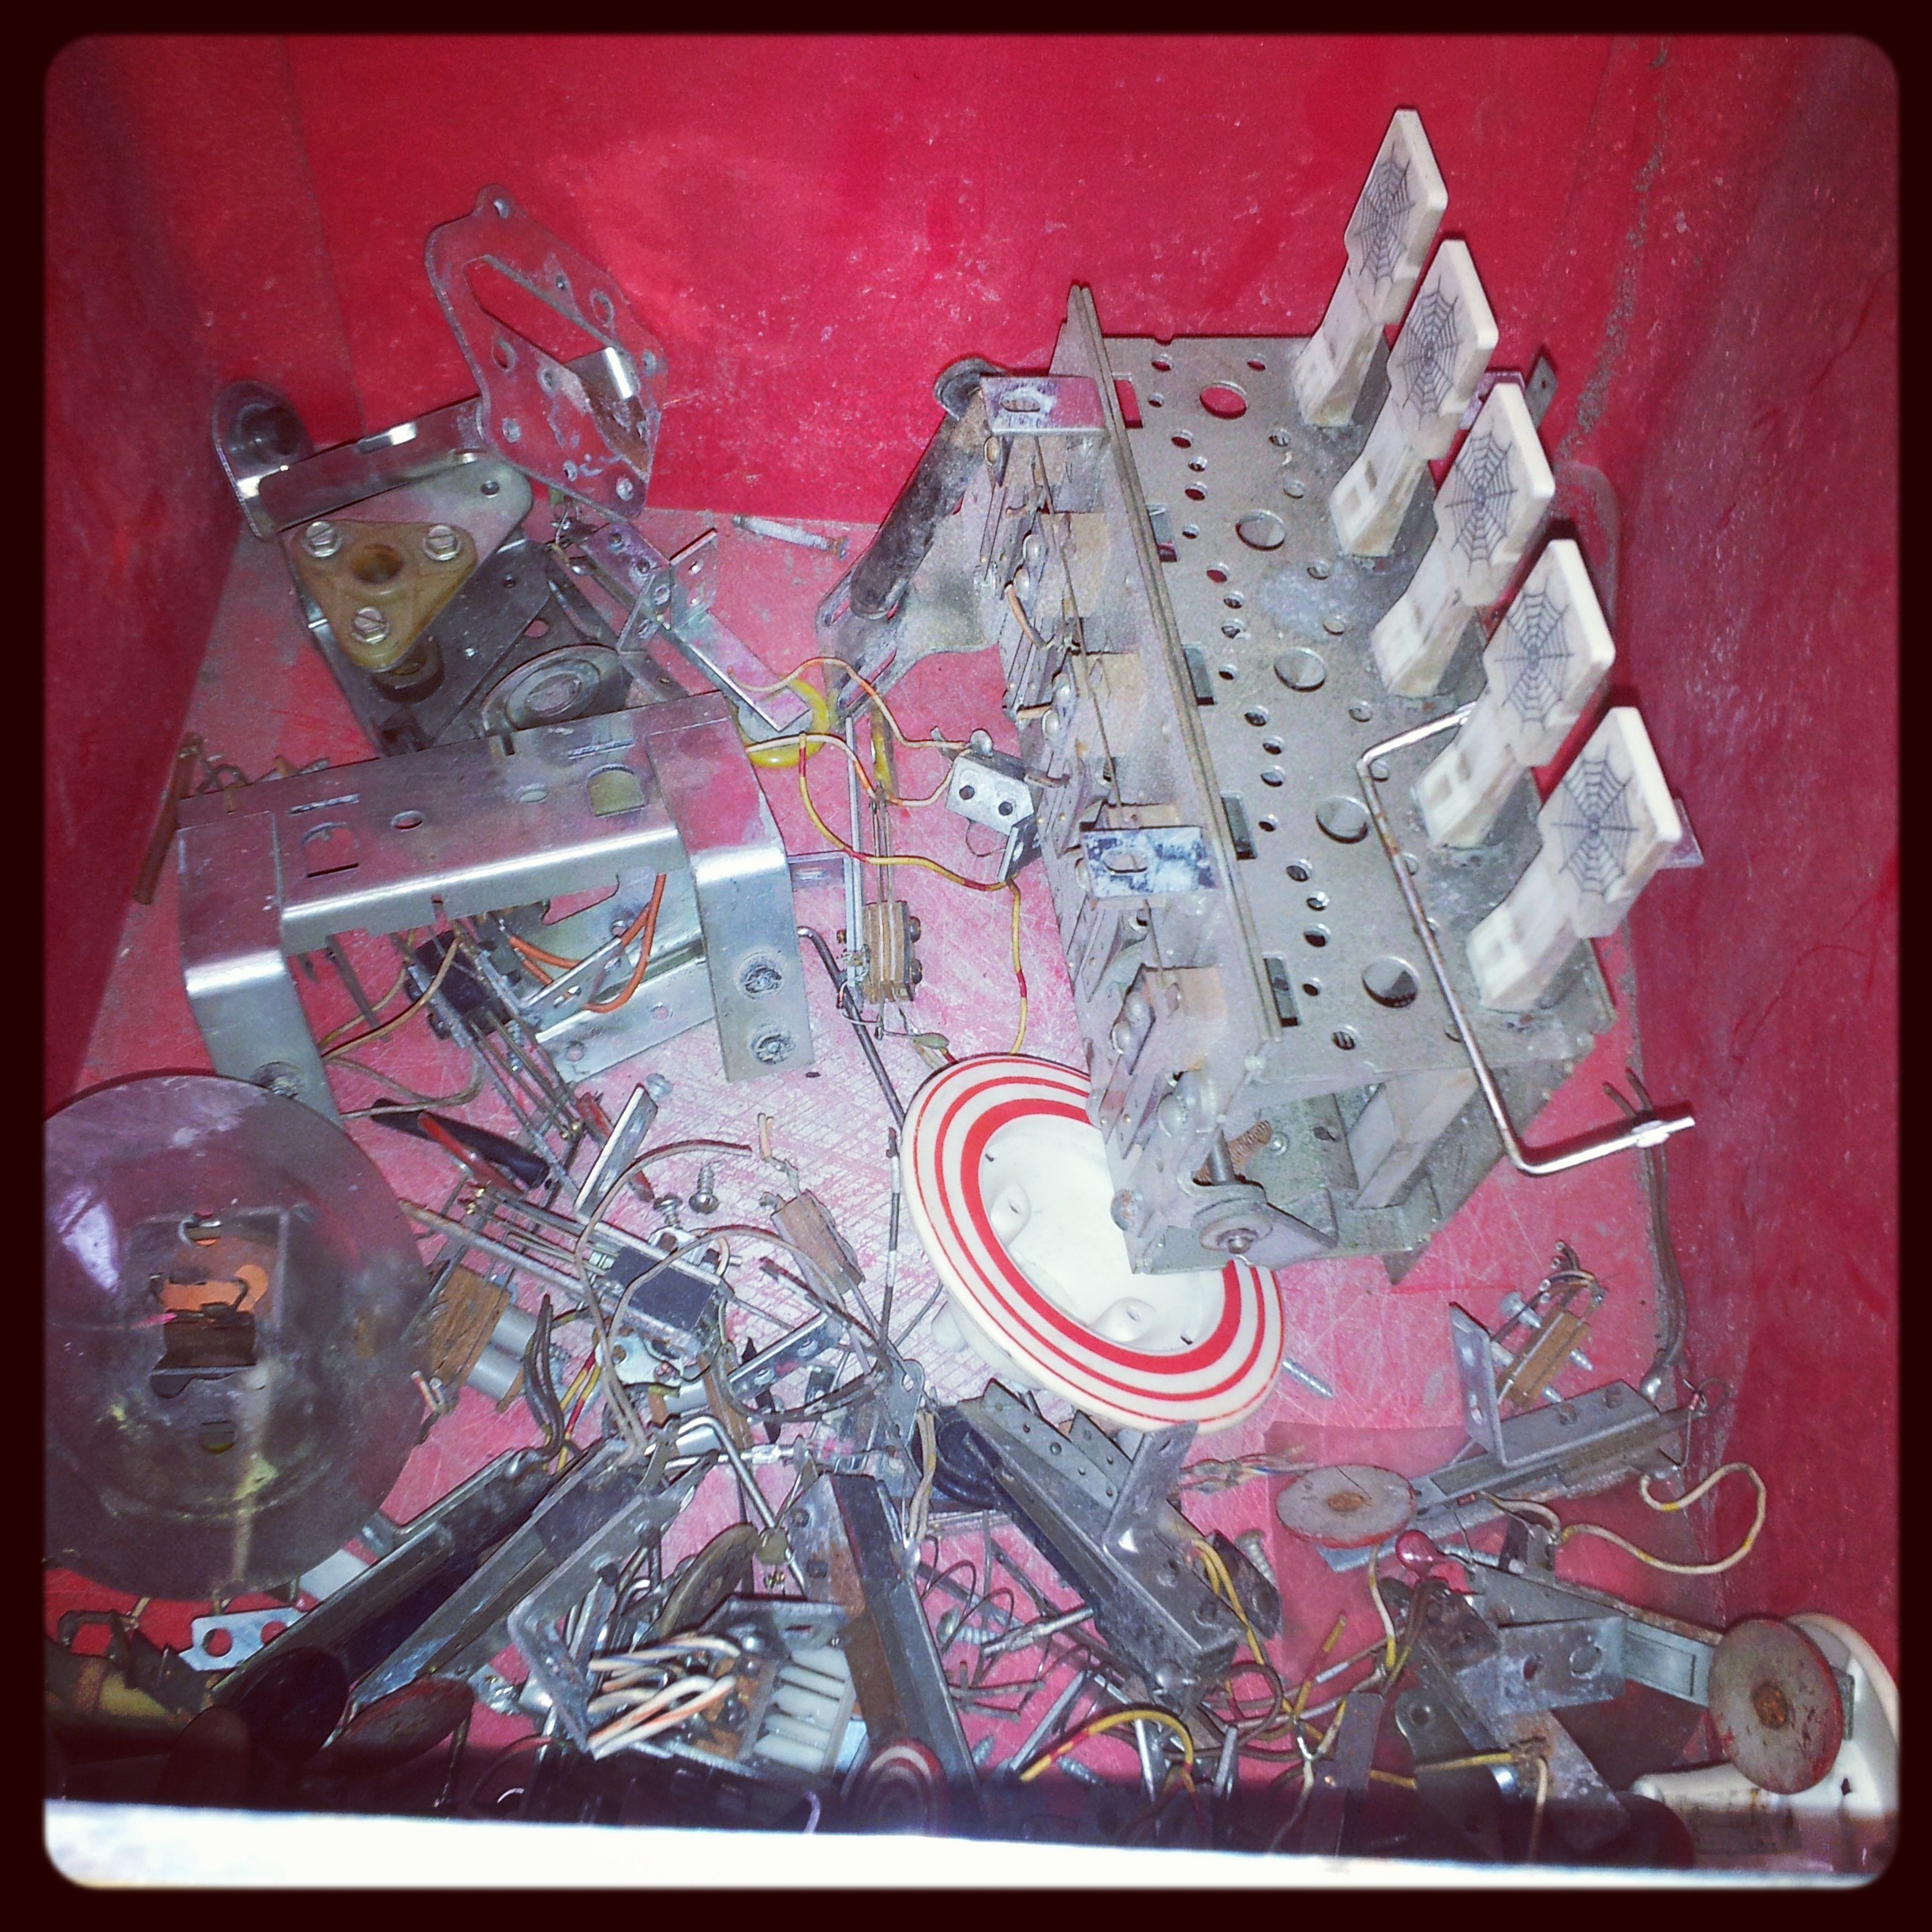
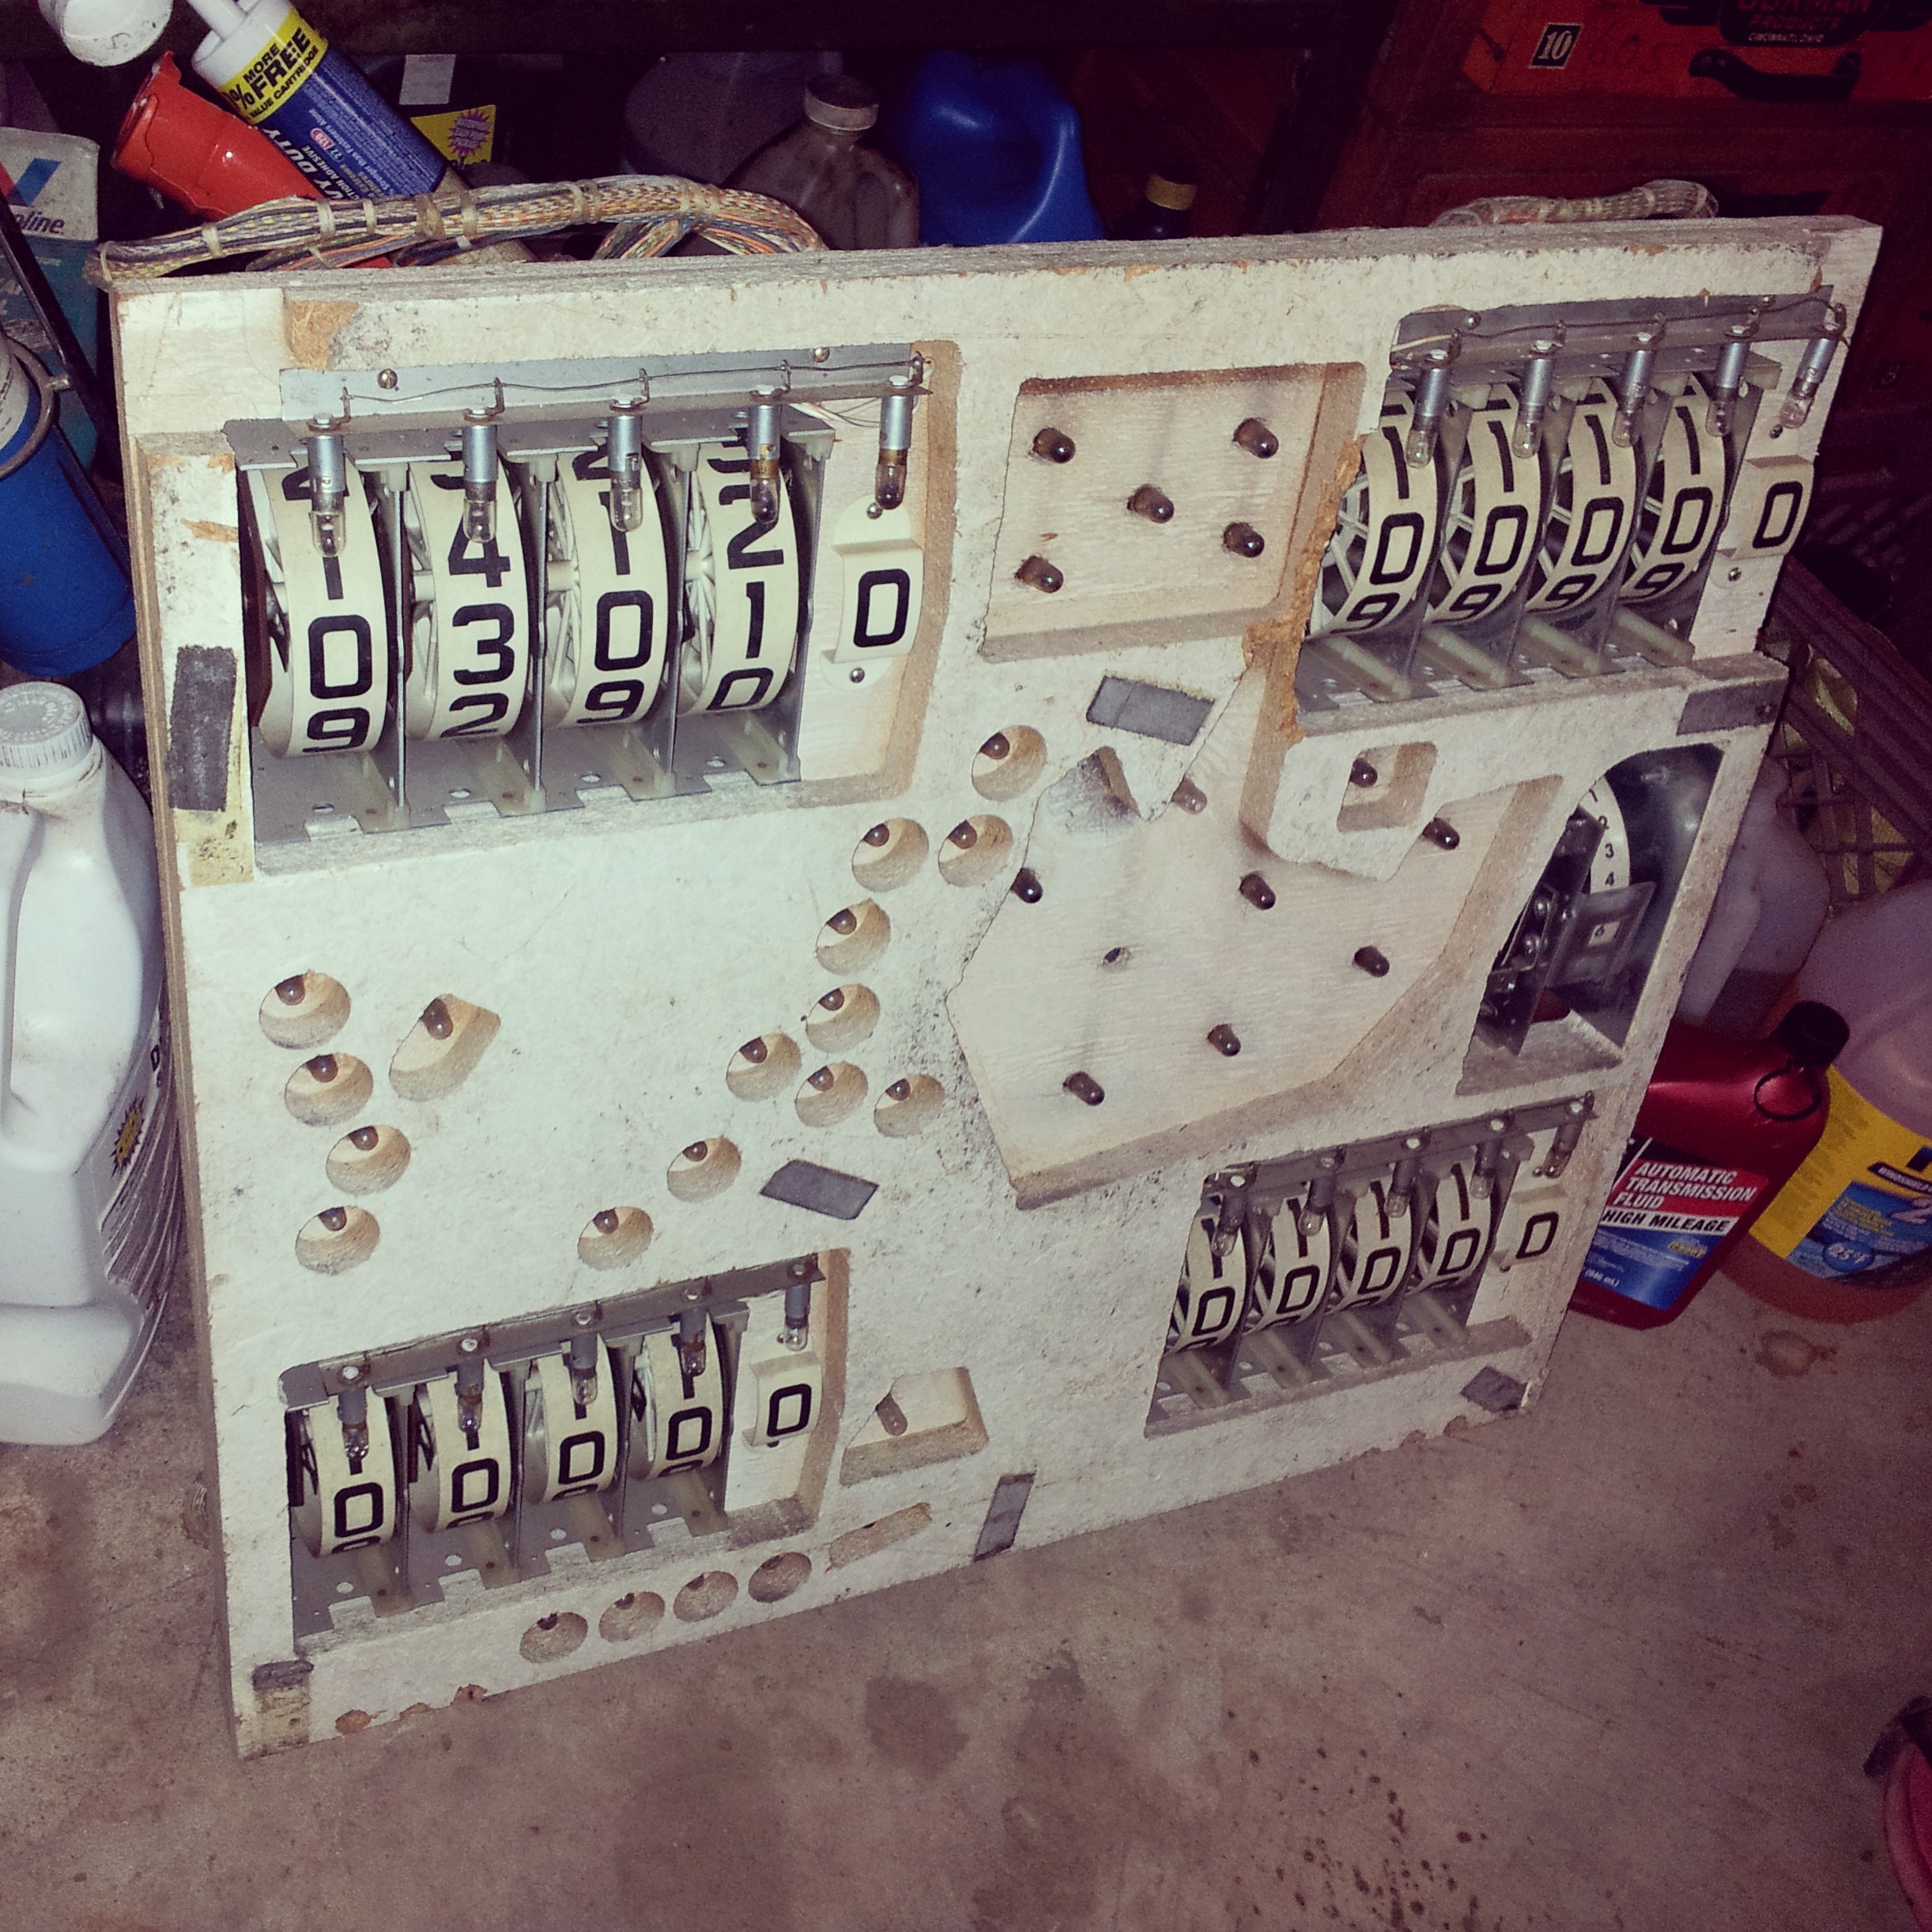
I got two boxes of assorted used parts for $20, and a ruined, half populated Spiderman playfield for $30, yielding an assortment of playfield parts:

I also bought a head from a mysterious 4 player EM for $20:
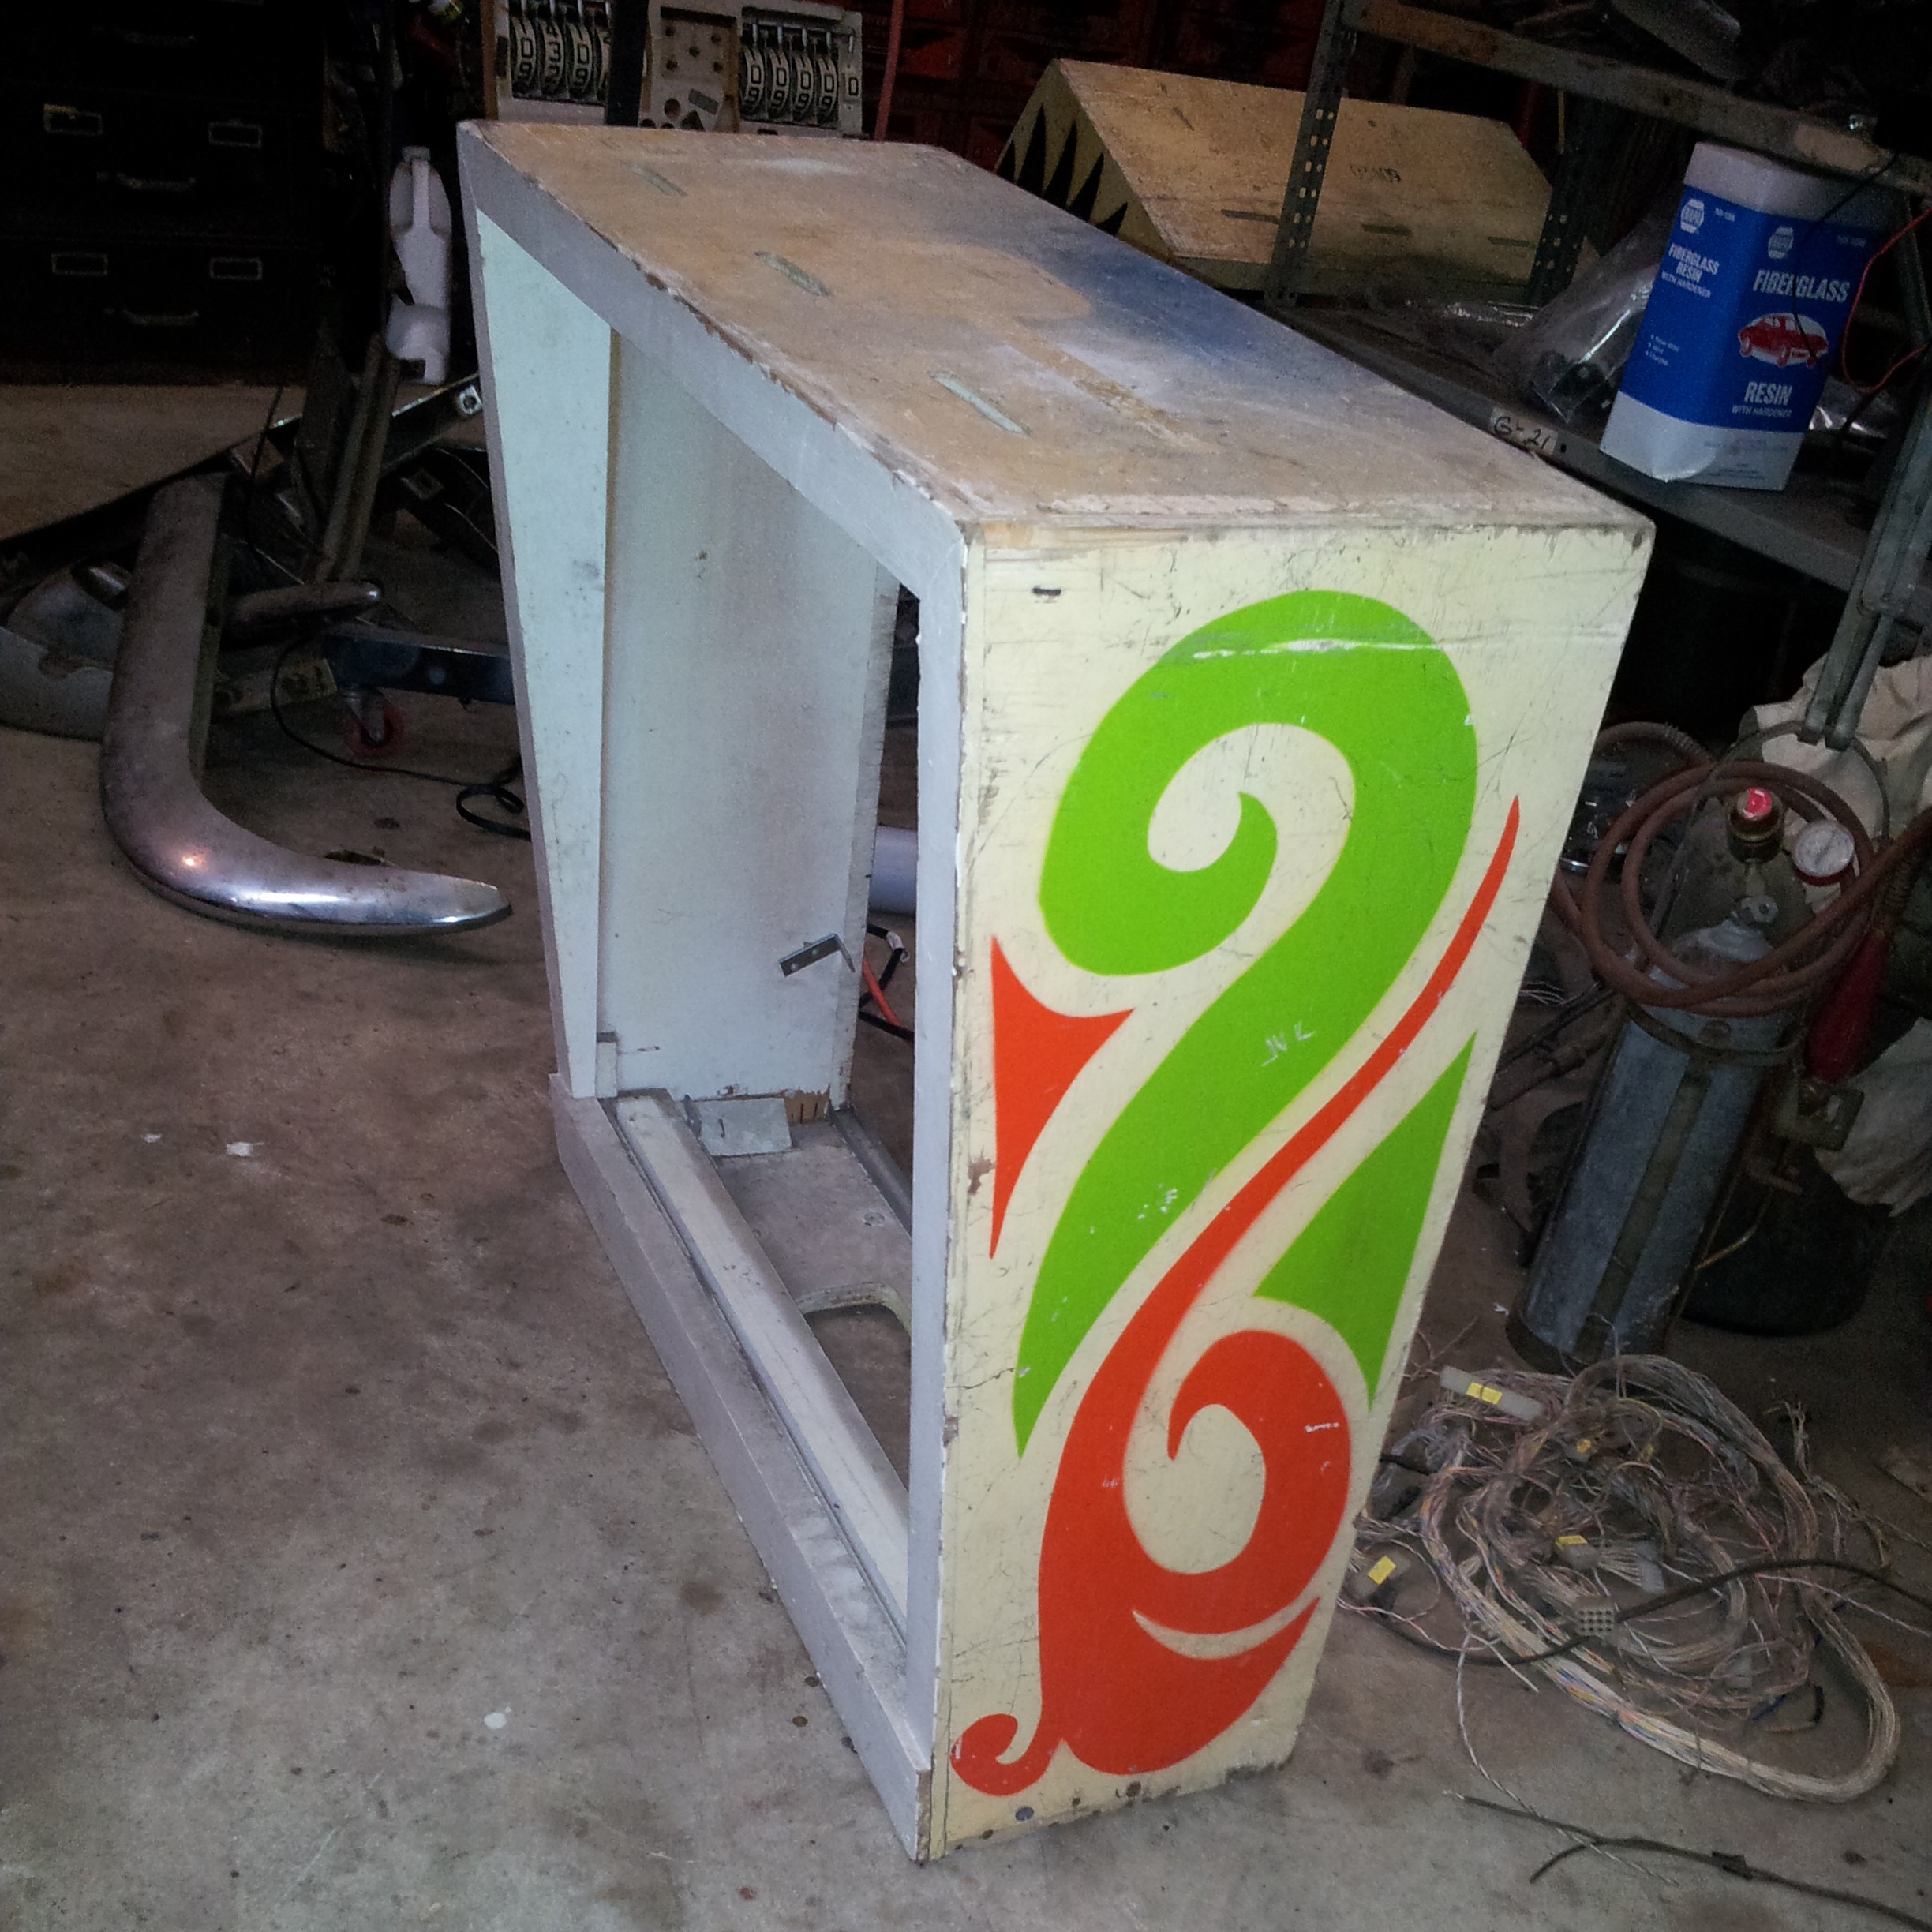

I really wasn't looking forward to the thought of trying to assemble a cabinet from scratch that would work with regular parts, but luckily I found this slightly beaten Spring Break cabinet for $15
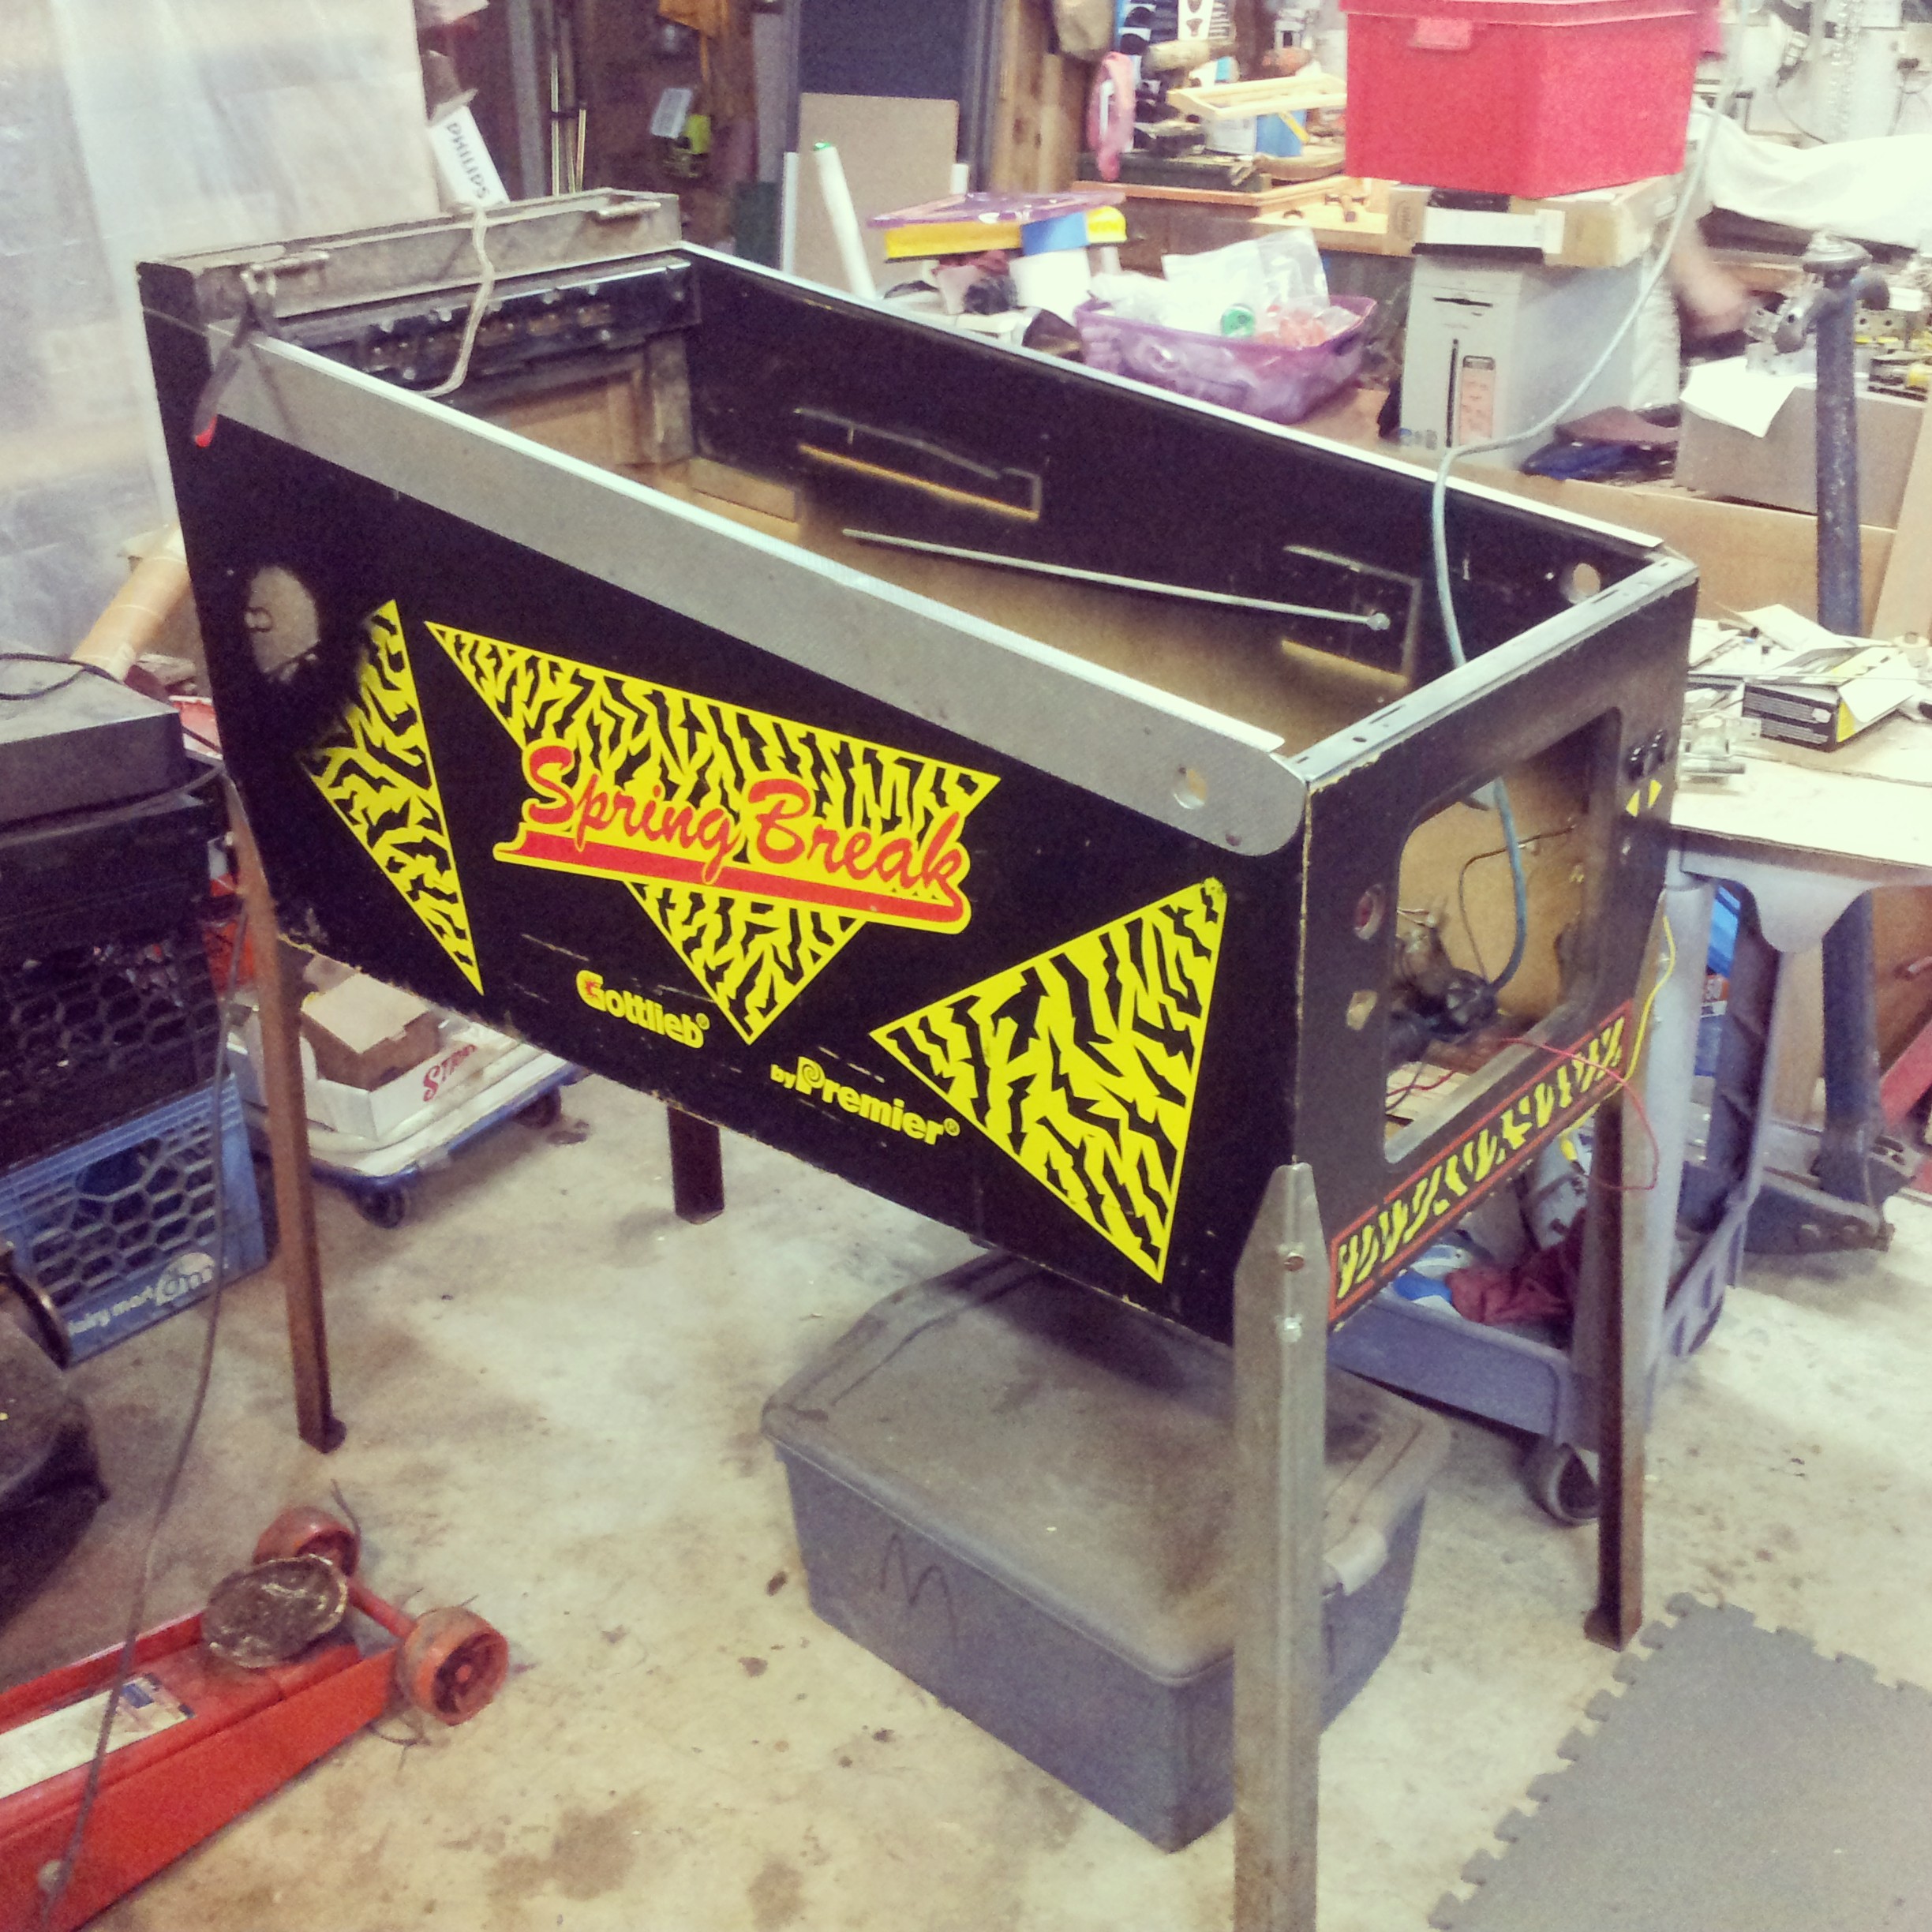
(the legs were separate, another $20)
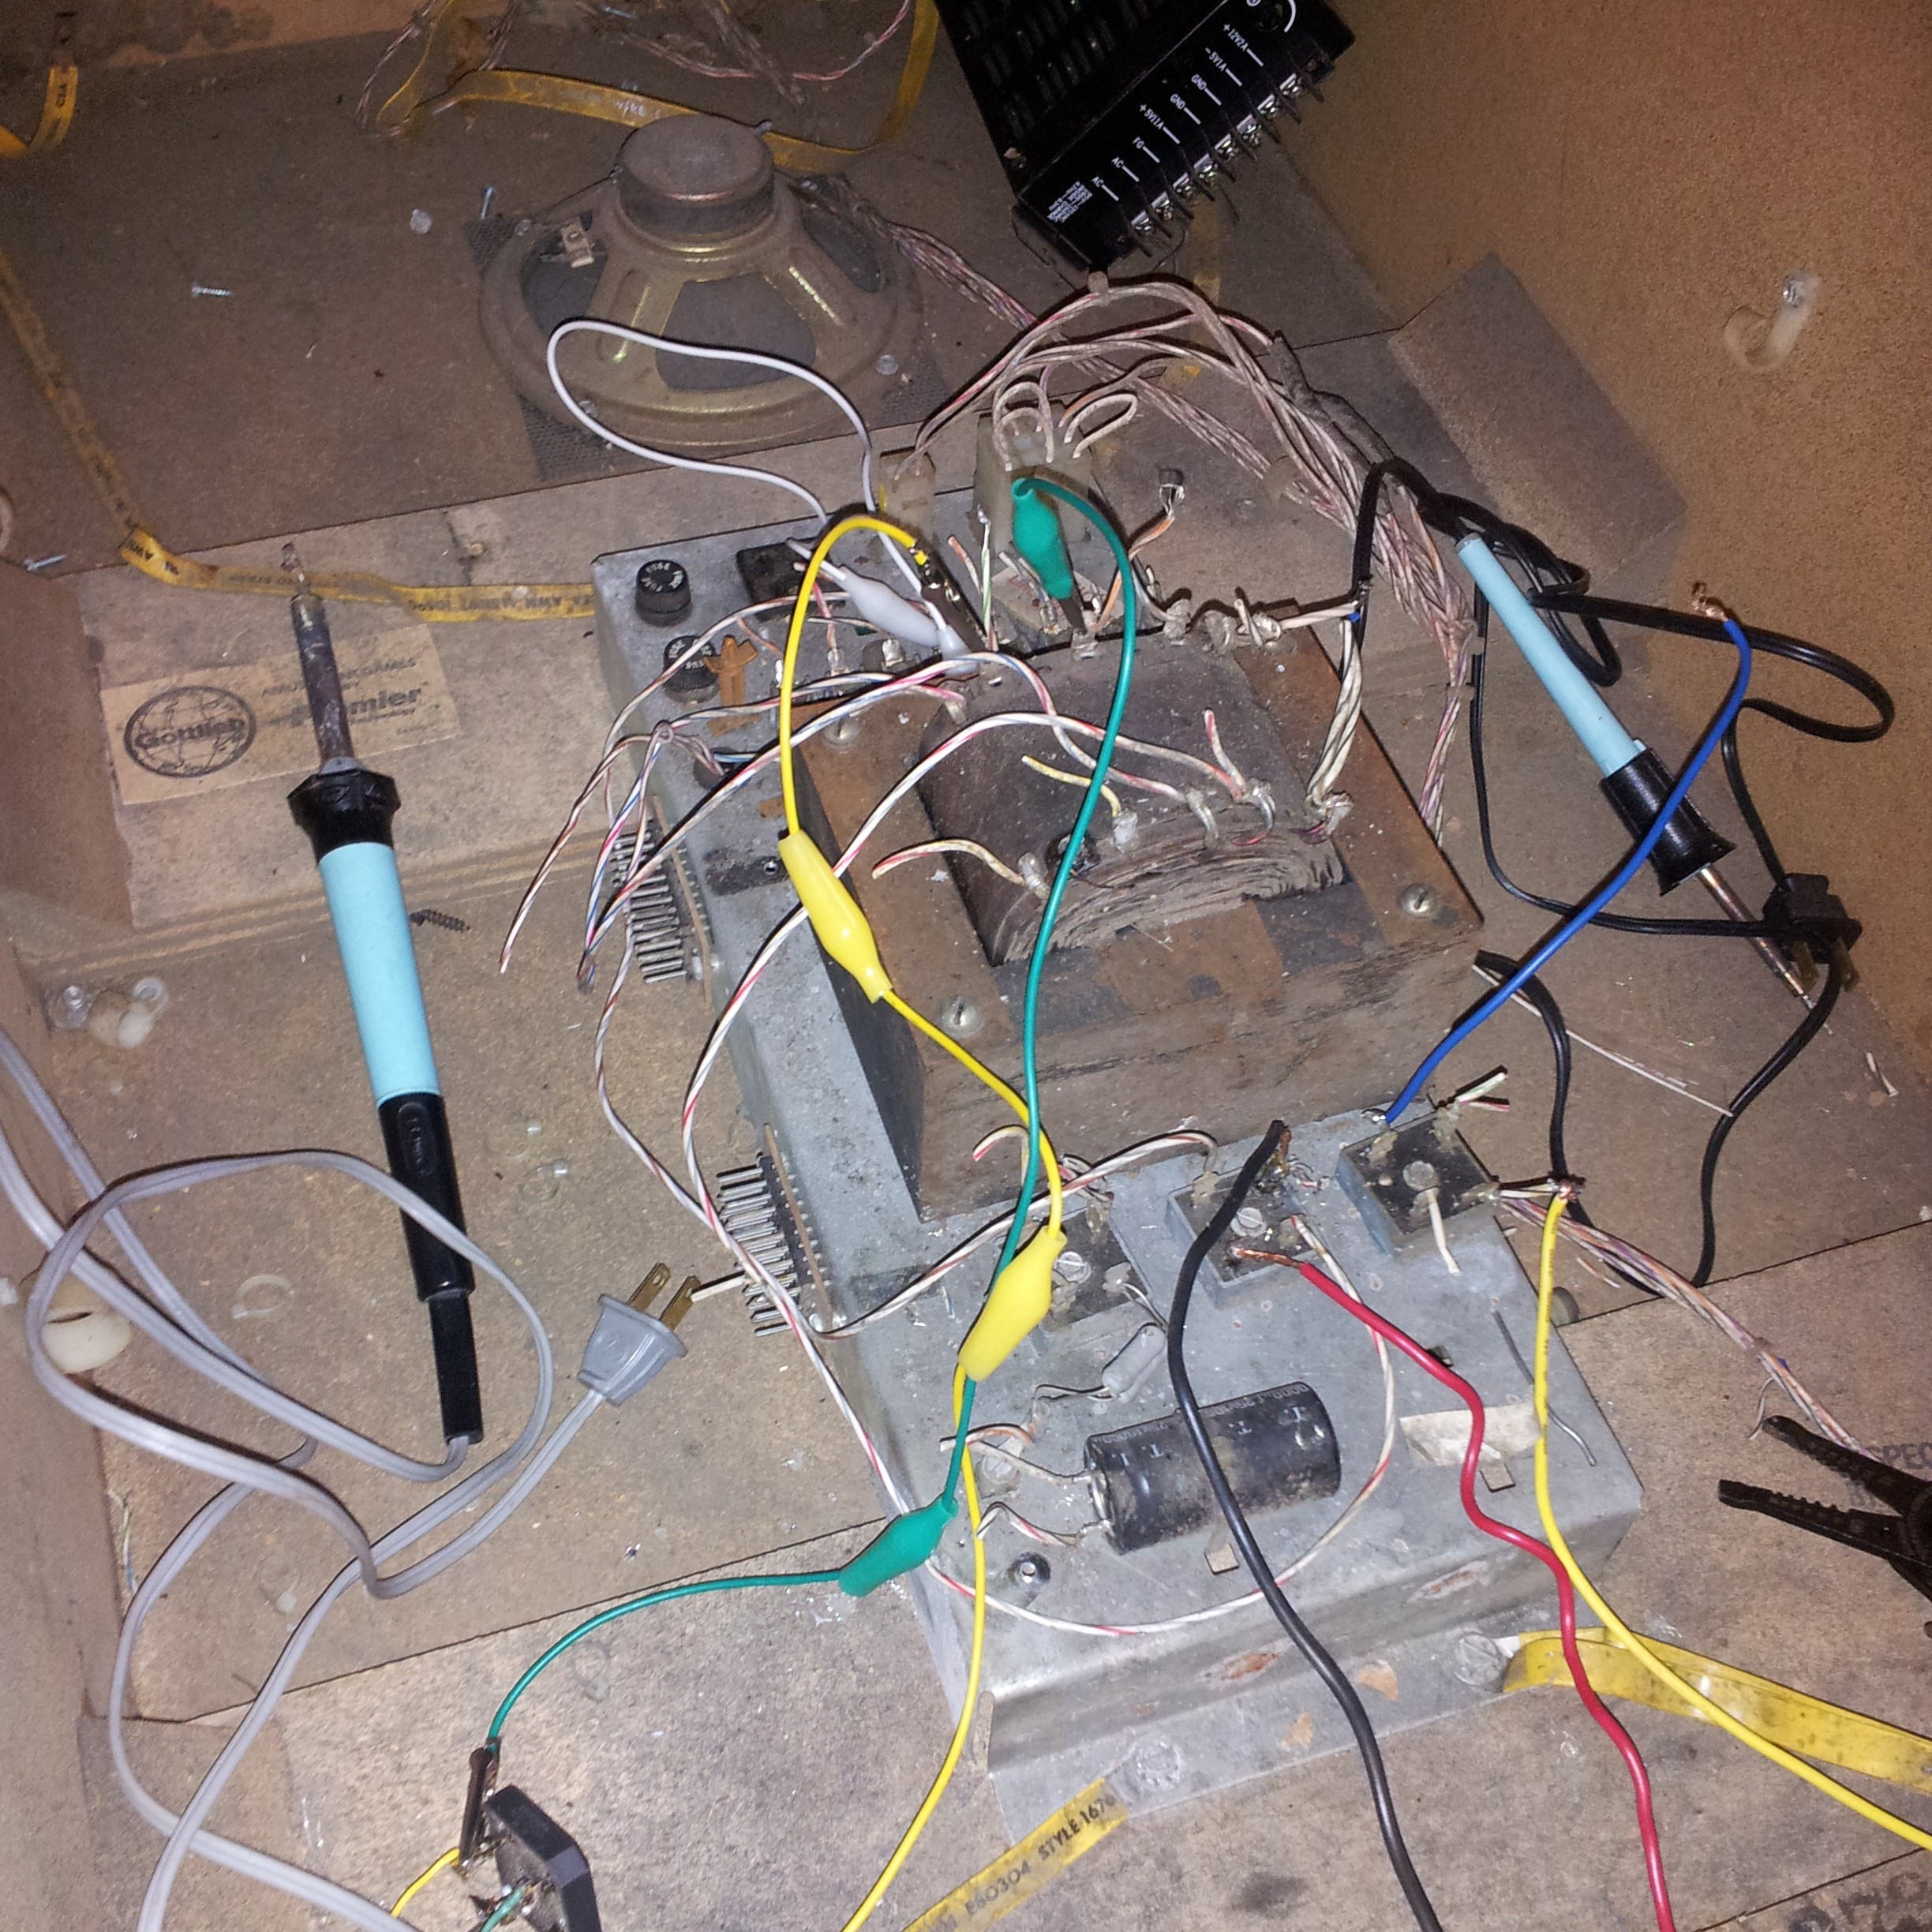
It even came with a working power supply, so I didn't need to worry about finding a 25-50V power supply. I was able to find a combination of taps that put out 28VDC after recification. Most non-EM pinball aficionados seem to think that 50V+ is the way to go, but honestly the flippers seem just as strong on my 25V games as my 50V.
Pinball, pt 3: Electronics
I put in an order to Digikey for $70 (!) of electronics, including some high power MOSFETs for the solenoid drivers:
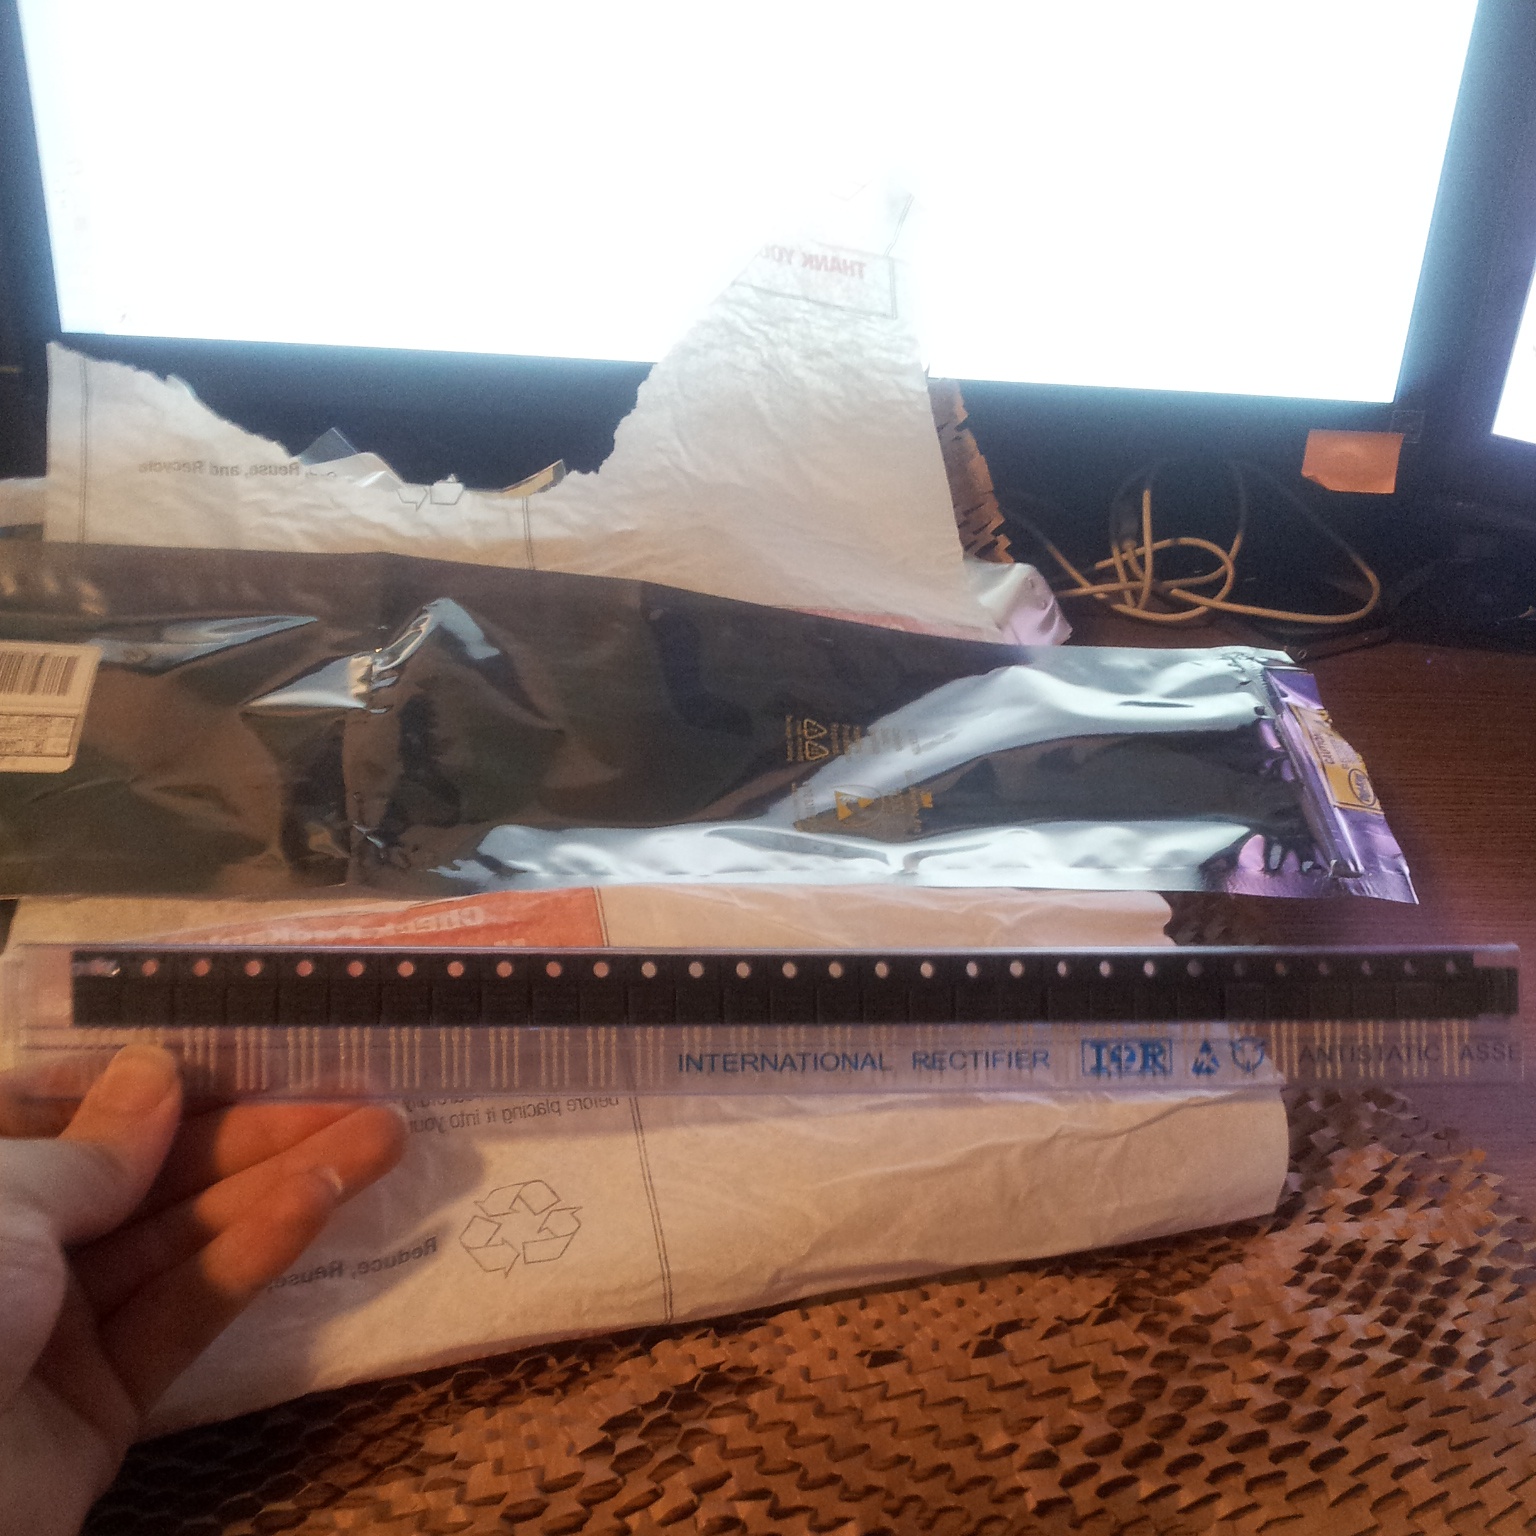
, some serial LED drivers, some serial input multiplexers,
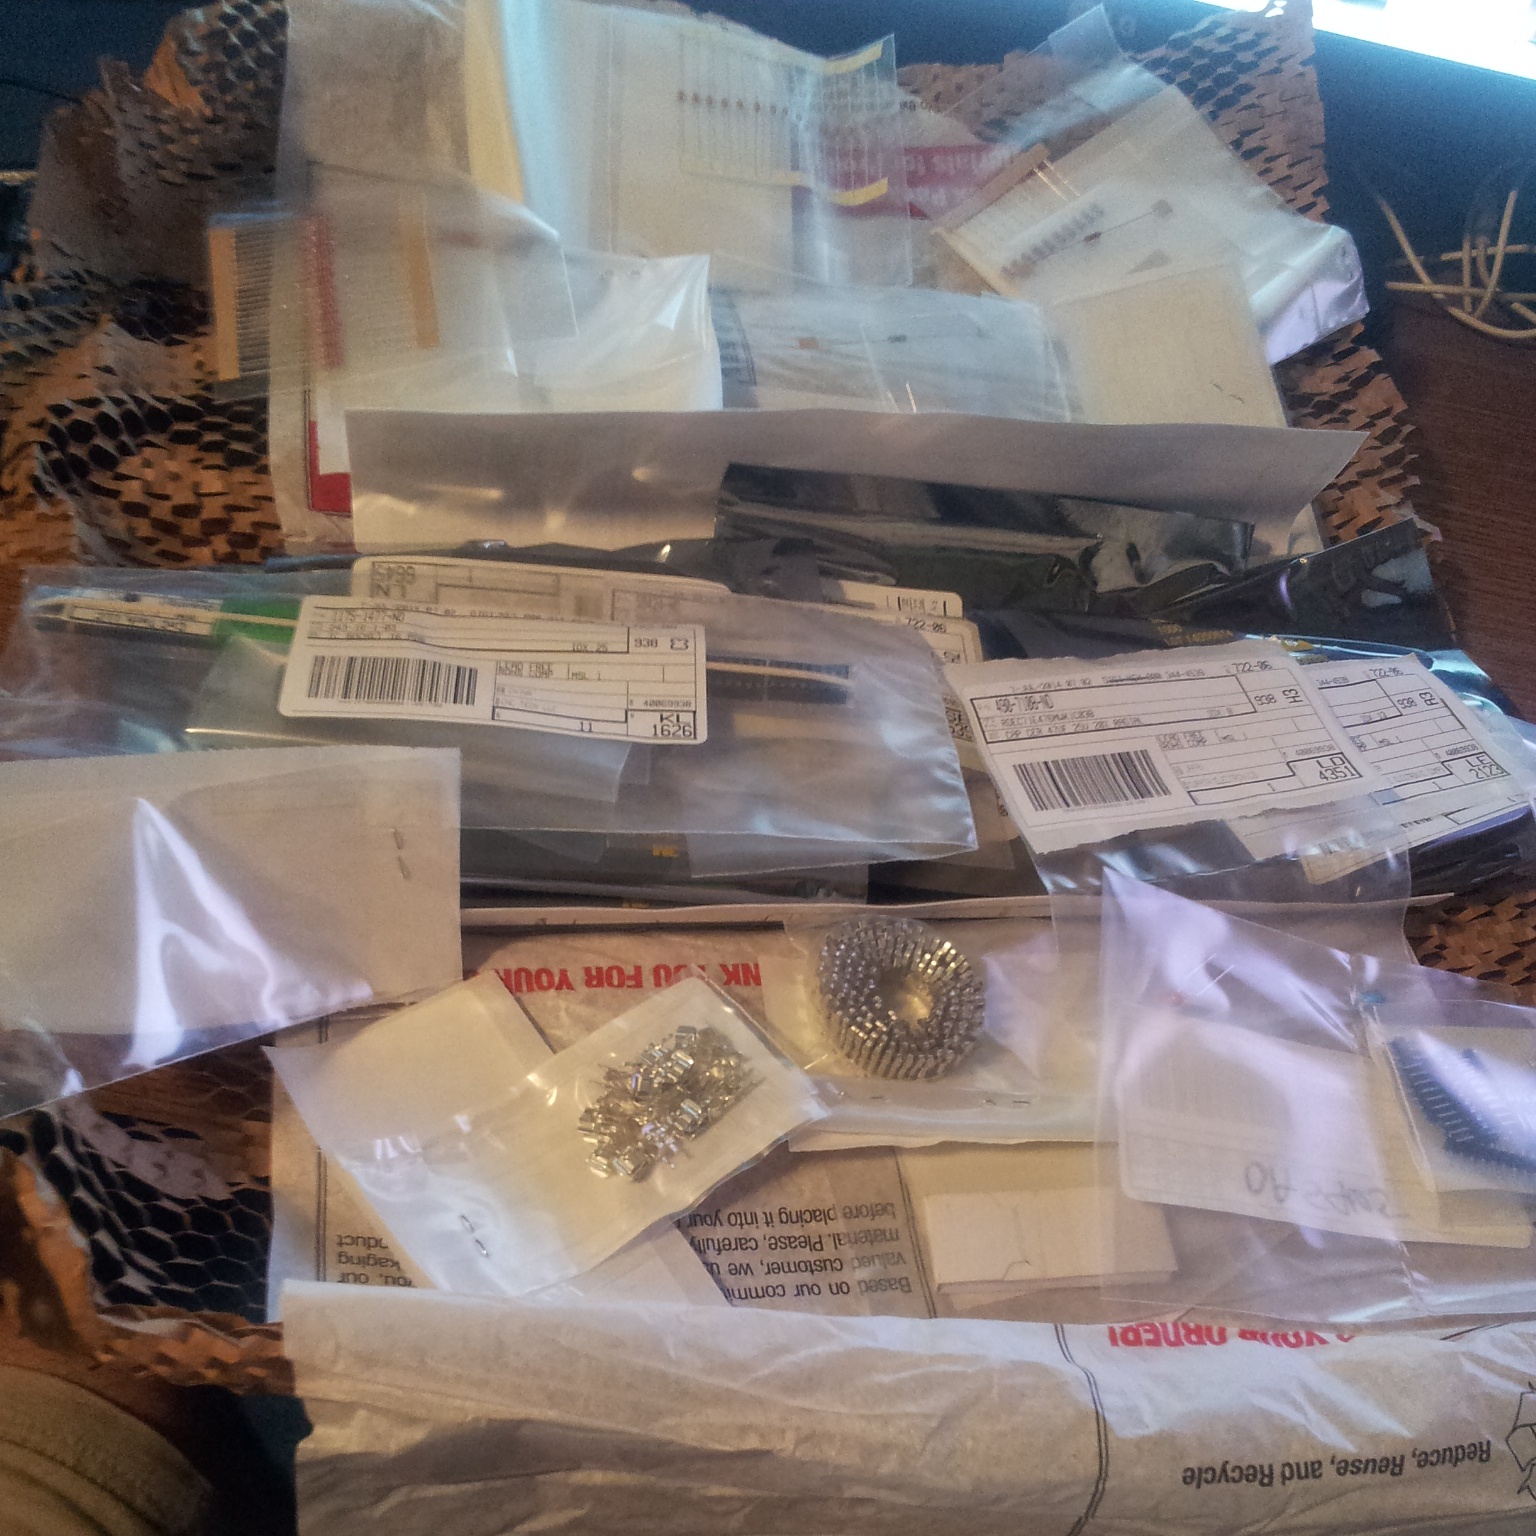
, some parts for making molex connectors,
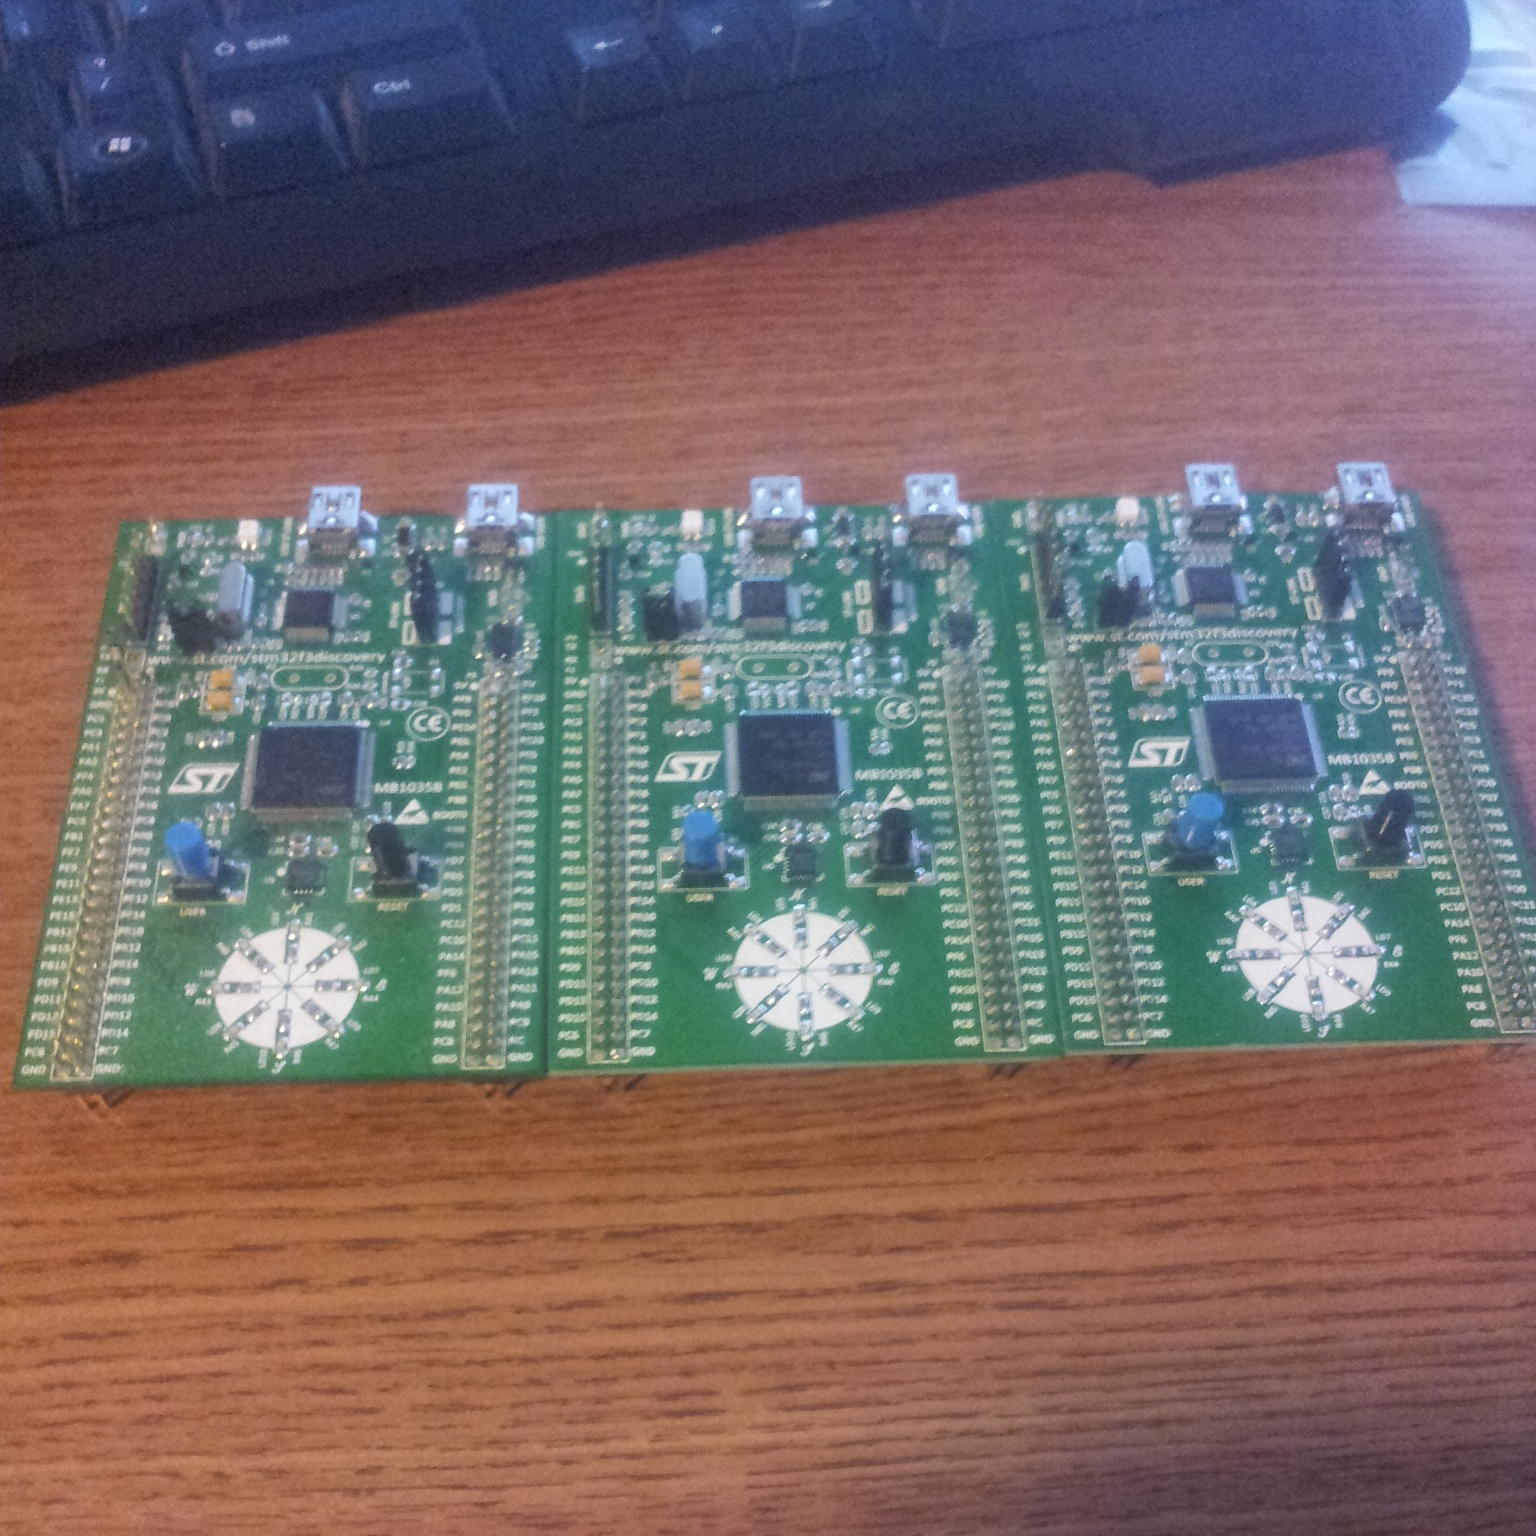
, three CPU boards (basically cheaper, more powerful, lower level Arduinos),
...and a ton of stuff for audio output, including this surface mount op-amp, which turned out to be *really tiny*

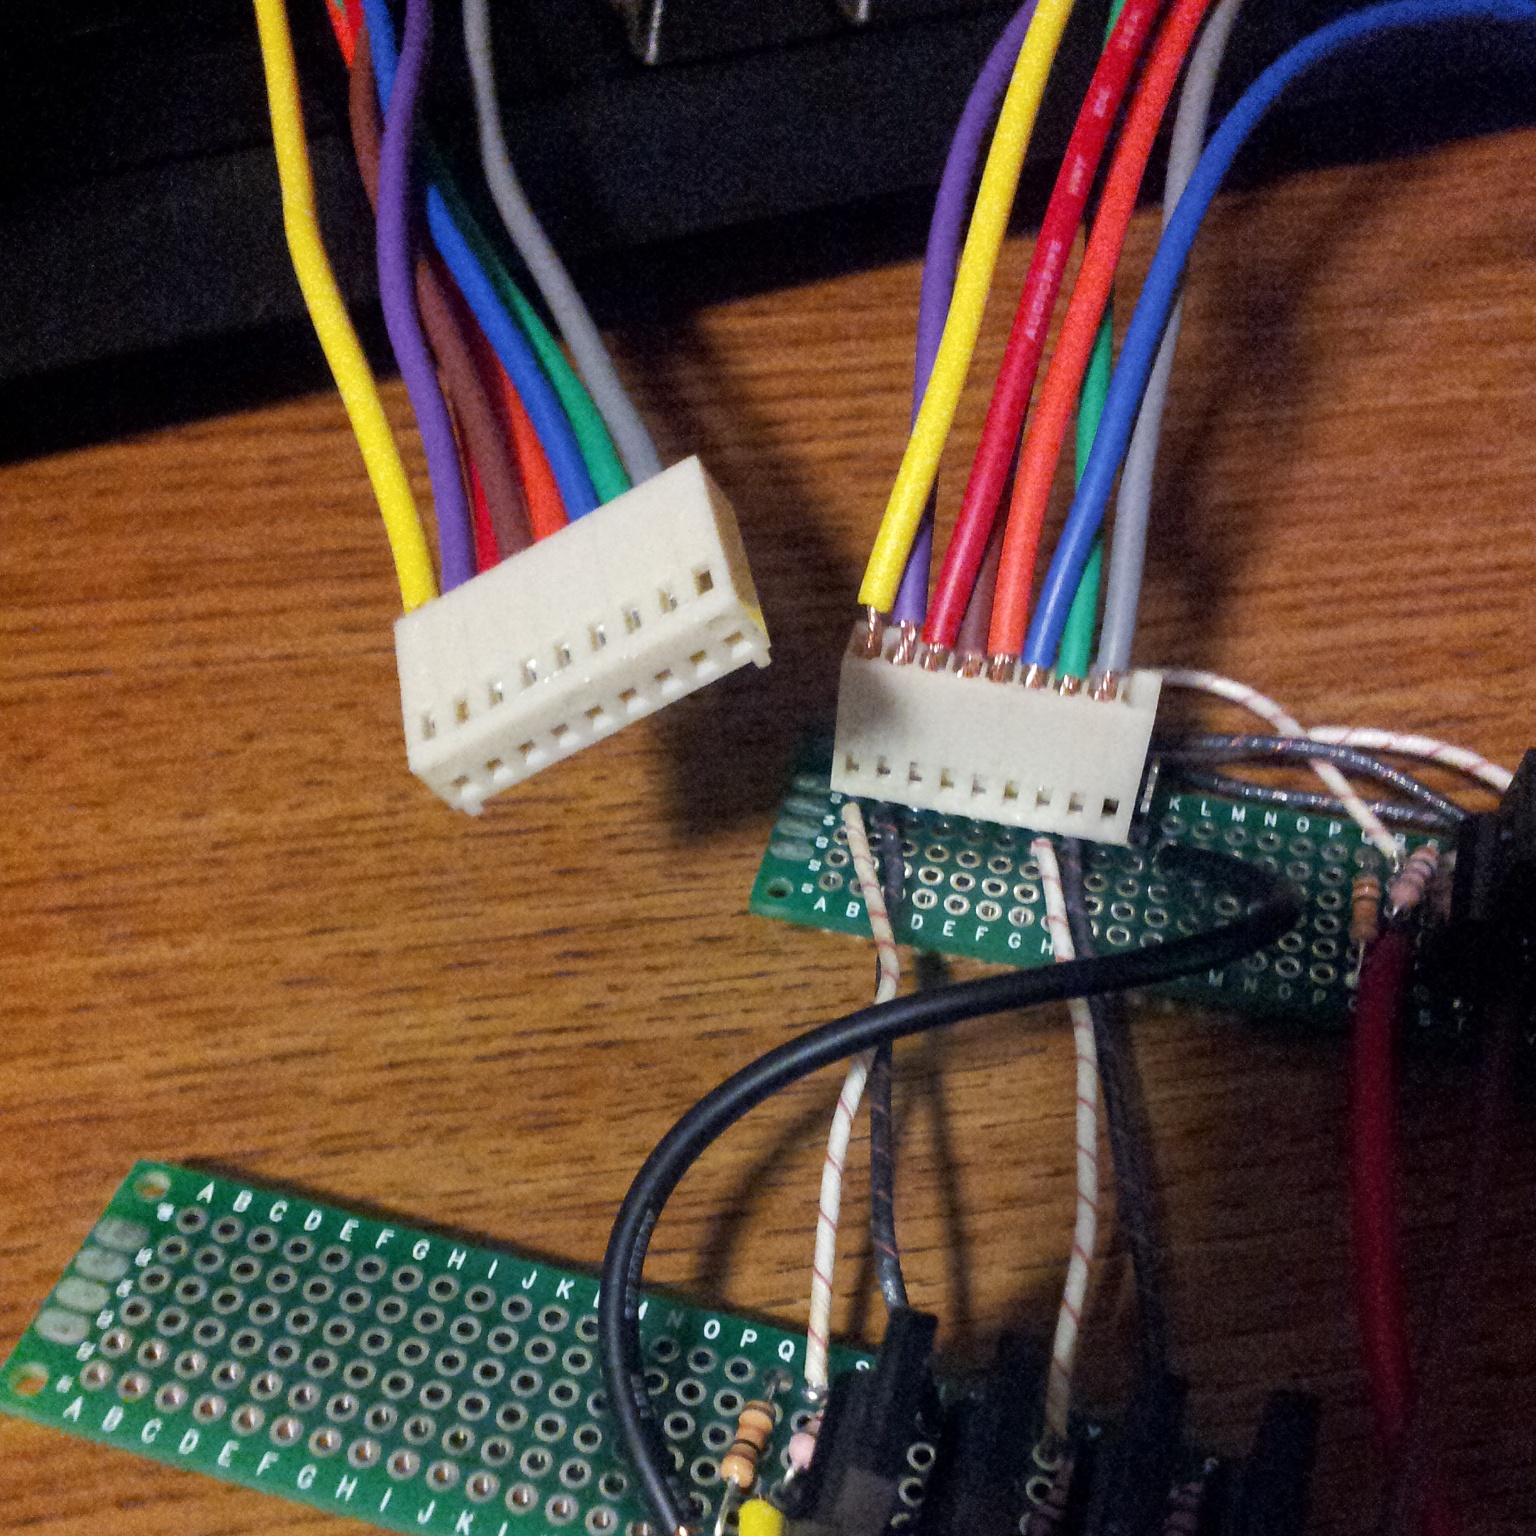
I made some nice compact solenoid driver boards
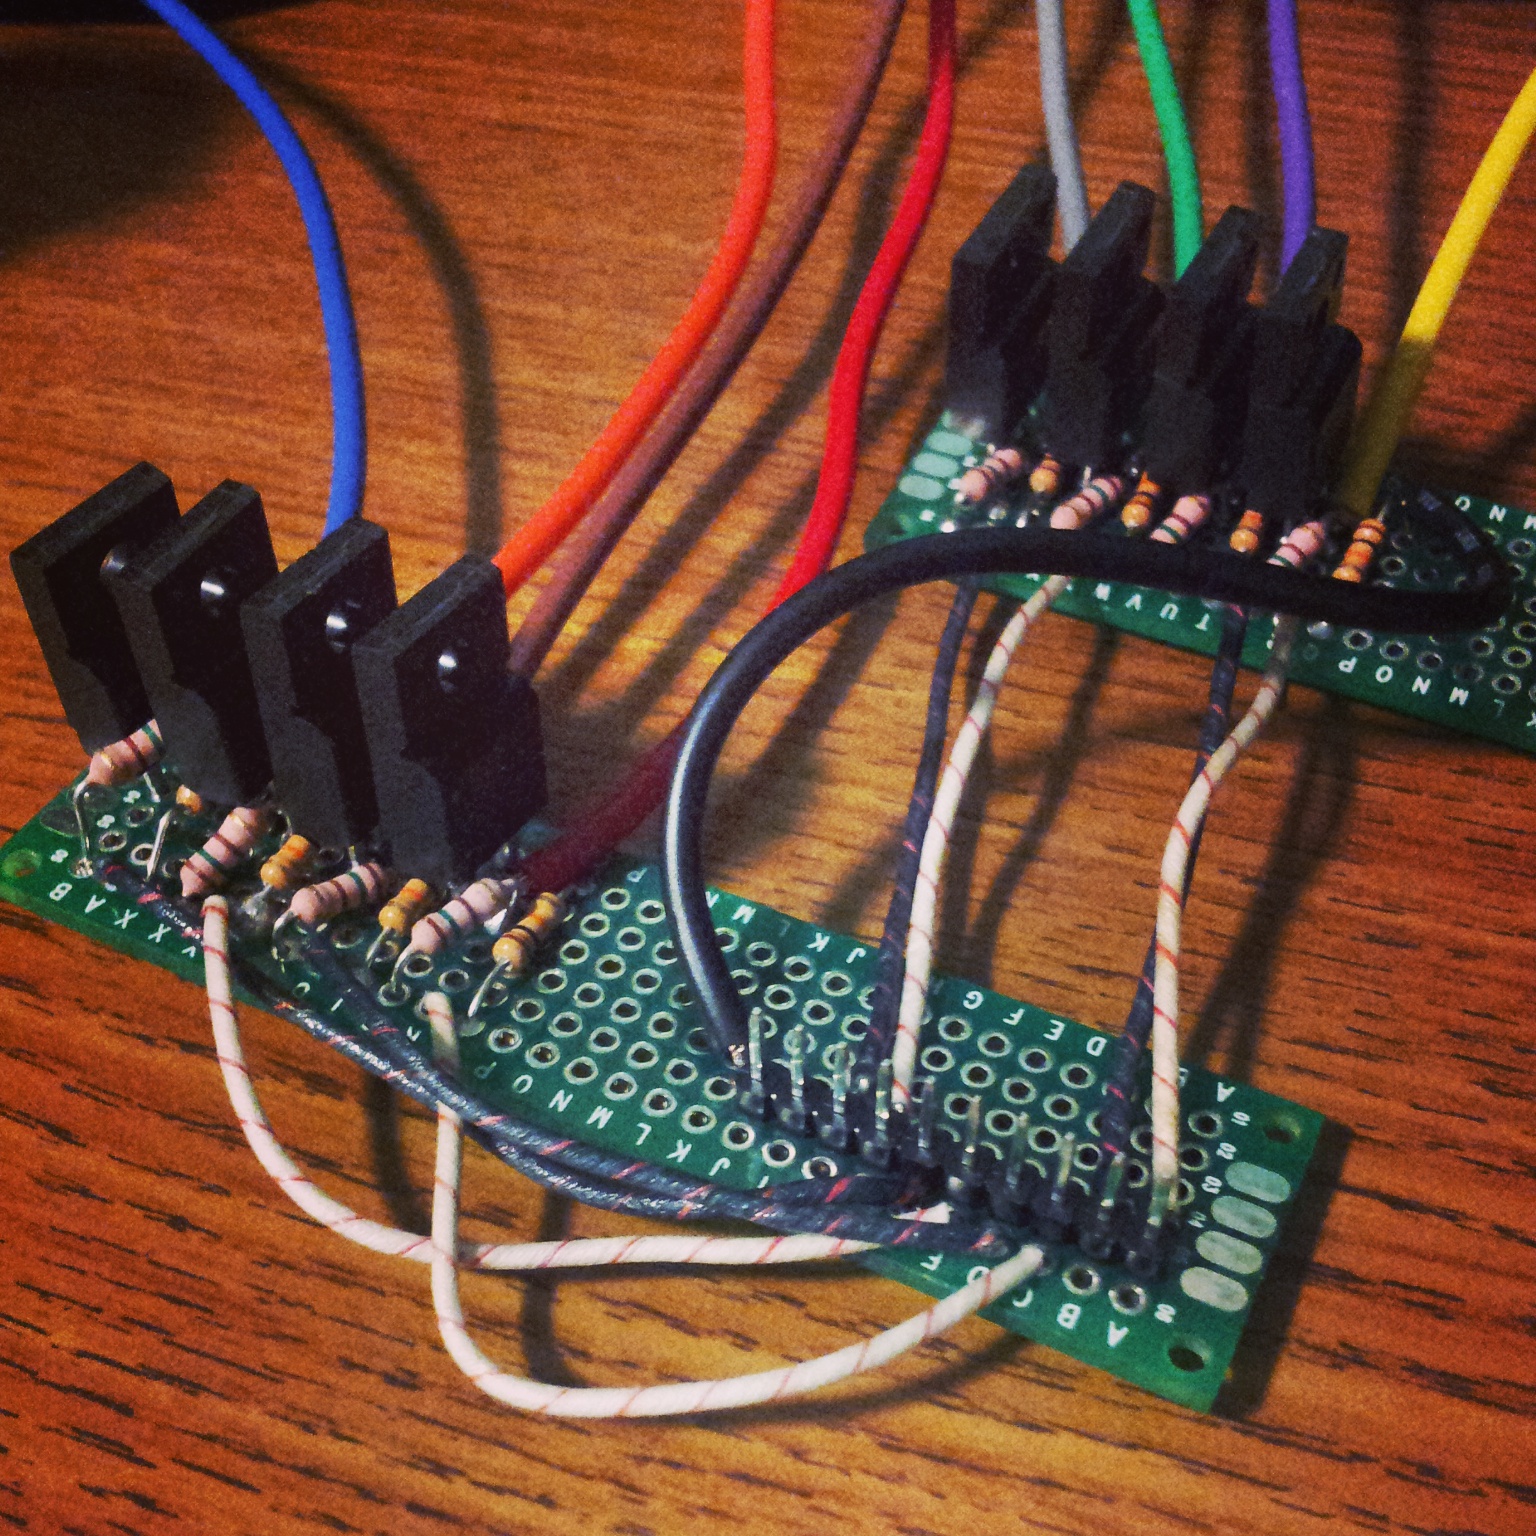
Looking at schematics for actual machines they've got all kinds of weird stuff, however just a MOSFET, two resistors, and a line to the CPU were enough to fire the solenoids just fine. I wish I had some way to turn them off in case the CPU locks up while one is turned on, but I don't know what that would be, and as far as I can tell 'professional' machines don't do it either.