
In order to test the upper playfield shots, I needed some ball guides. The shot I was most worried about was the one behind the upper right drops, since the angles looked a bit weird. 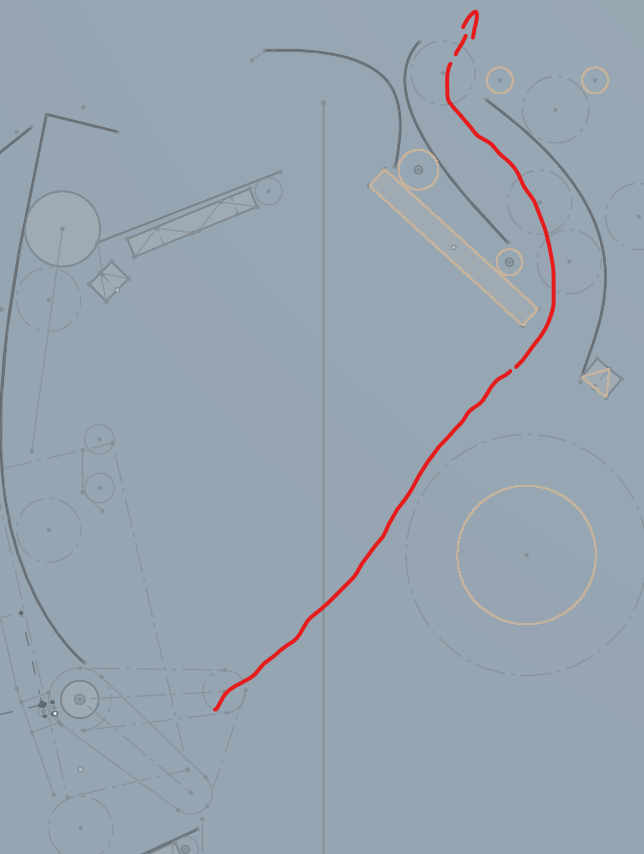
I got some 1" stainless strips, and bent one to follow the path on the playfield. I also got some #4 hex button cap screws, since they're very low profile. I can mount them near the top/bottom of the guides, and the ball won't hit them.
Made a test jig using a spare block of wood and one of my big C clamps for a quick test:
Success! Now to mount it for real...
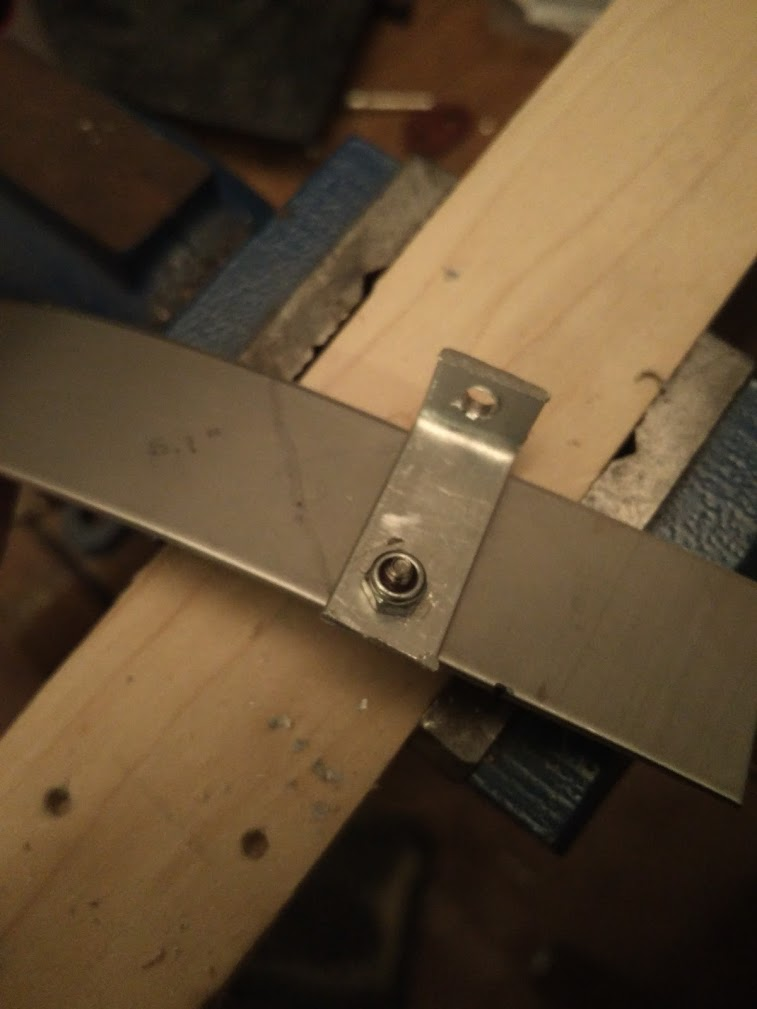
I've never found a good place to buy these premade, so I'm making my own L brackets to mount the guides. I got a strip of 1/2"x1/16" aluminum, and cut it into ~1.5" sections:
Bend it into an L using my vice: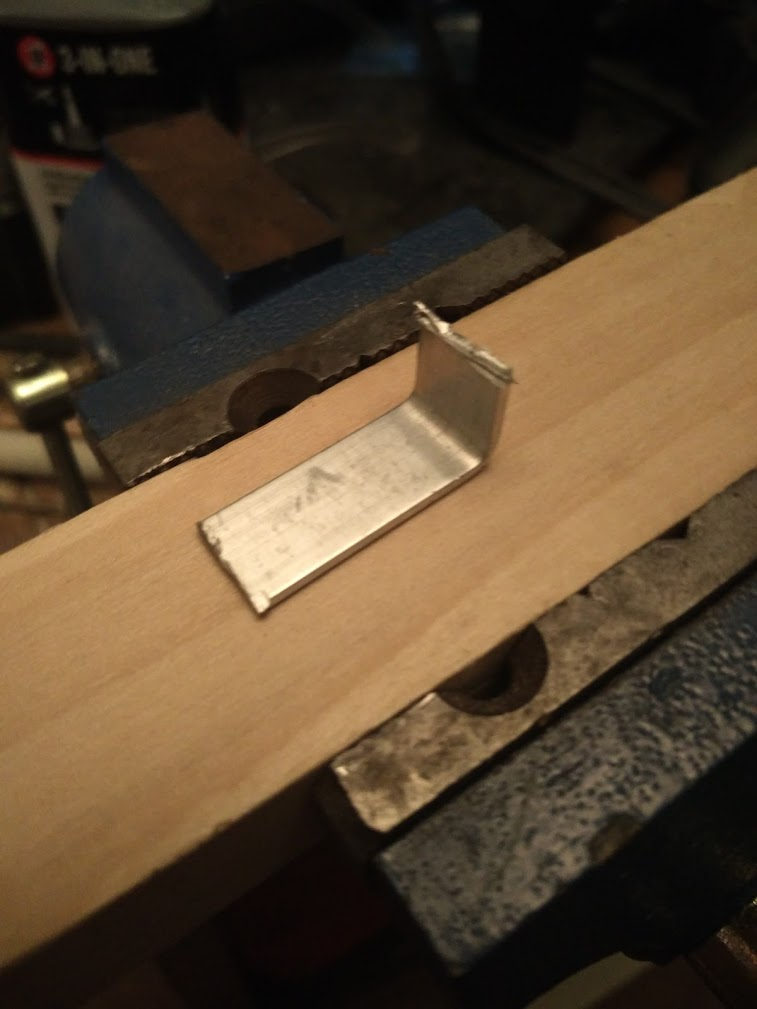
then drill both ends, one for the #4 machine screw and one for a #6 wood screw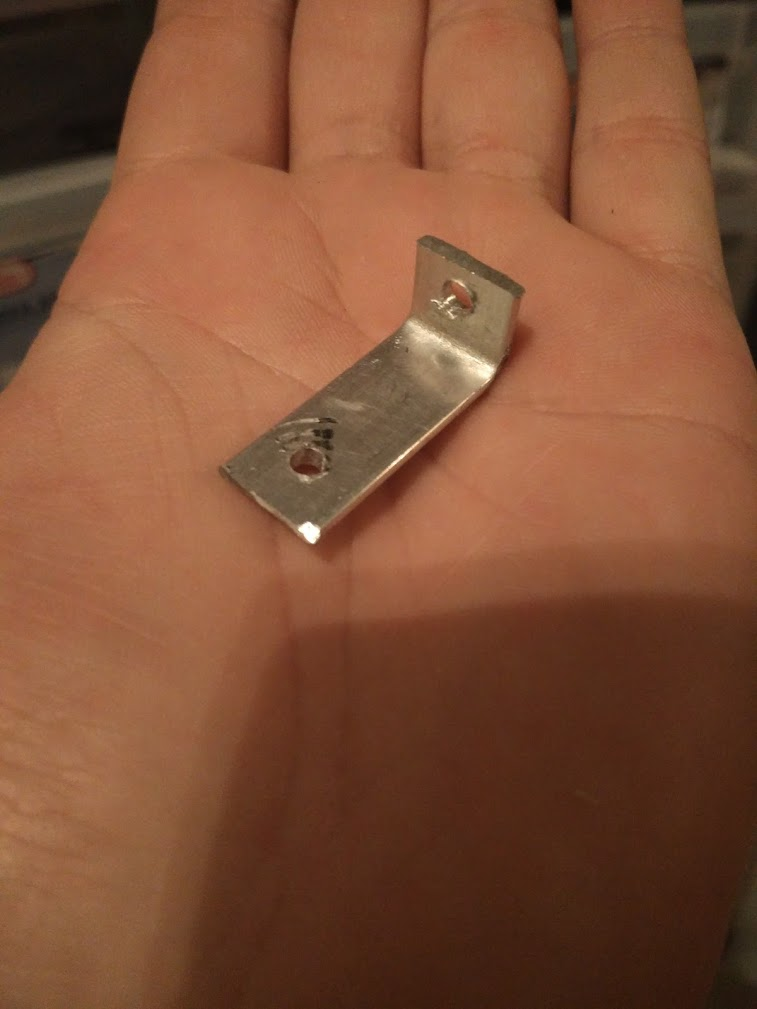
Then, mount it using the button head screw and a nylon lock nut on the back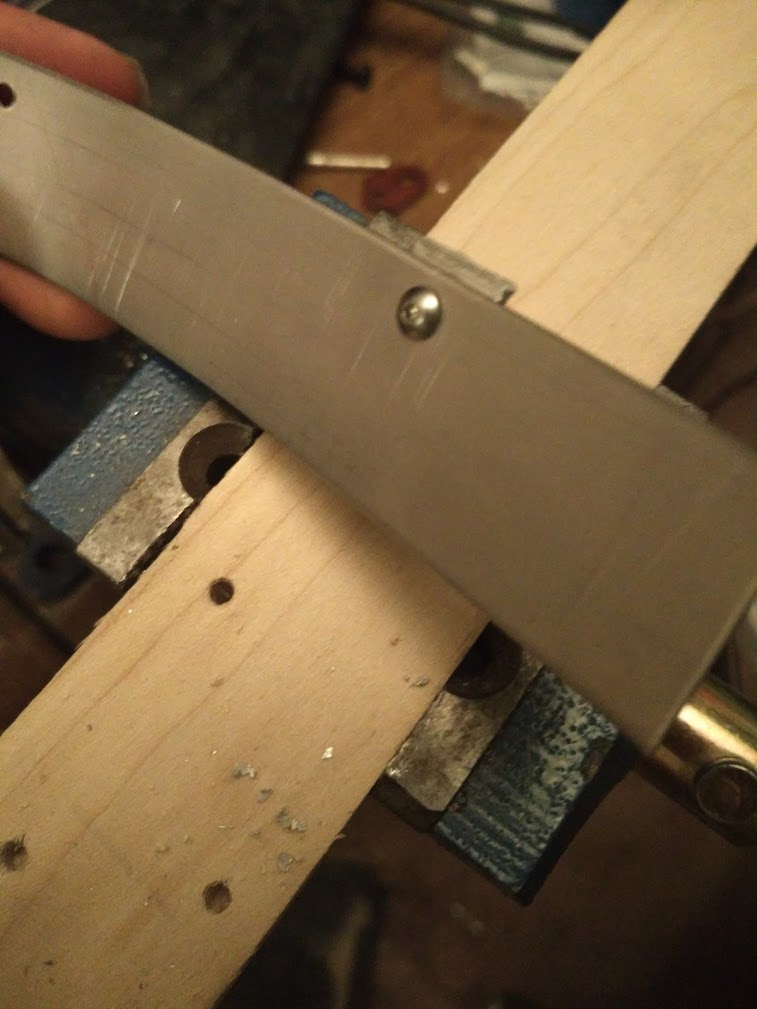

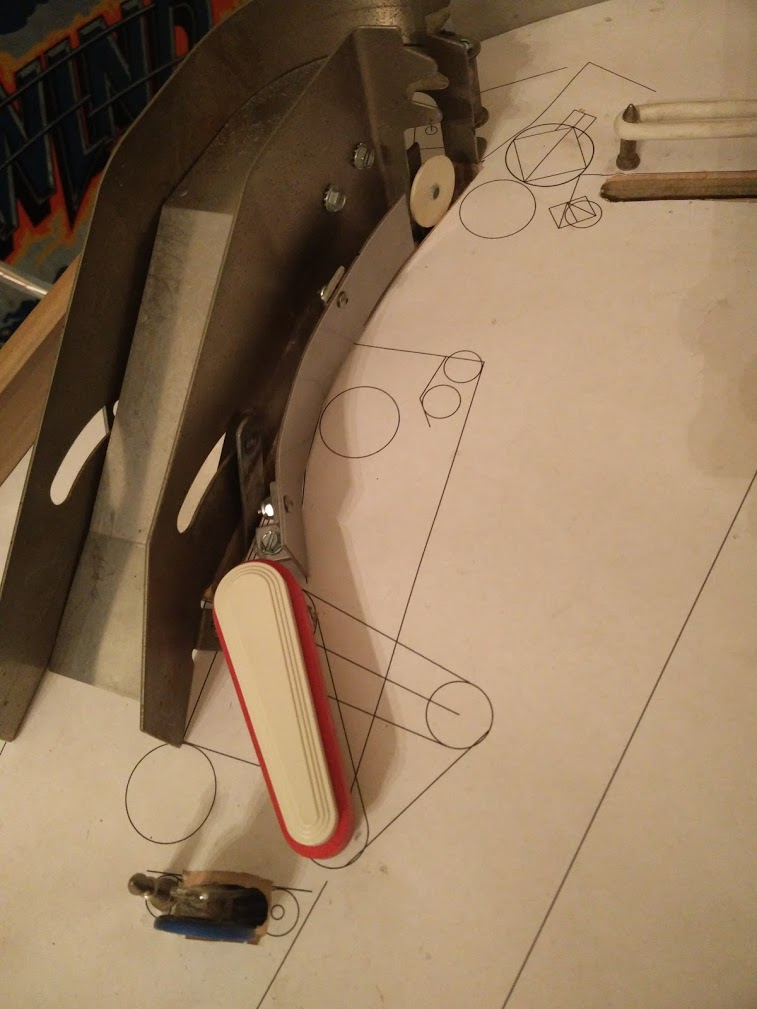
In the back you can also see my next 'custom' mech, a controlled gate: 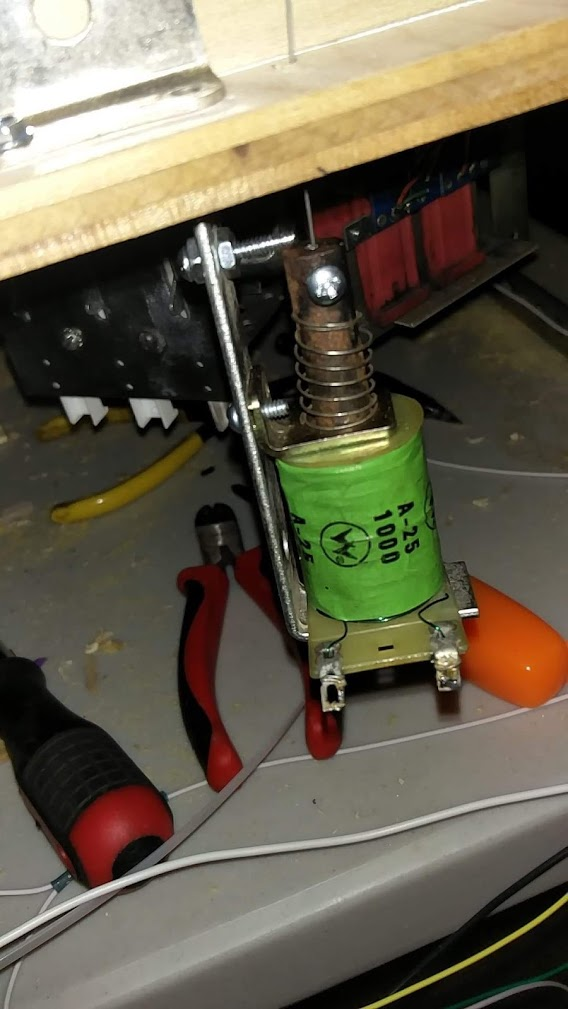
As is going to be common, I don't know the dimensions of a lot of the mechs available online from marco/pbl, and I don't want to spend $50 to find out if it fits, so I'm making a lot of this myself... This one is made from a normal one way gate, with a piece of slightly flexible thin metal rod (I think piano wire from a PBR kit) that I bent so that it sticks through the housing and when I pull down on it, holds the gate open. Then I used a spare slingshot bracket, a random coil, and a custom plunger I made from some round stock, with a hole through the top to stick the piano wire on, and a threaded hole on the side to clamp down on the wire.  The wire's hole is pretty deep, allowing me to adjust the 'pull' of the mech, and the set screw also acts as a holder for the return spring. Luckily since the piano wire is so flexible, the mech can be positioned pretty freely, as you can see here where the whole wire is going through the wood at an angle... I'll need to figure out exactly where this needs to go eventually, but for now it works.
blog comments powered by Disqus