
Homebrew Pinball #3, Part 4
Cross posted from the original Pinside thread, this is one of many posts regarding my third homebrew pinball machine, creatively nicknamed 'P3'
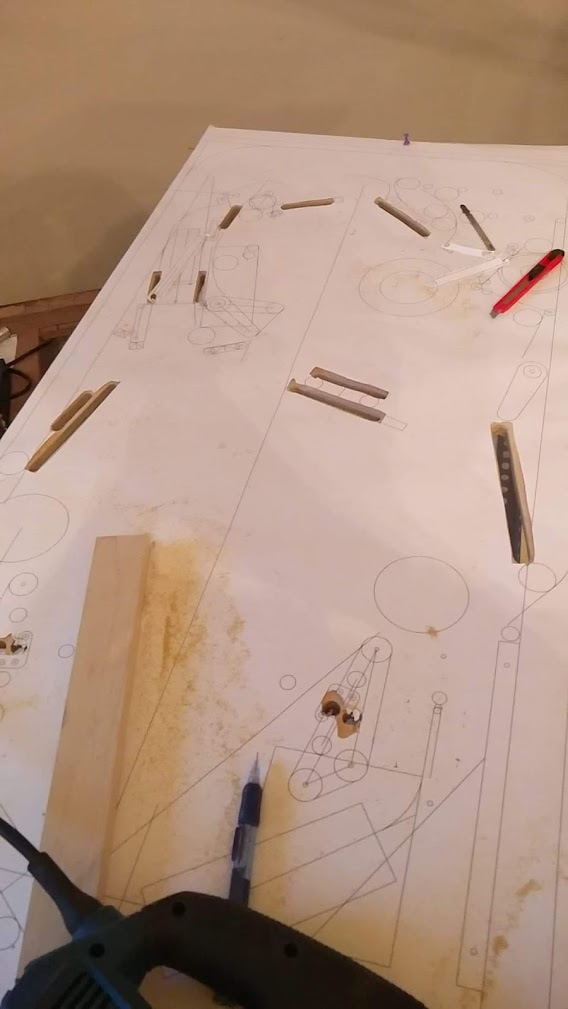
My goal with the initial whitewood is to do as little as possible to get the maximum info. If anything isn't going to work, I want to find out fast, so I can stop doing work I'll have to undo, etc. So top priority is: does everything fit? If it fits, do the shots work? Worry about the rest later. At the same time though, mounting a mech means I can't do any more cutting in the area while it's installed, and I won't want to be uninstalling tons of mechs and posts throughout assembly. Simple holes can be drilled at any point, but slots and other shapes will need more complex work, so I decide to try to cut every slot needed first before doing any assembling. That means, one slot for each drop target, one rectangle for the outlane saver, two slots for the lift ramp arms, and one weird shape for the trough.
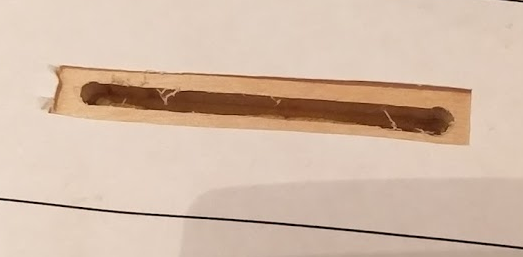
My technique for any large slots/shapes is to drill the ends/corners first, then use a jiqsaw to connect them. I use a forstner bit instead of a regular drill bit, since they produce nice clean edges. 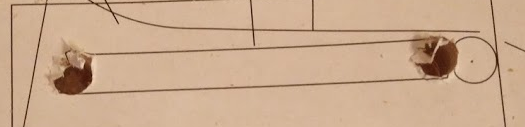
I discover immediately that the paper doesn't like being cut with the jigsaw, and if I drill through the paper then bits of sawdust get stuck under it, making it uneven. So now any cut starts with marking the centers of holes with a punch, then cutting away the paper around the cut, and then making the cut itself

For slots too narrow to fit a jigsaw blade in, such as the 1/8" rollover switches, I needed to use a router. I picked up a cheap one for $20 at harbor freight, which was probably a bad idea, and a 1/8" bit. I drill holes in both ends to give the router a good entry point, then clamp a length of wood on to act as a guide so I get a straight line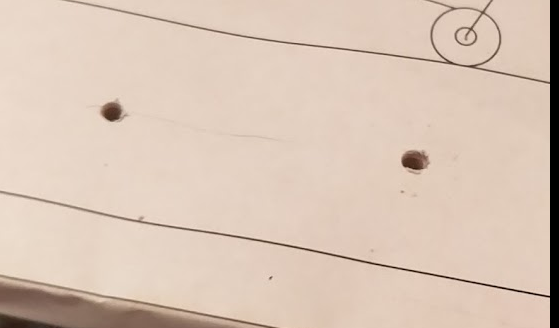
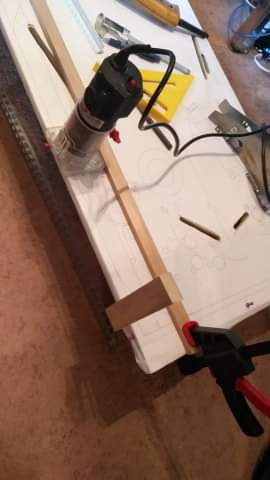
I need to cut 8 large slots and 5 small slots. I made it through all but two small slots without messing up, and then my router slipped a quarter inch on the left inlane ![]() Won't affect play, but the playfield is now forever marred.
Won't affect play, but the playfield is now forever marred.
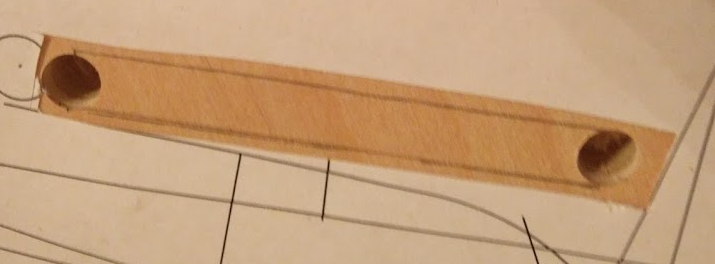
I'm using a gottlieb 3 ball trough, which was used on all their games from Mars (their first multiball game) through their last game in the 90s. They're a nice design, with a separate ball release coil and a little wireform to prevent releasing two balls. Very simple to program for. But they also require mounting 5 parts (bottom rail, both side walls, outhole kicker, and release arm) all with very good accuracy. Instead of eyeballing it, I try to trace everything on the old playfield first. After removing the mechs, I tape a sheet of paper to the mars playfield, and sketch over everything with a pencil to find the holes, and use that to mark my new playfield. Worked out quite well, and the trough fits on the first try
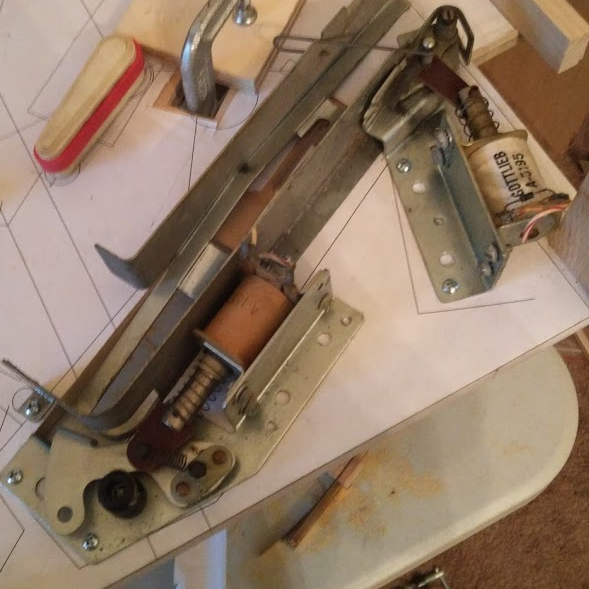
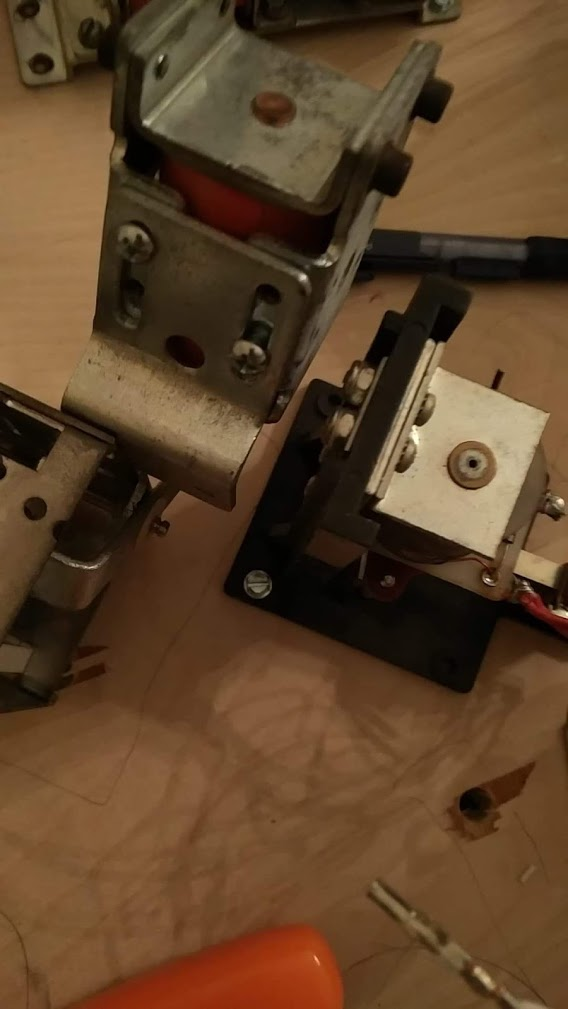
I started test mounting a few mechs to check clearances.
Upper left flipper and ramp lifter fit, juuust barely. I think there'll be about 2mm between the crank and the lift arm.
Right bank and center bank also fit: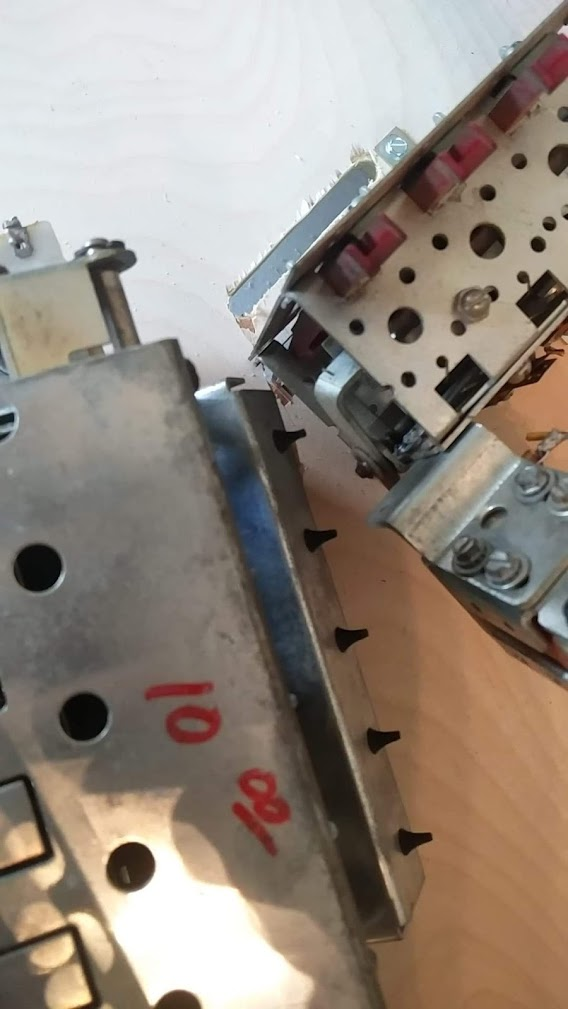
As to the upper 3 bank and the pop bumper:
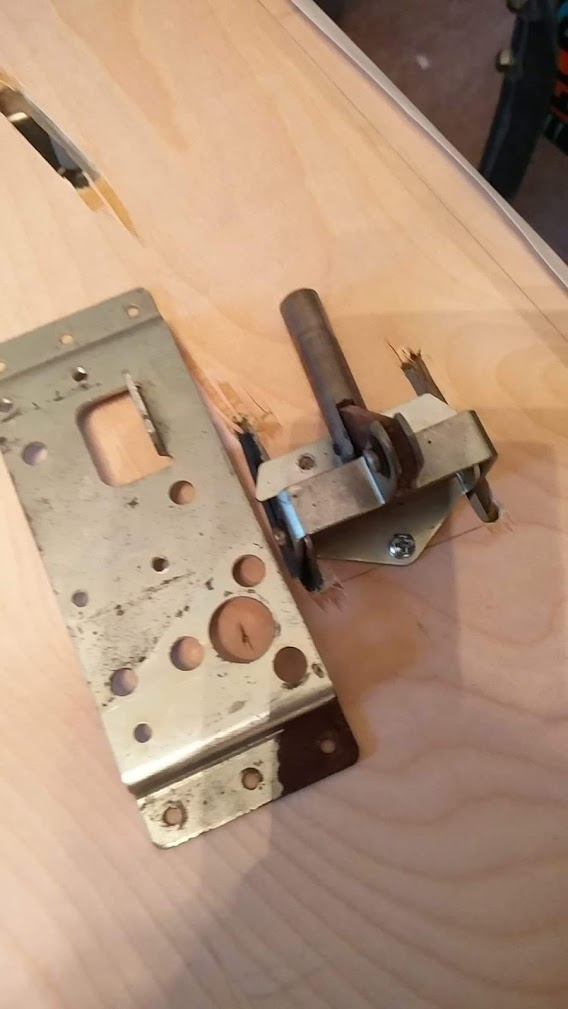
I also found that, if I use a williams 3 bank with only two targets, and then chop out a bit of the base plate, I can fit a two bank on the upper left, nestled in perfectly with the 3 bank:
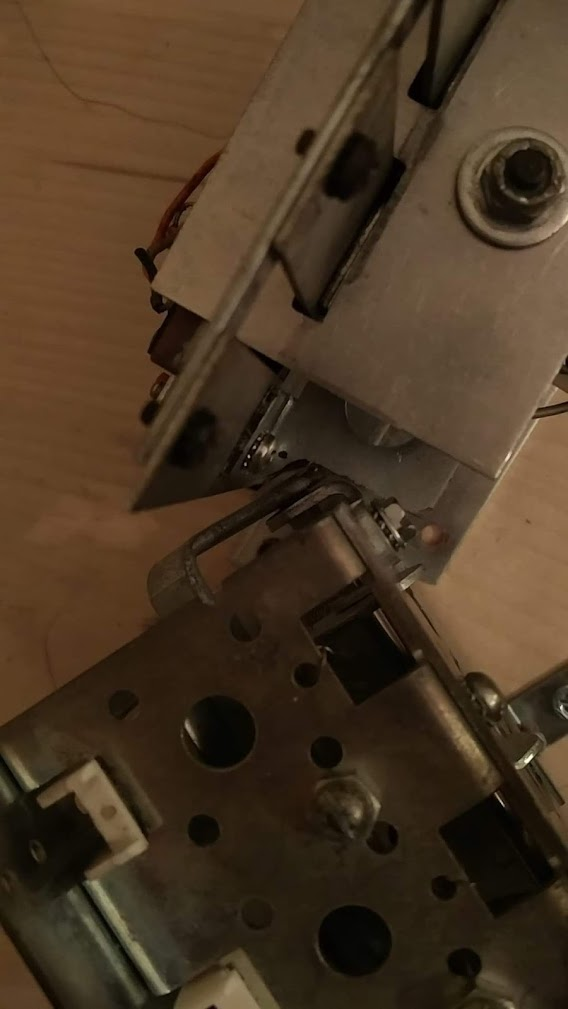
The other mechs I knew 'should' fit, according to the cad, as long as I didn't screw up the measurements, but this one was so close that there was no way to tell without just doing it, so I'm glad it worked out
blog comments powered by Disqus