
Wiring is progressing, not a lot to show...
I'm ending up running two main bundles of wire, one along each outside edge of the playfield, for simplicity. It gets a bit hairy in a few places where mechs are near the edge of the playfield; I need to make sure the wires don't get caught on the cabinet's supports. I guess this is another reason to use a wpc or stern style mounting system... Maybe if I get to a point where I can say the construction is 'done' and I don't need to take the playfield out completely anymore, I'll try to convert. Assuming it fits my playfield...
Trying to keep the switch wiring high enough to clear the mechs, and any future lights that get installed, while also keeping it as far from the coil wiring on the support rails. These stern wiring supports are great, and cheap at PBL, but sadly I only have two on hand. Wasn't planning on getting this far when I did my last parts orders, or if these would be useful, and now we're in quarantine so I'm trying to avoid unneeded orders.
To work around that, I found some random strips of metal I had on hand, and bent them. Seems to work just as well, and probably cheaper too, but I'd probably still use the plastic if I had a choice, just to avoid having random metal things to possibly short stuff against.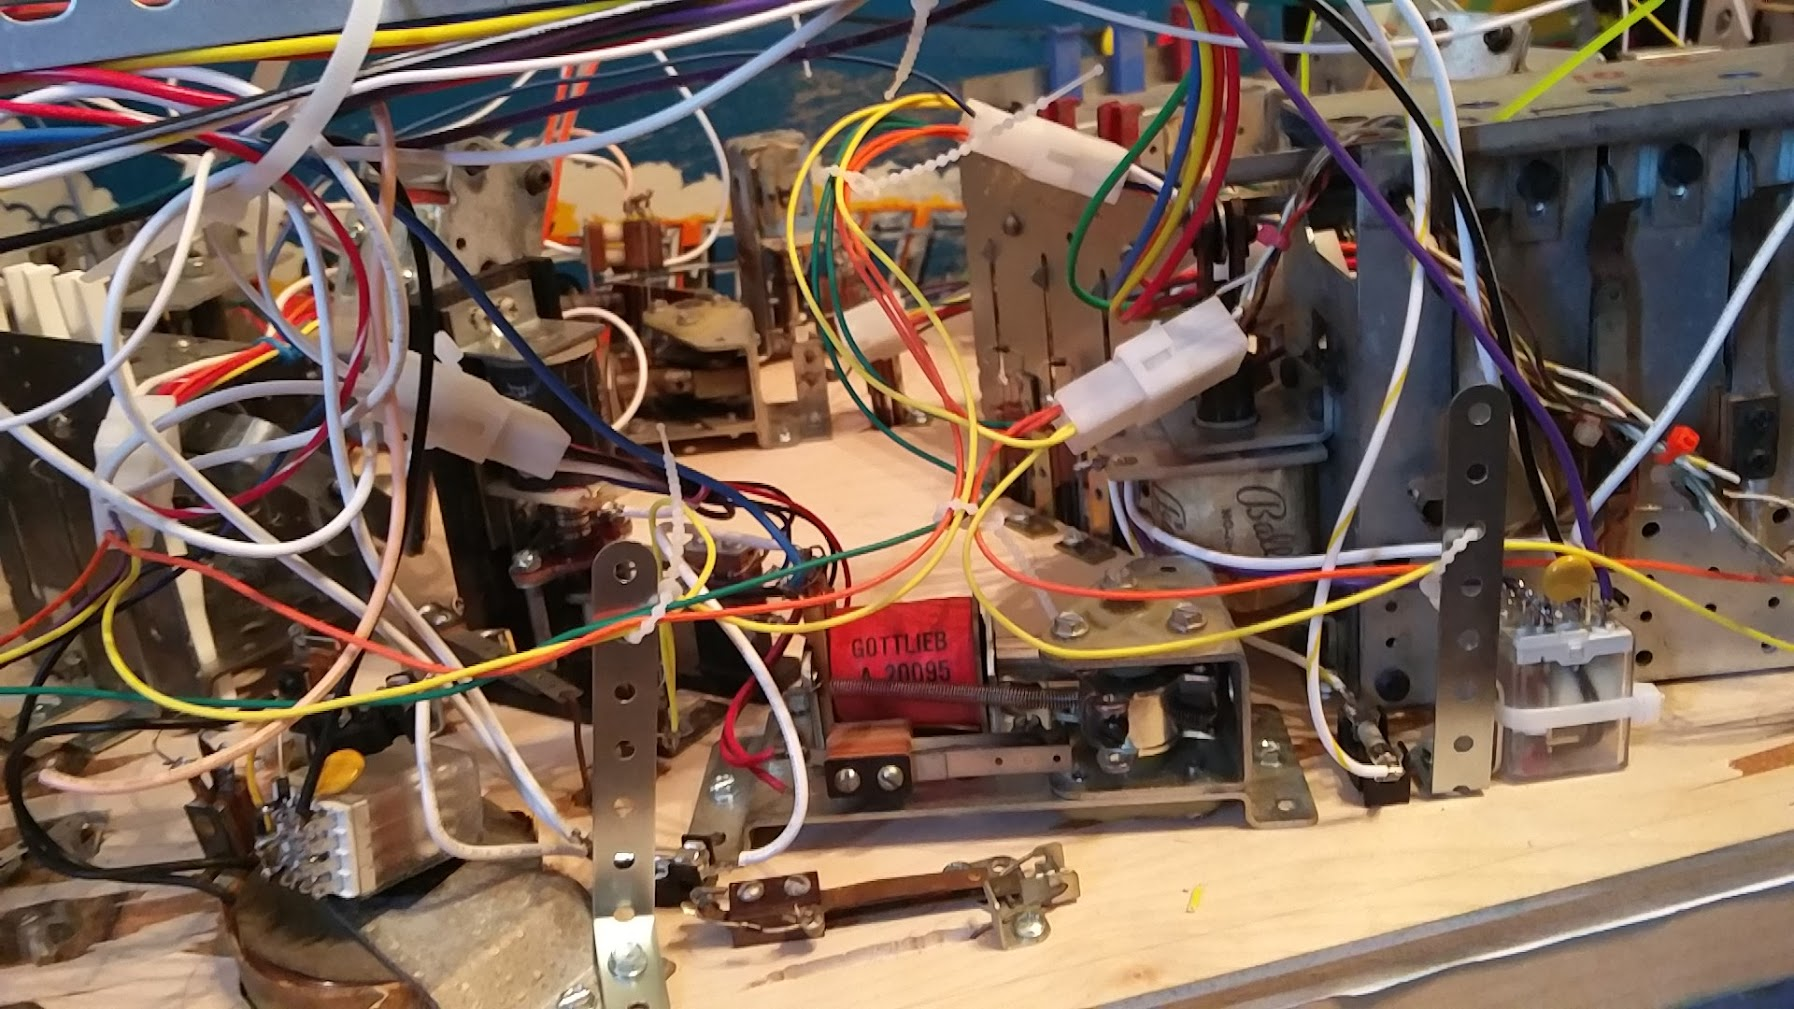
This all looks a bit messy right now, but hopefully once I have all the wires in, and zip tied together into a harness, a lot of the slack will disappear and it'll look cleaner. I also have a lot of coil wiring (like that white loop) where I've had to repeatedly rewire stuff as coils get added or changed, resulting in extra too-long lengths and wire nuts that can be cleaned up eventually. The wiring is going pretty well, and is pretty easy as long as I can reach stuff. The biggest pain is doing the connectors for all the drop target mechs. part of me almost wishes I hadn't bothered with them, but I know I'd regret it down the line. They require a lot of extra planning since you need to have both wires ready ahead of time before crimping, and you need to make sure never to have three wires join at a connector, even though that'd be fine at a regular switch.
I'm also realizing another issue: since I salvaged most of my switches from a Gottlieb playfield, they don't have the third lug for the diode. Right now I'm just sticking a diode on one lug, with the other end hanging free, which hopefully doesn't come back to bite me down the road...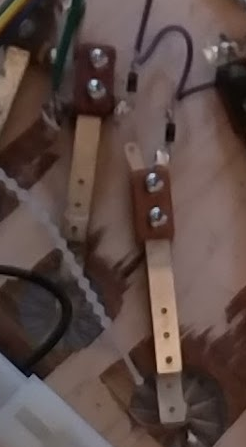
One other hurdle to figure out soon is how to actually hook all these wires to the MPU. Right now I'm just terminating everything in the upper left corner of the playfield, which is vaguely where I picture the switch wiring leaving the playfield, since all the coil wiring is on the right side. I'm hoping I can use a big ribbon cable to connect the playfield to the MPU, to avoid having to assemble more connectors and run a lot of extra wire, since my wire supplies are already running low.
blog comments powered by Disqus