Search
but not GamePinballCheetahRead Only
(Click any tag to remove it)
Arduino Pinball Restoration
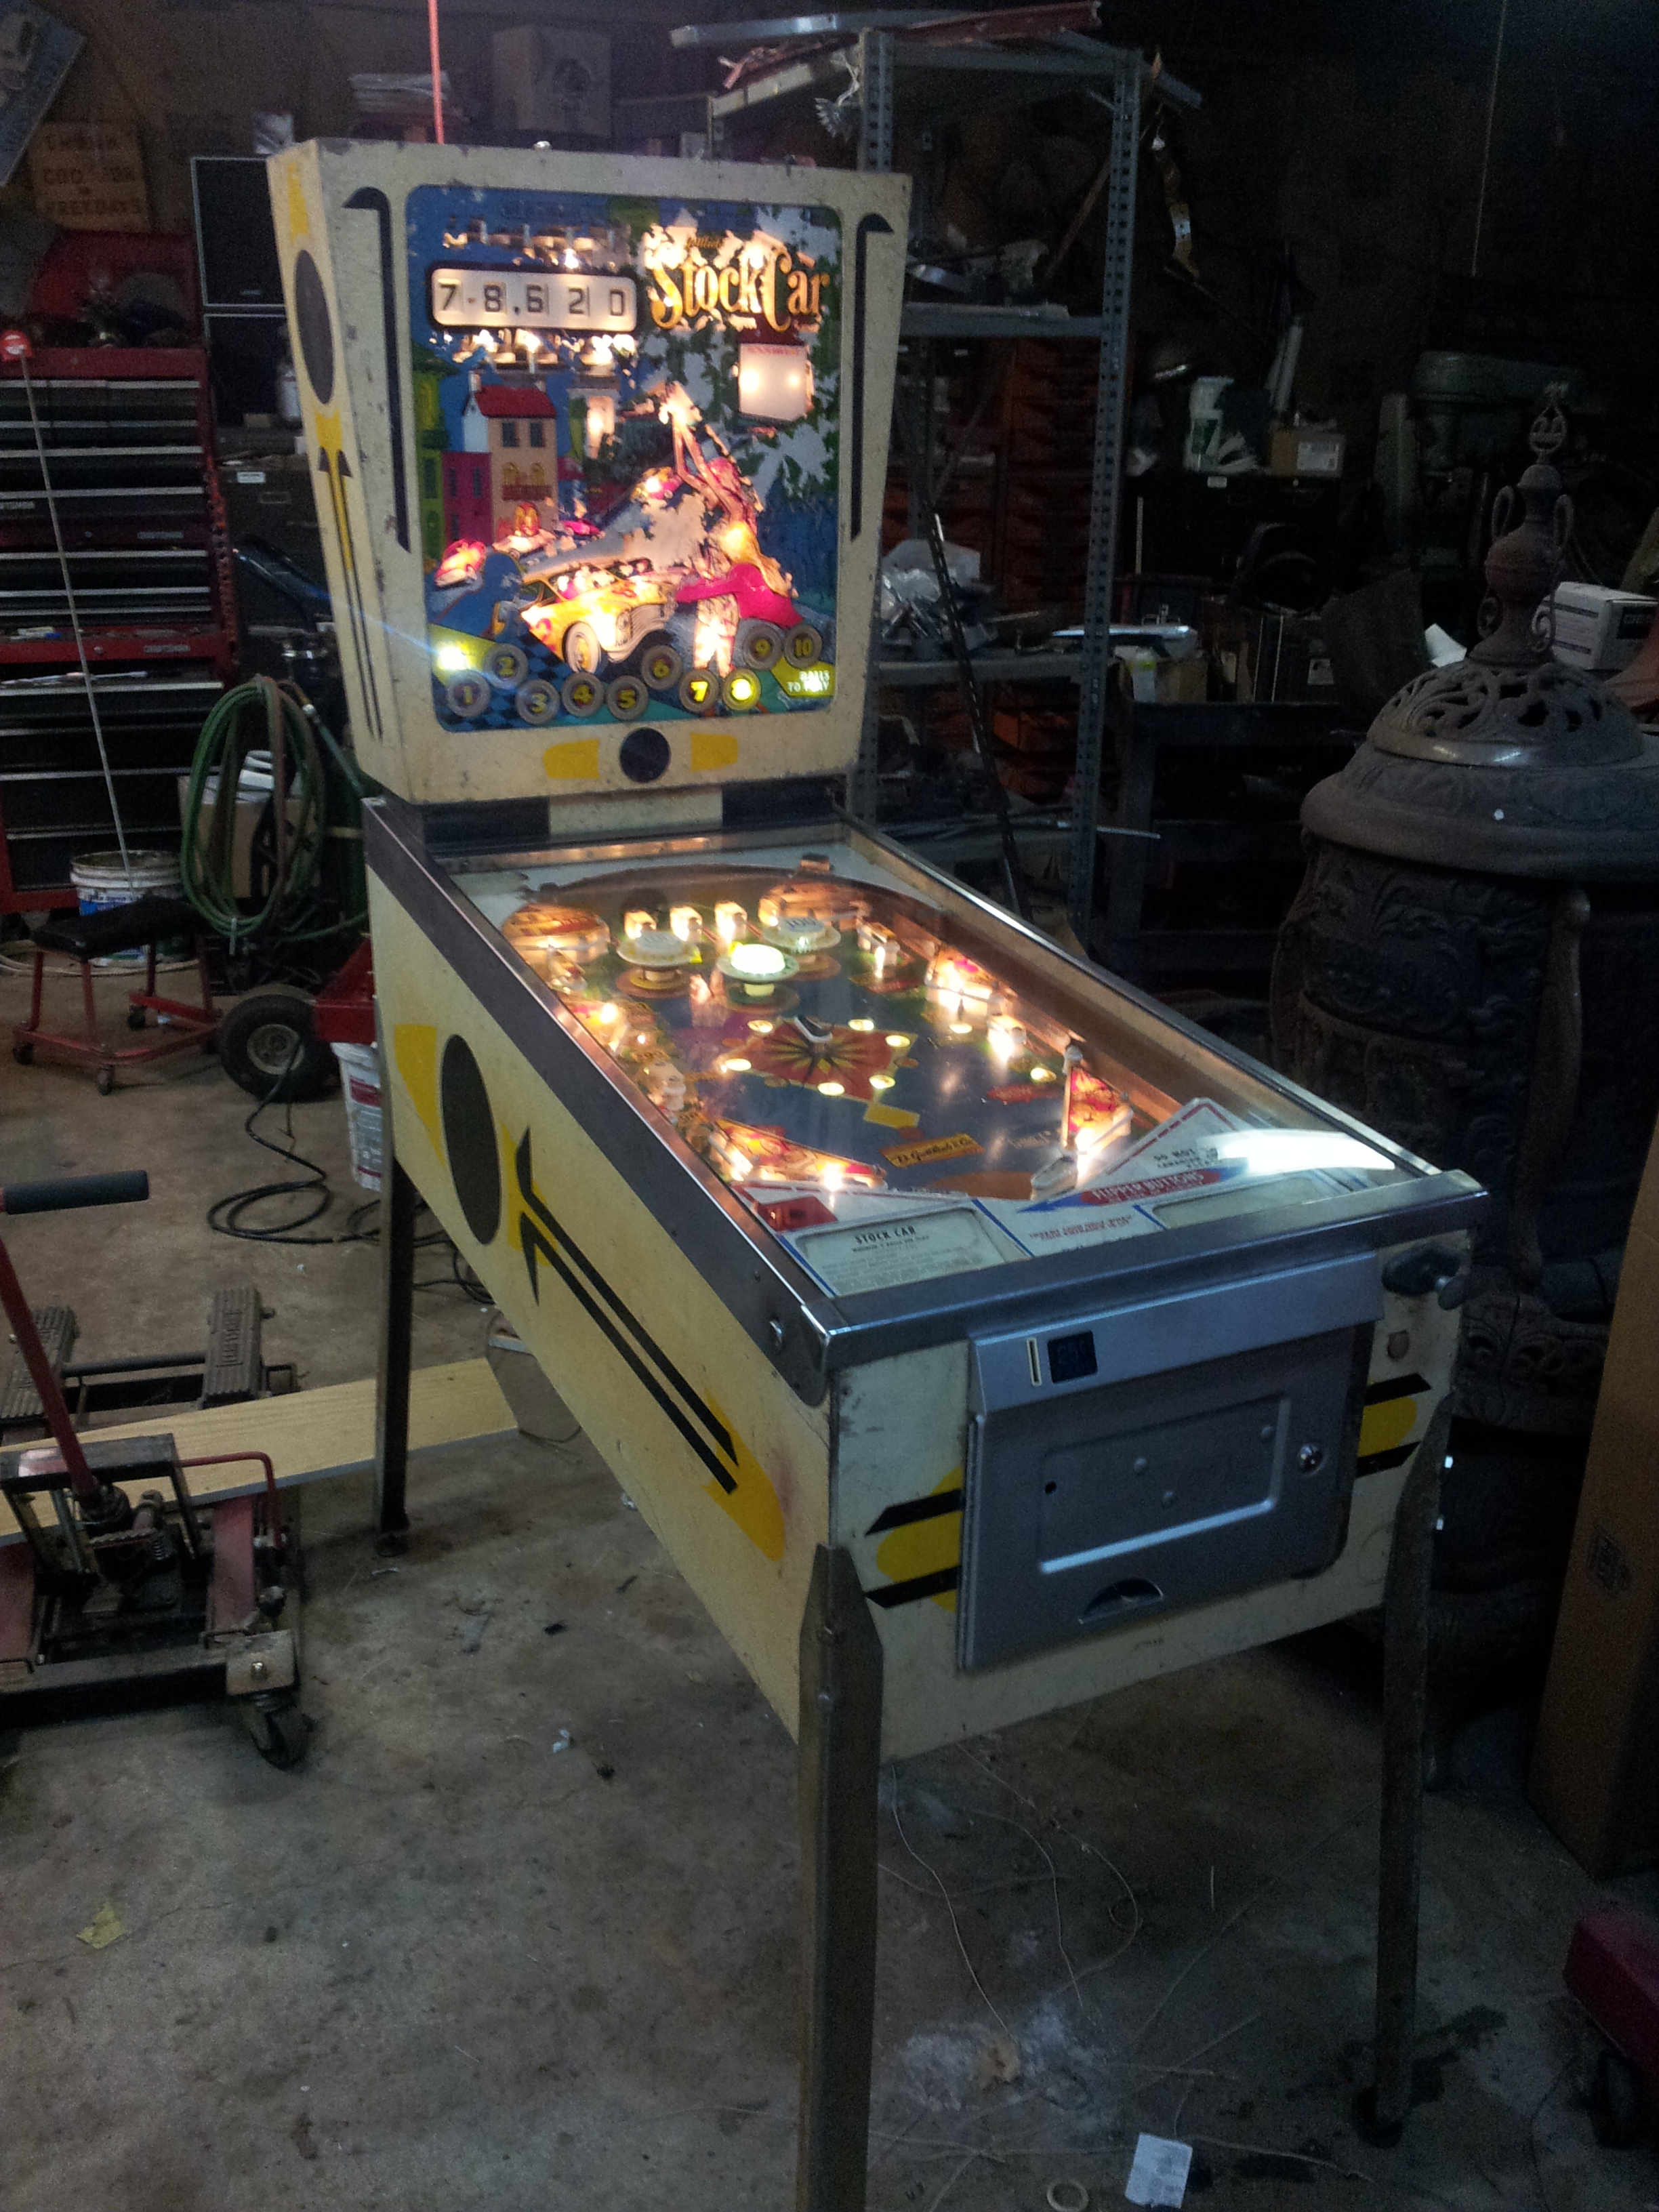
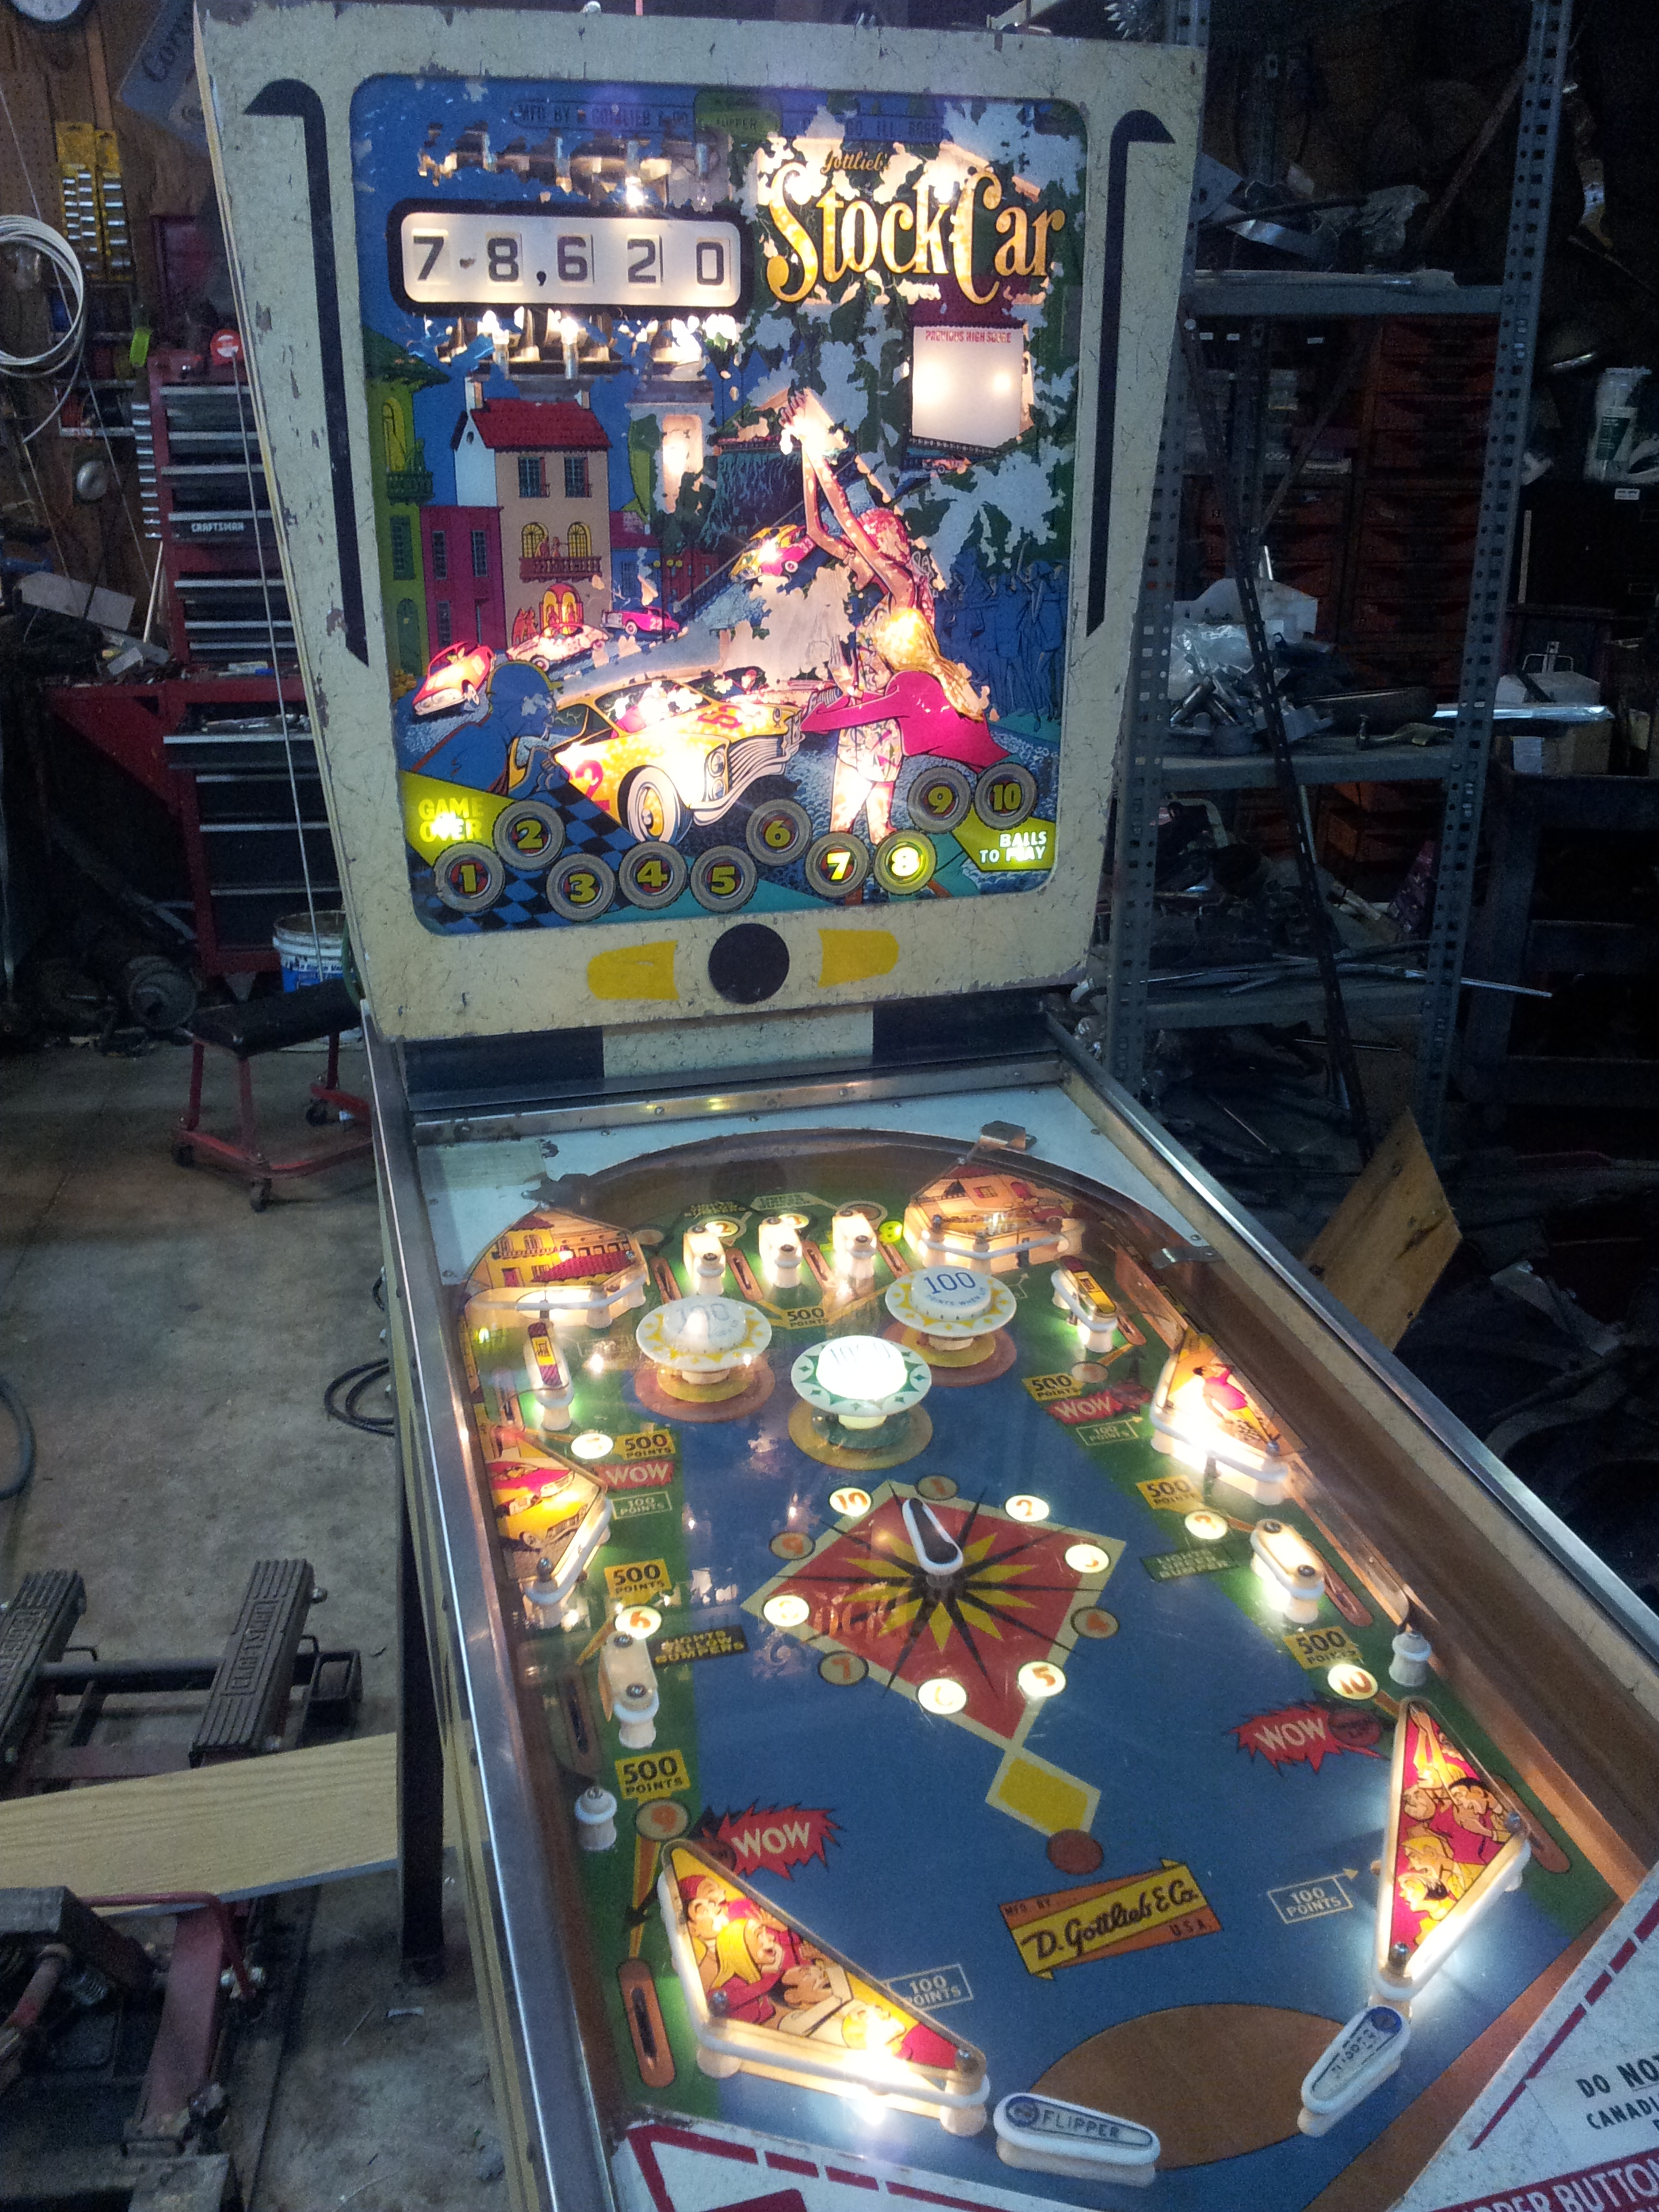
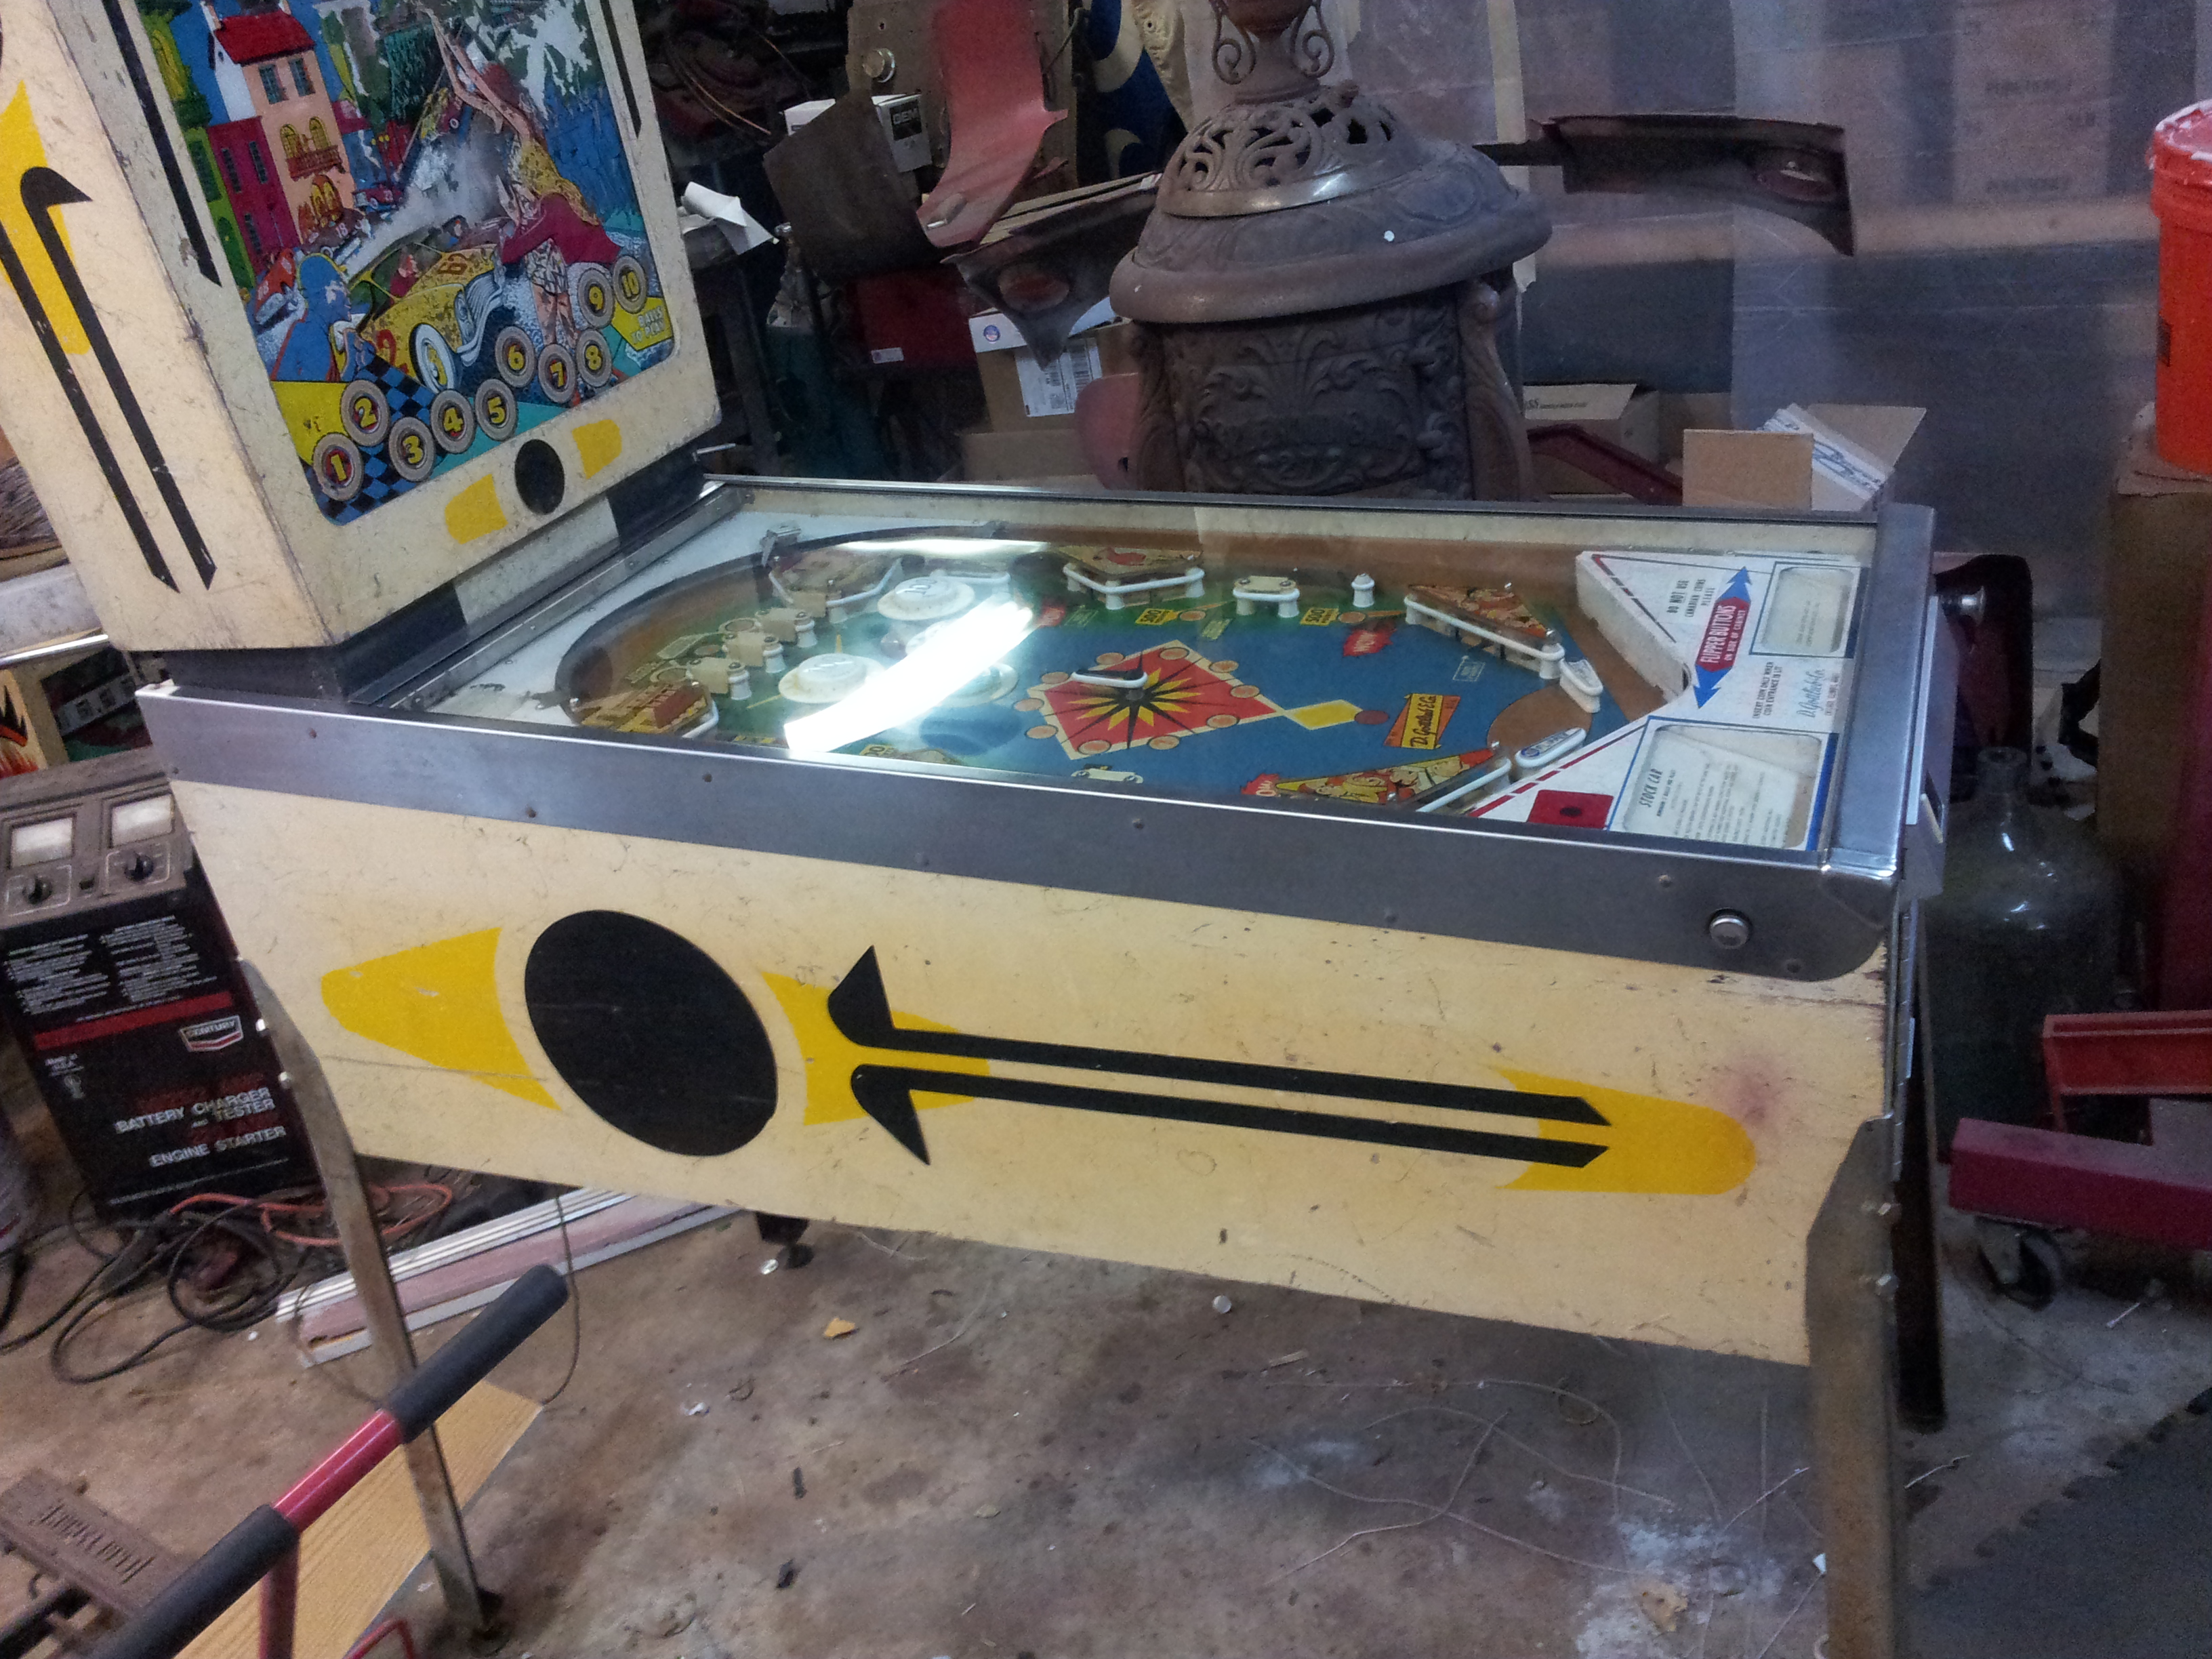
I found a pinball machine sitting disassembled on the floor of a leaky shed and brought it home to tinker with. The mechanisms and electronics inside were all rusted solid, as was most of the metal on the outside. The backglass had lost half its paint, and one entire side of the machine was covered in mold.
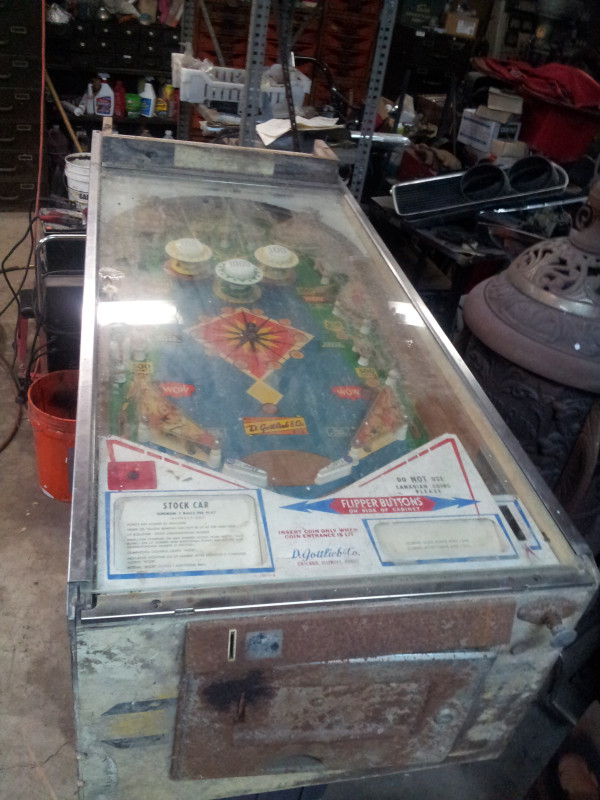
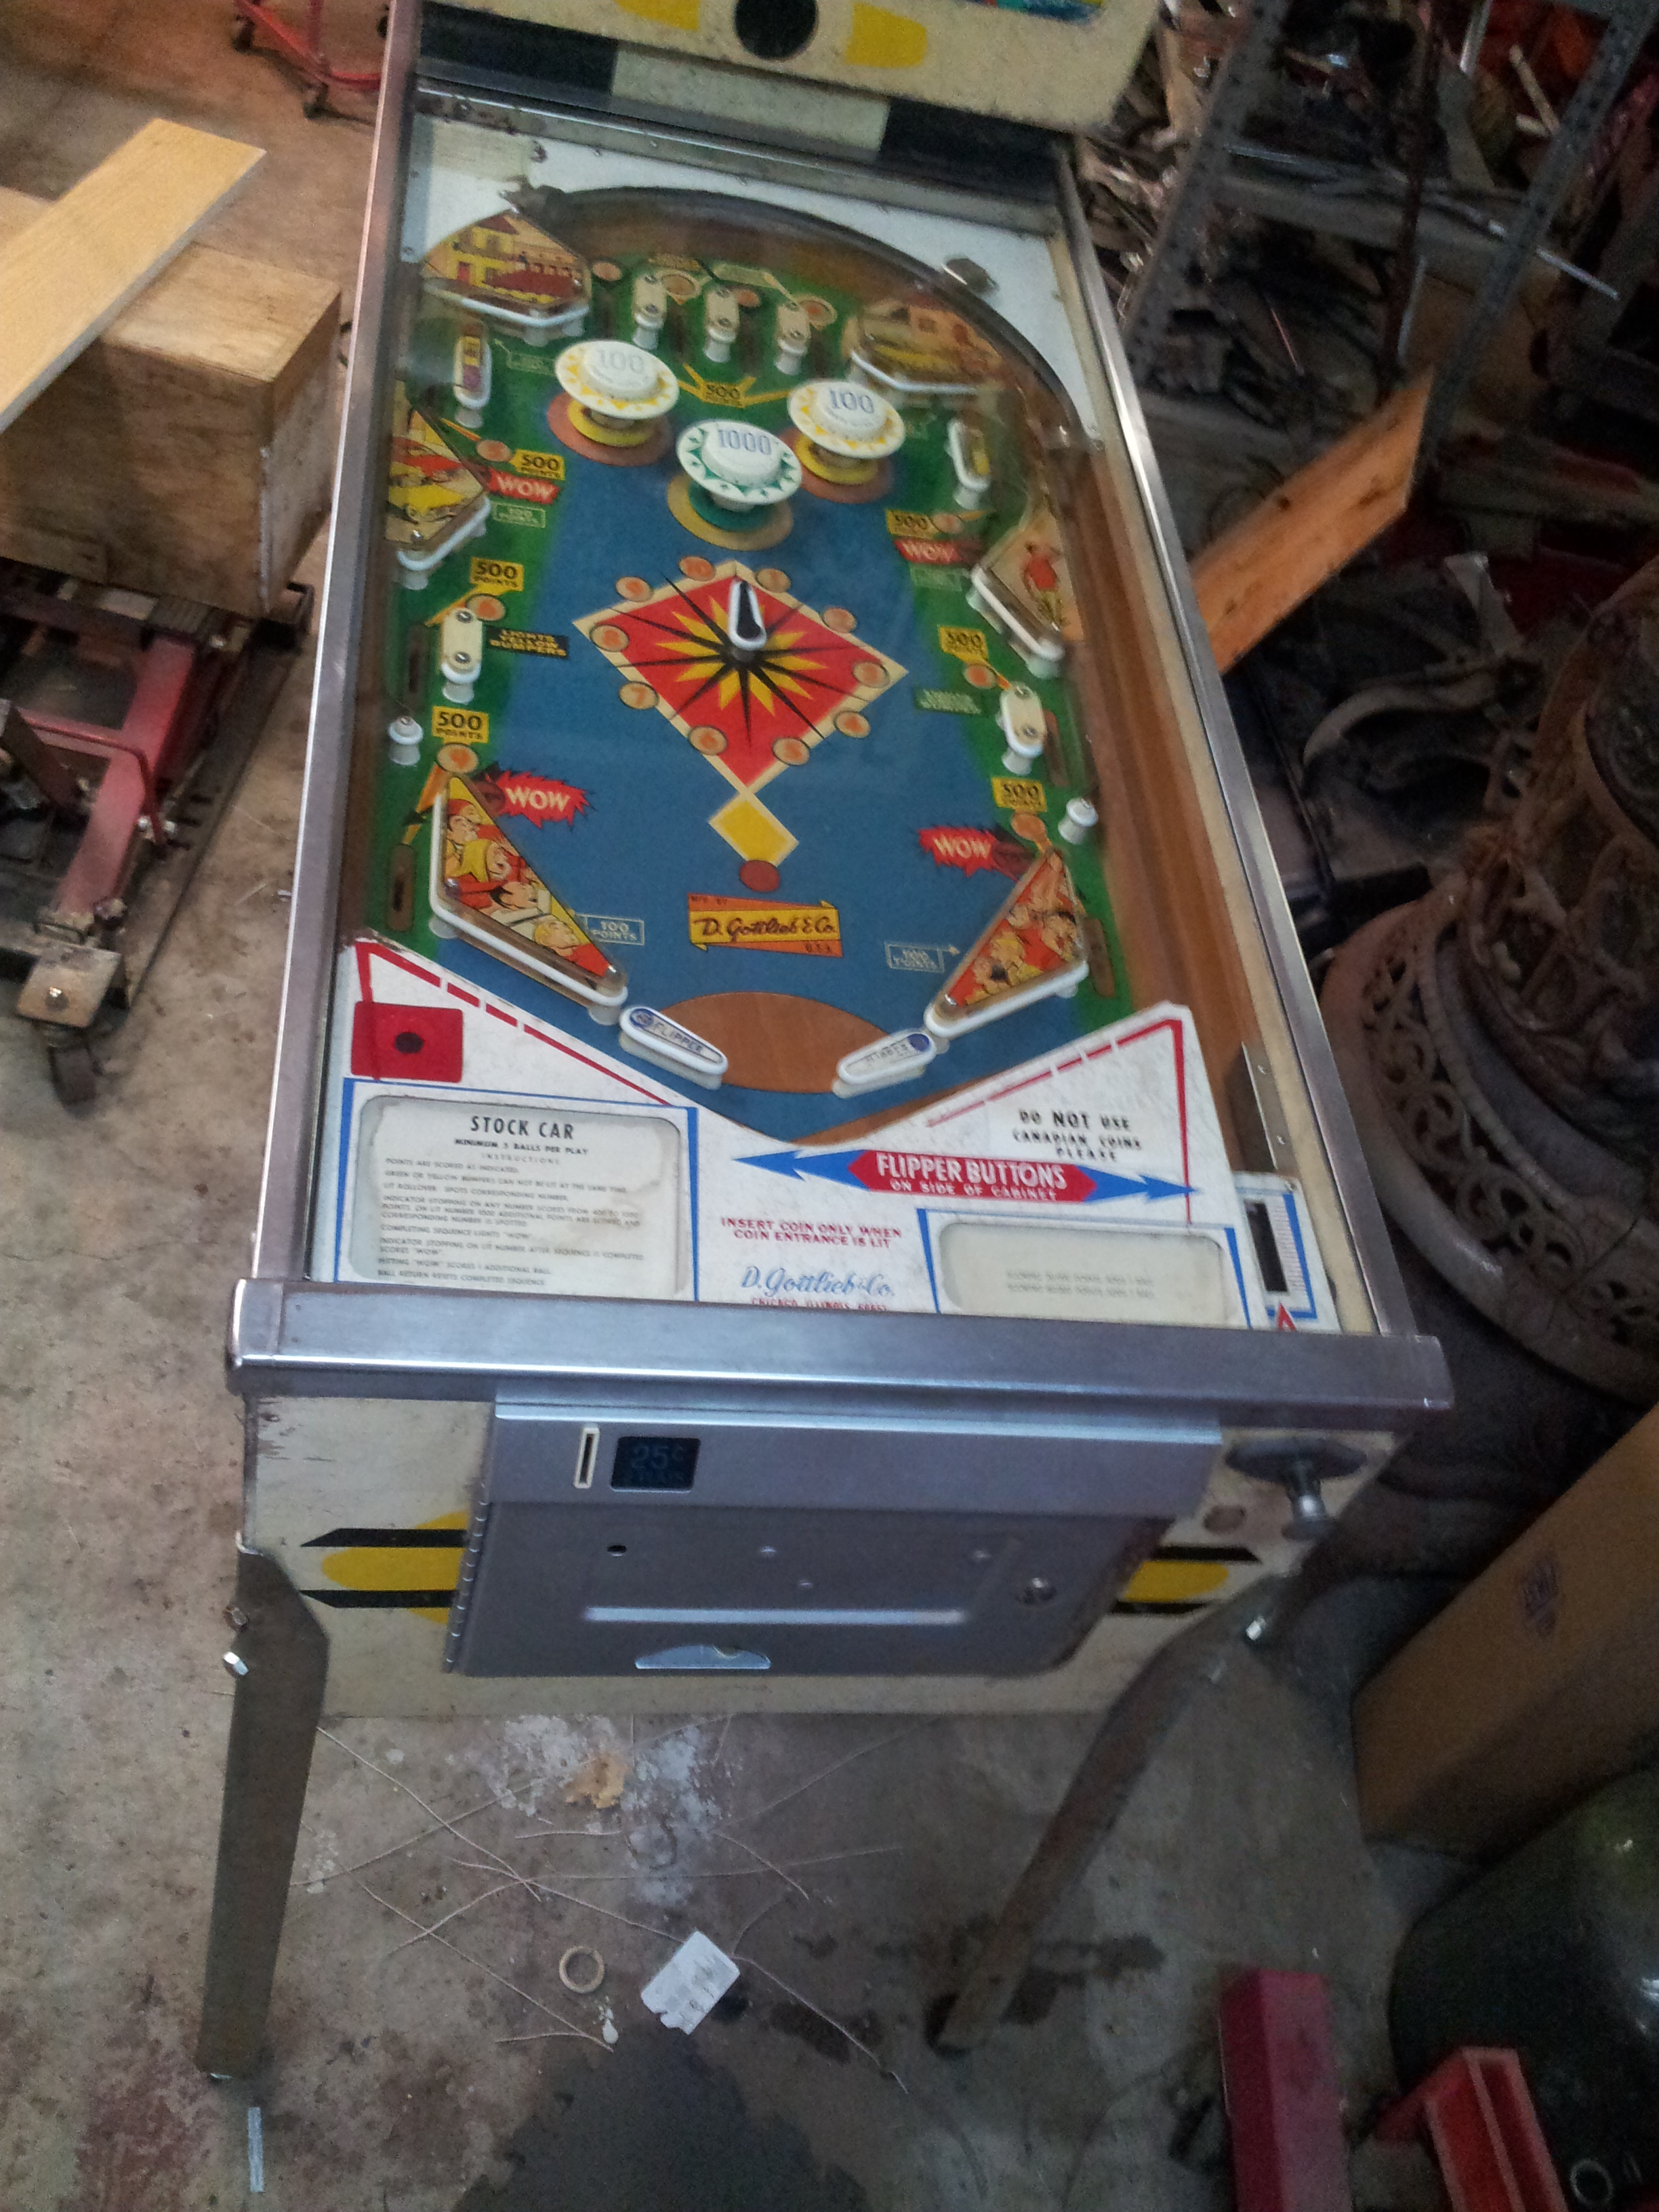
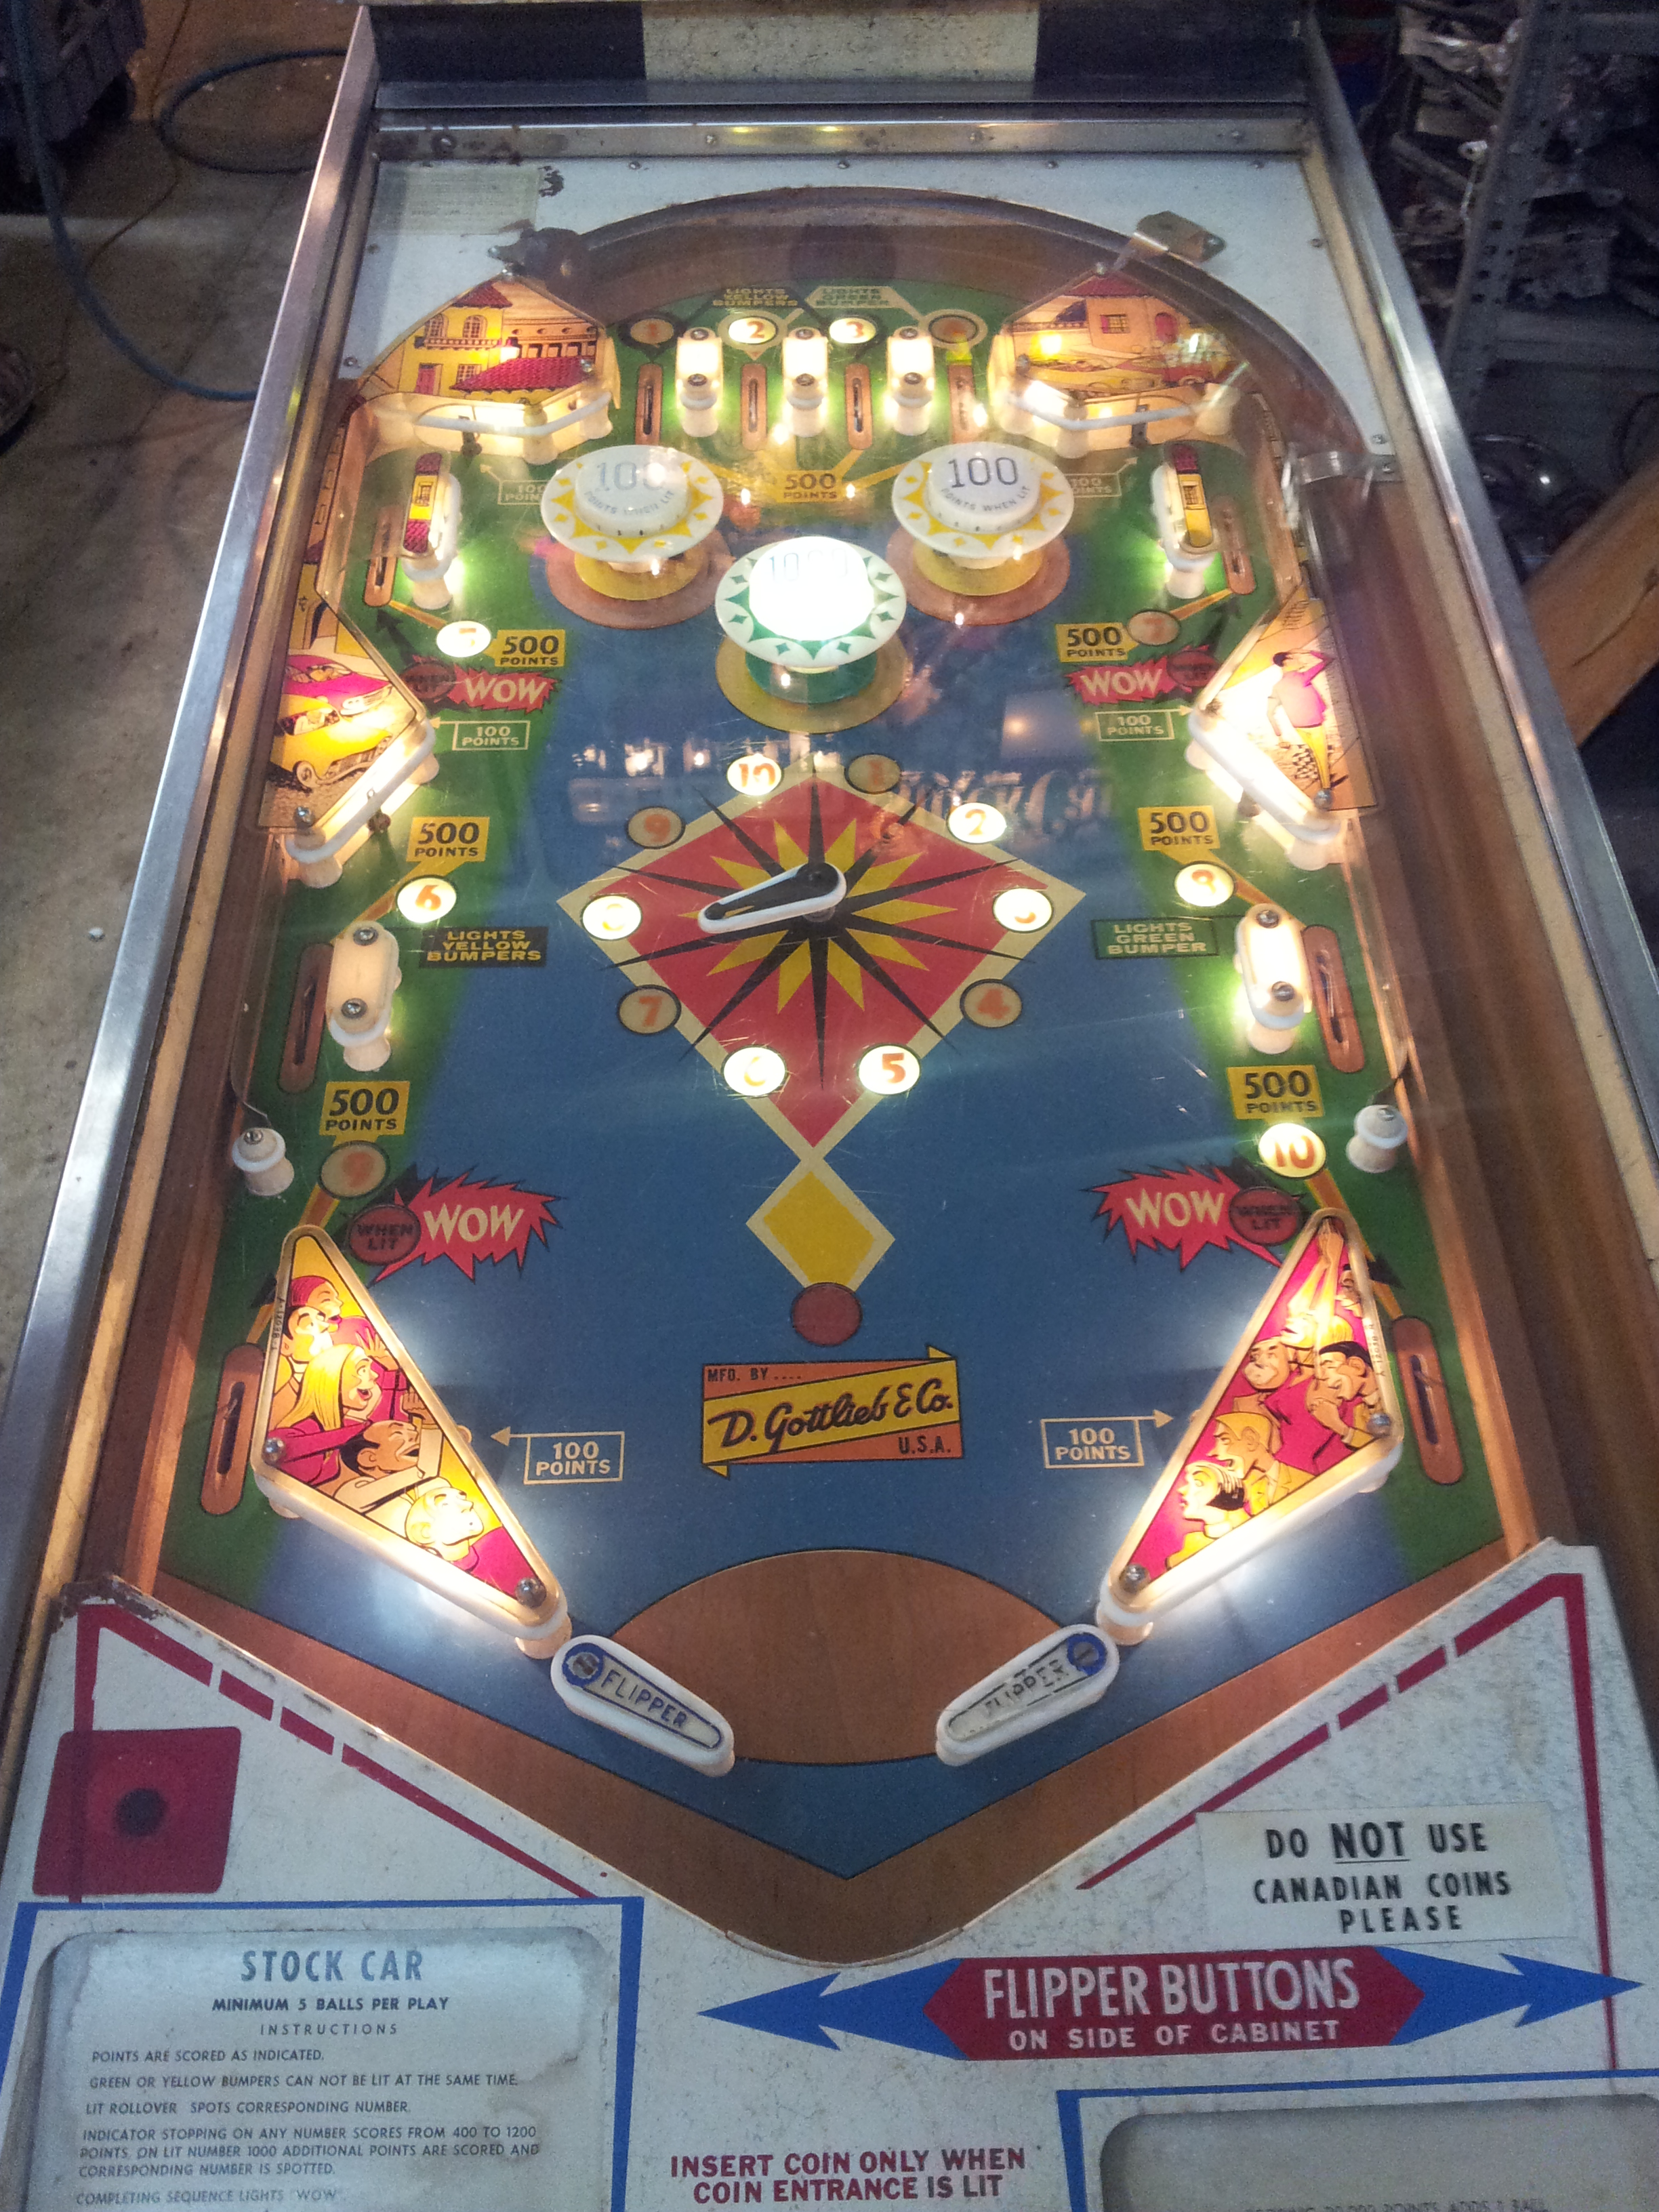
I'd originally planned to disassemble the machine for parts, but after I got the glass off I found that the playfield itself was in amazing condition. With the glass to protect it and no light, it had survived unscathed, and I couldn't bring myself to tear it up. Instead, I decided to teach myself some electrical engineering and wire it all up to an Arduino.
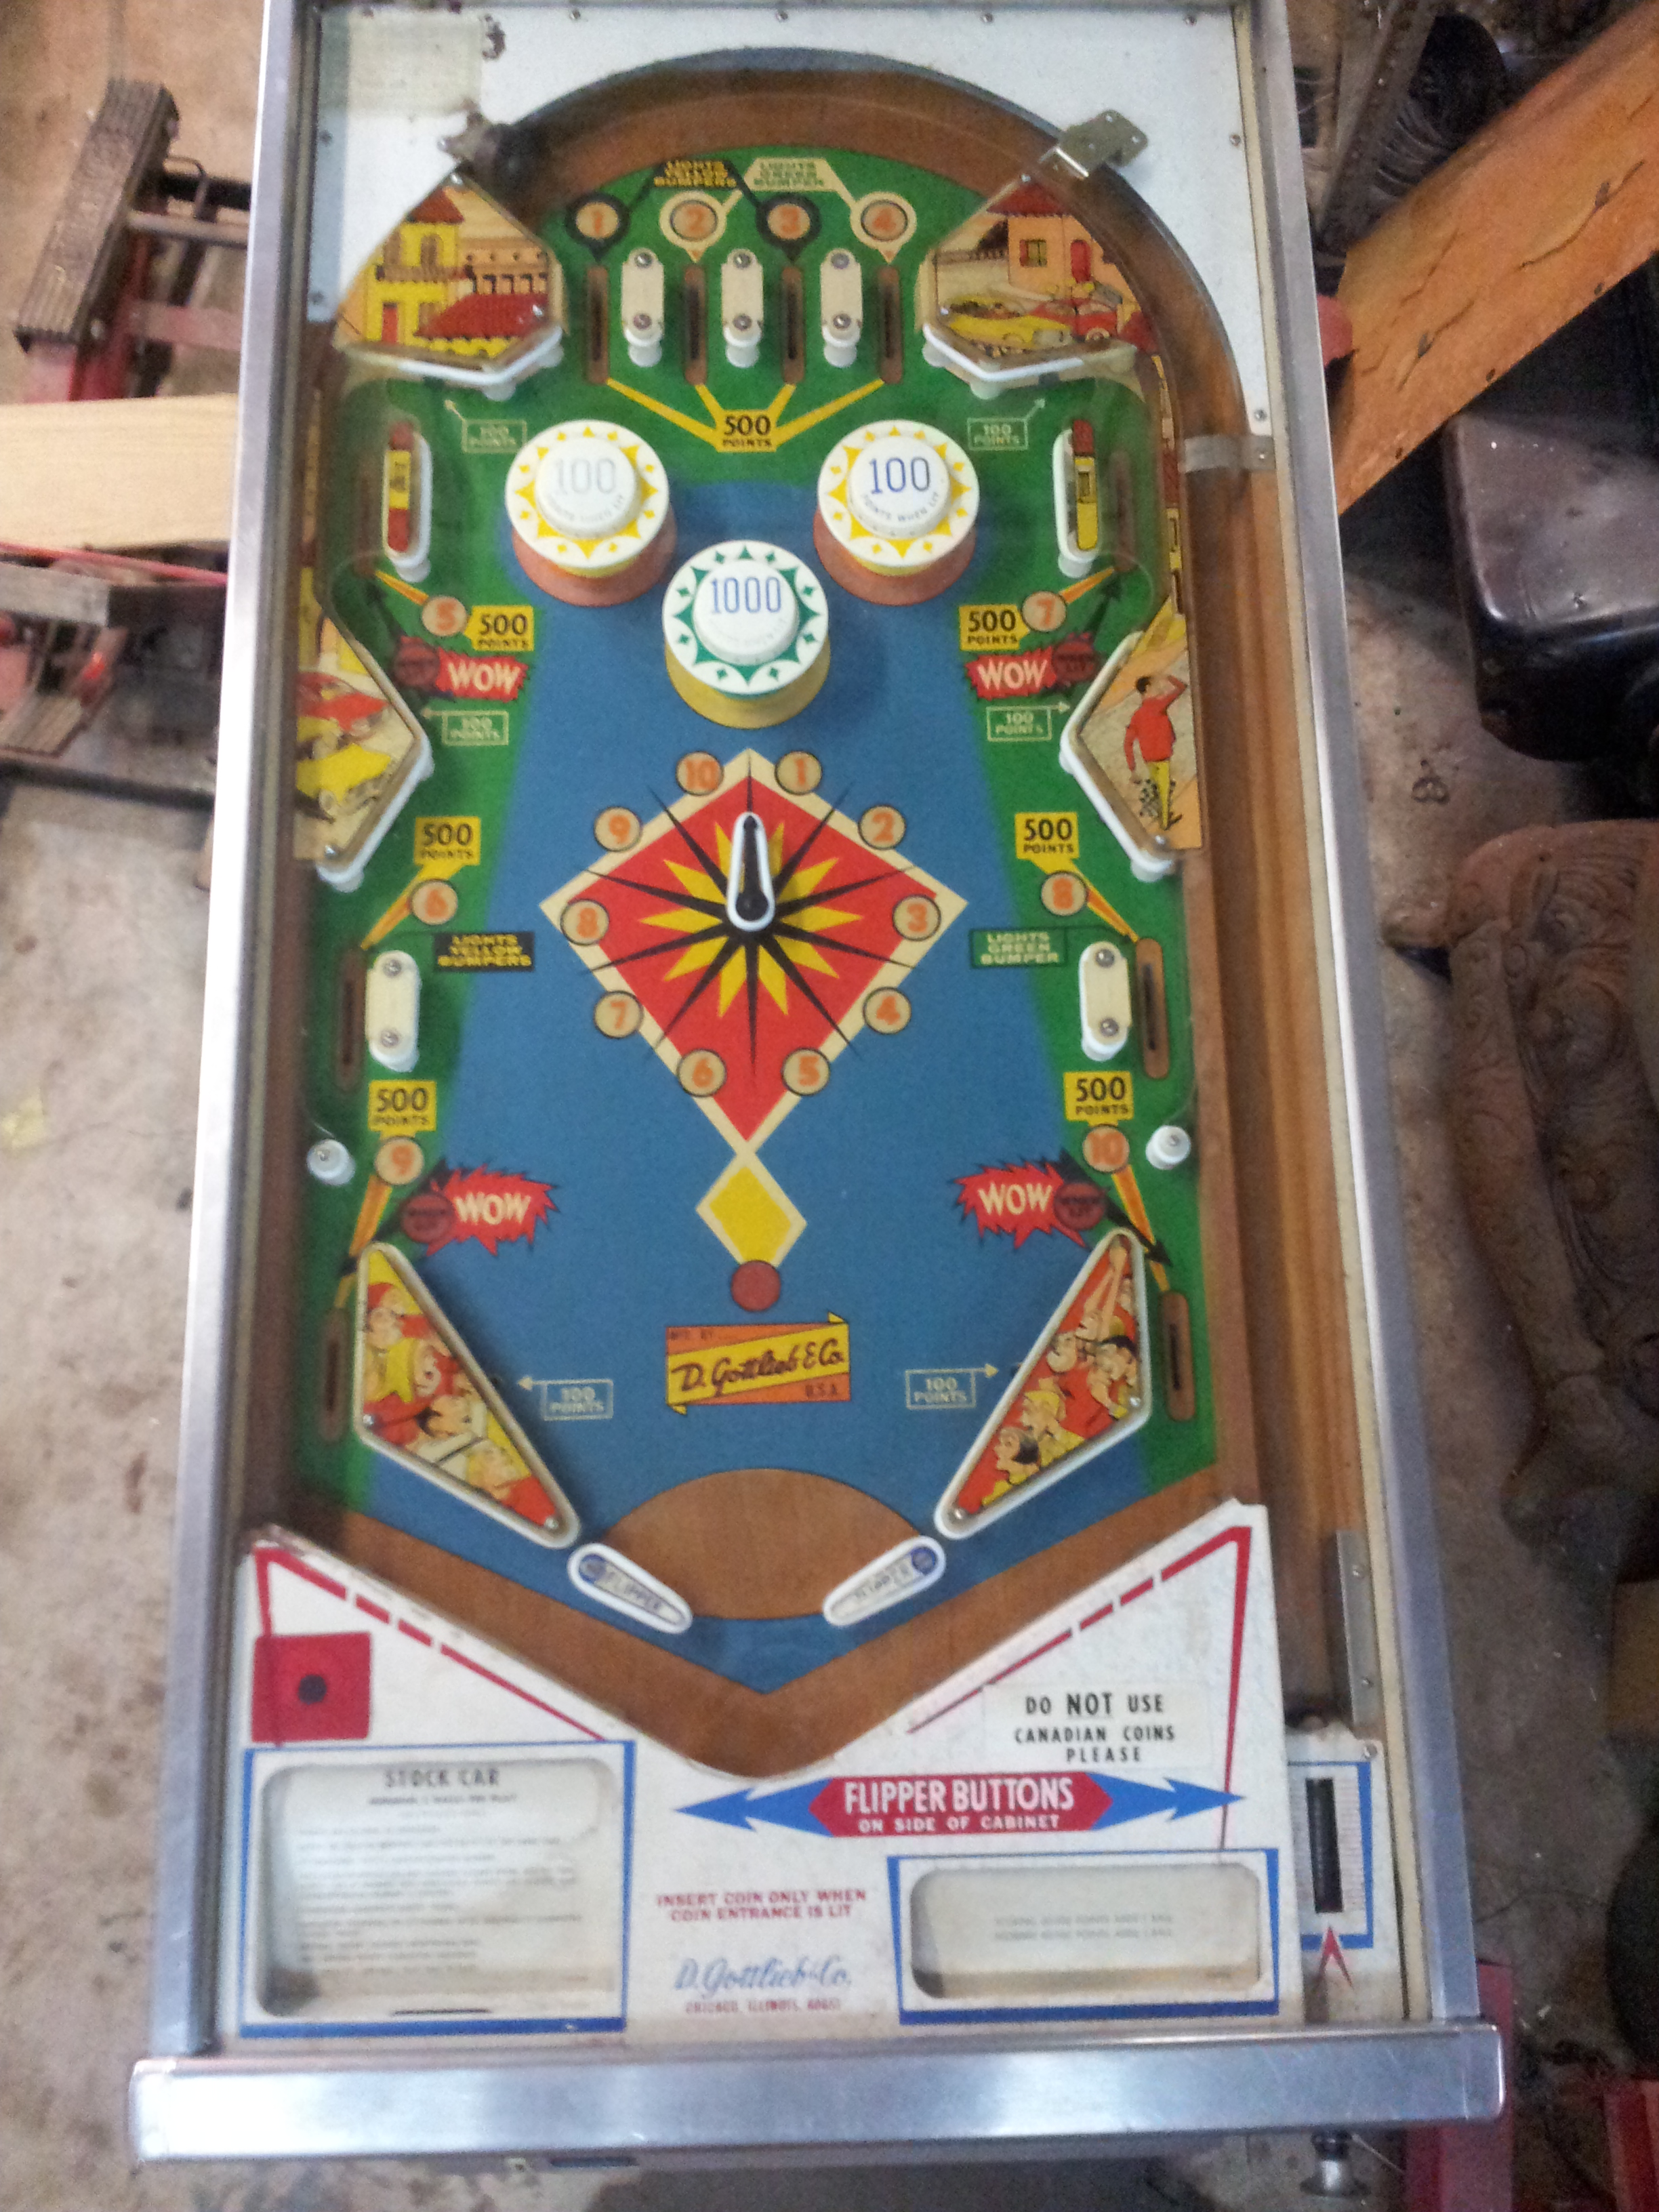
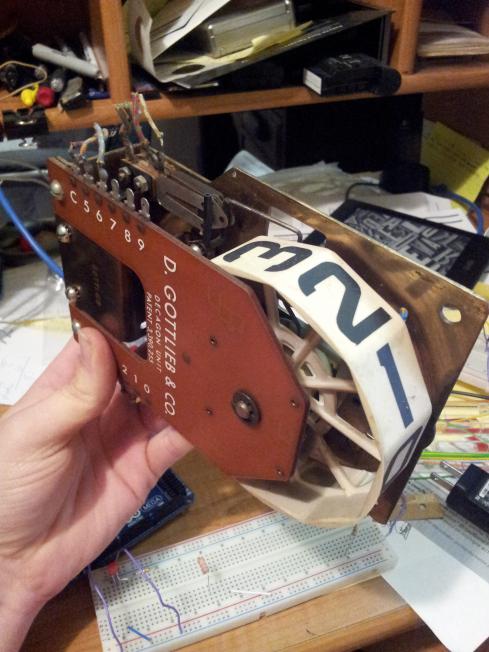
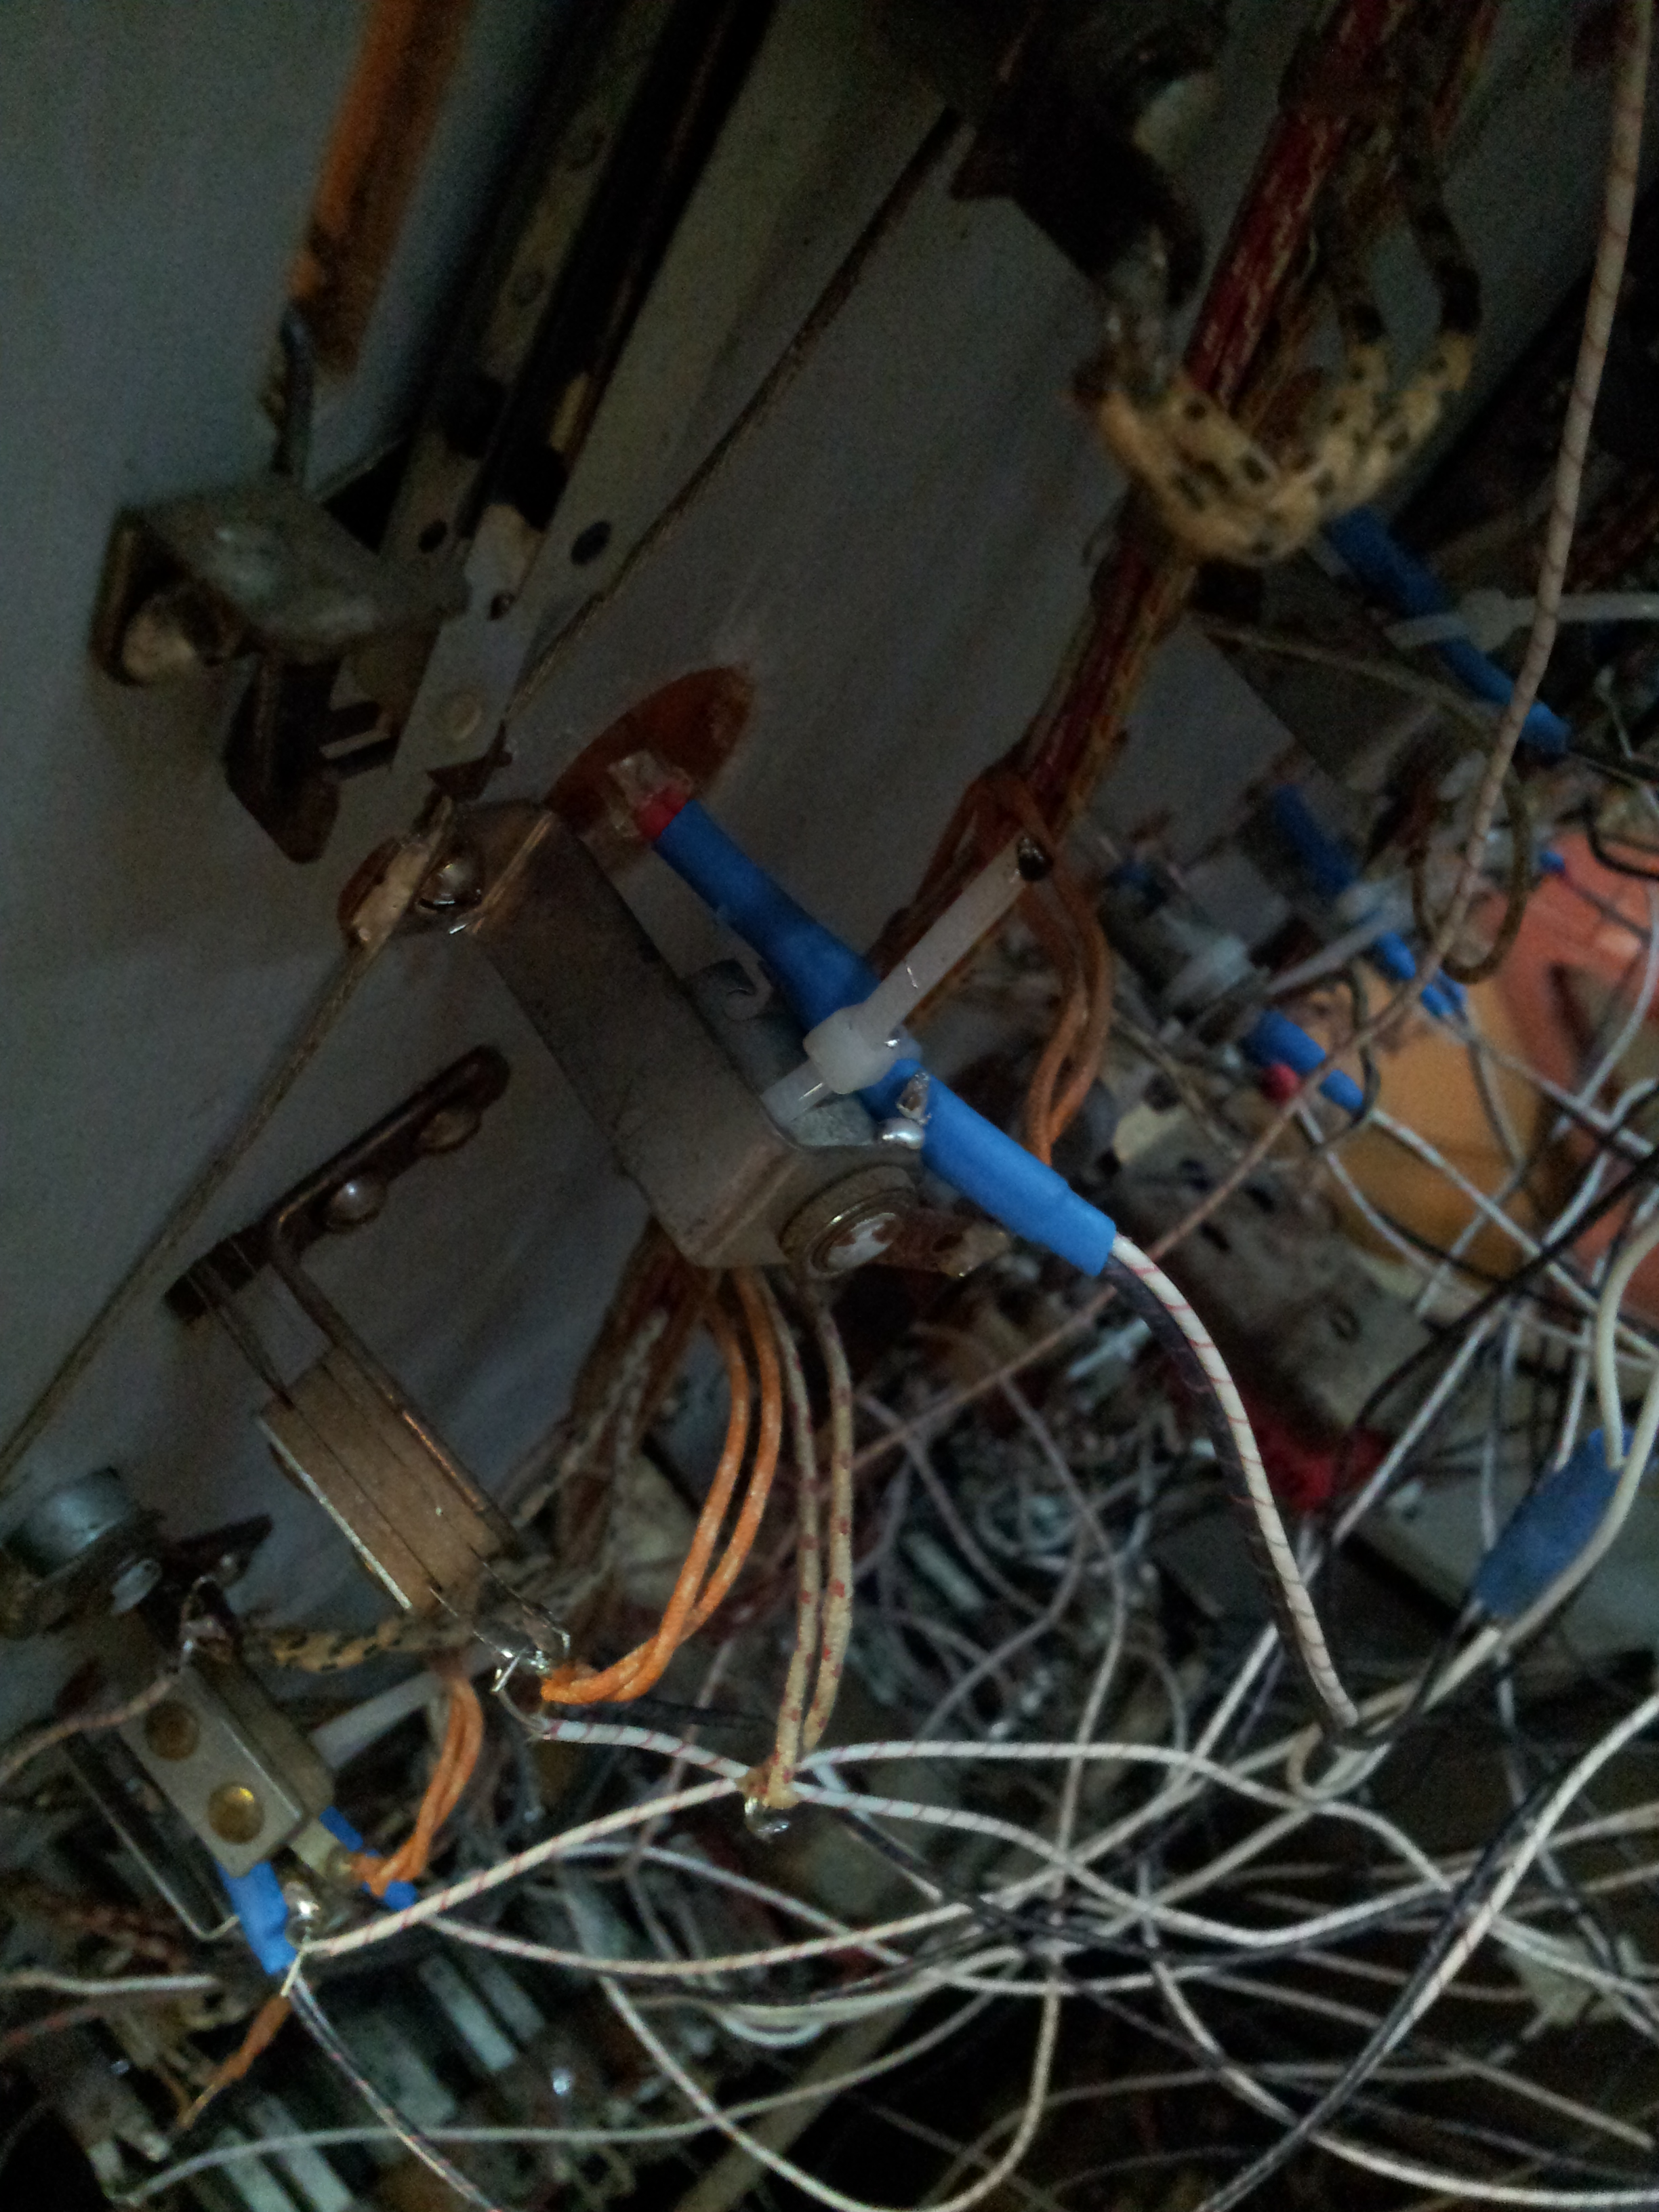
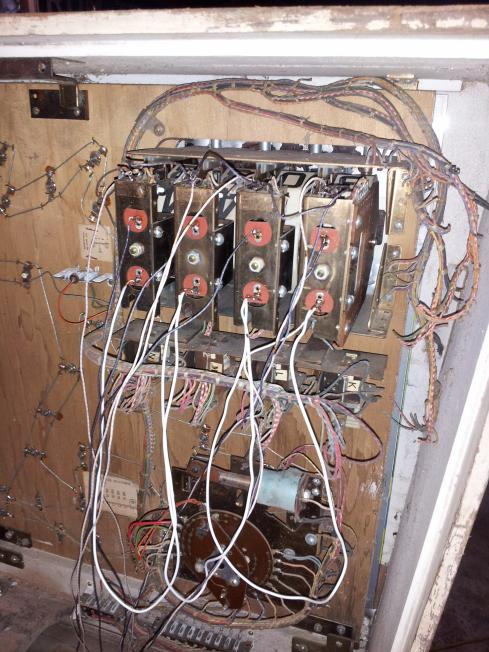
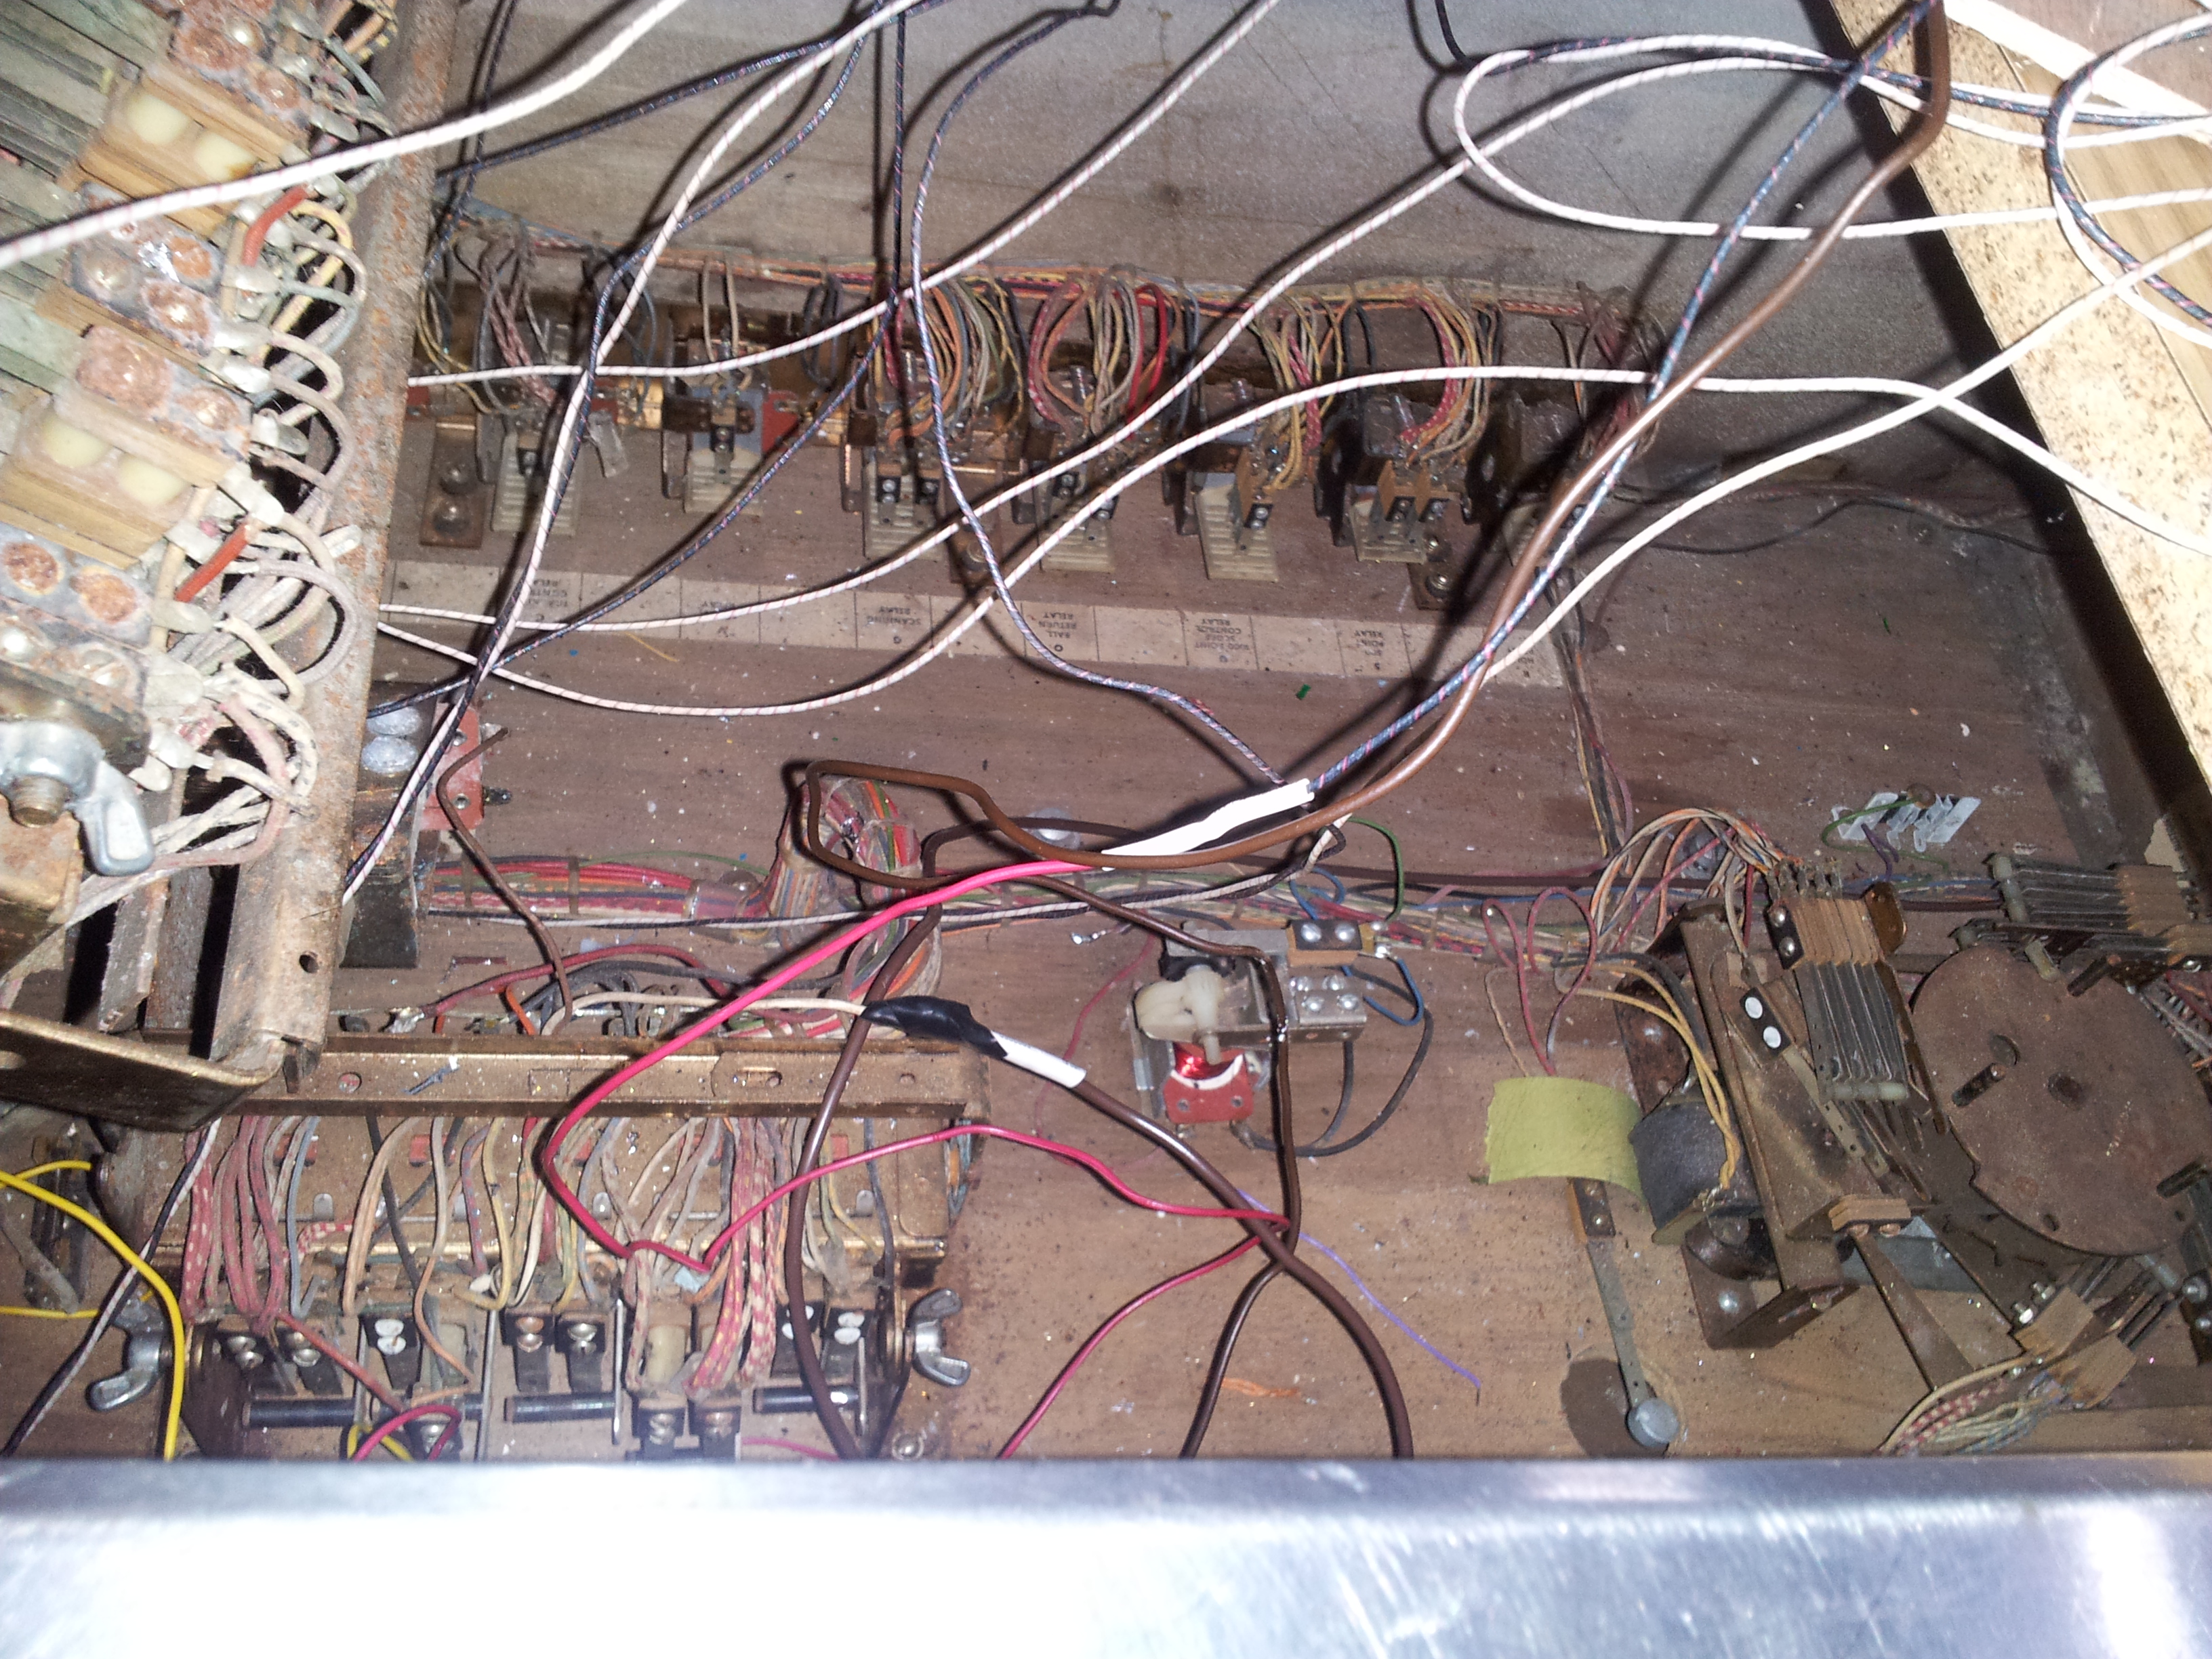
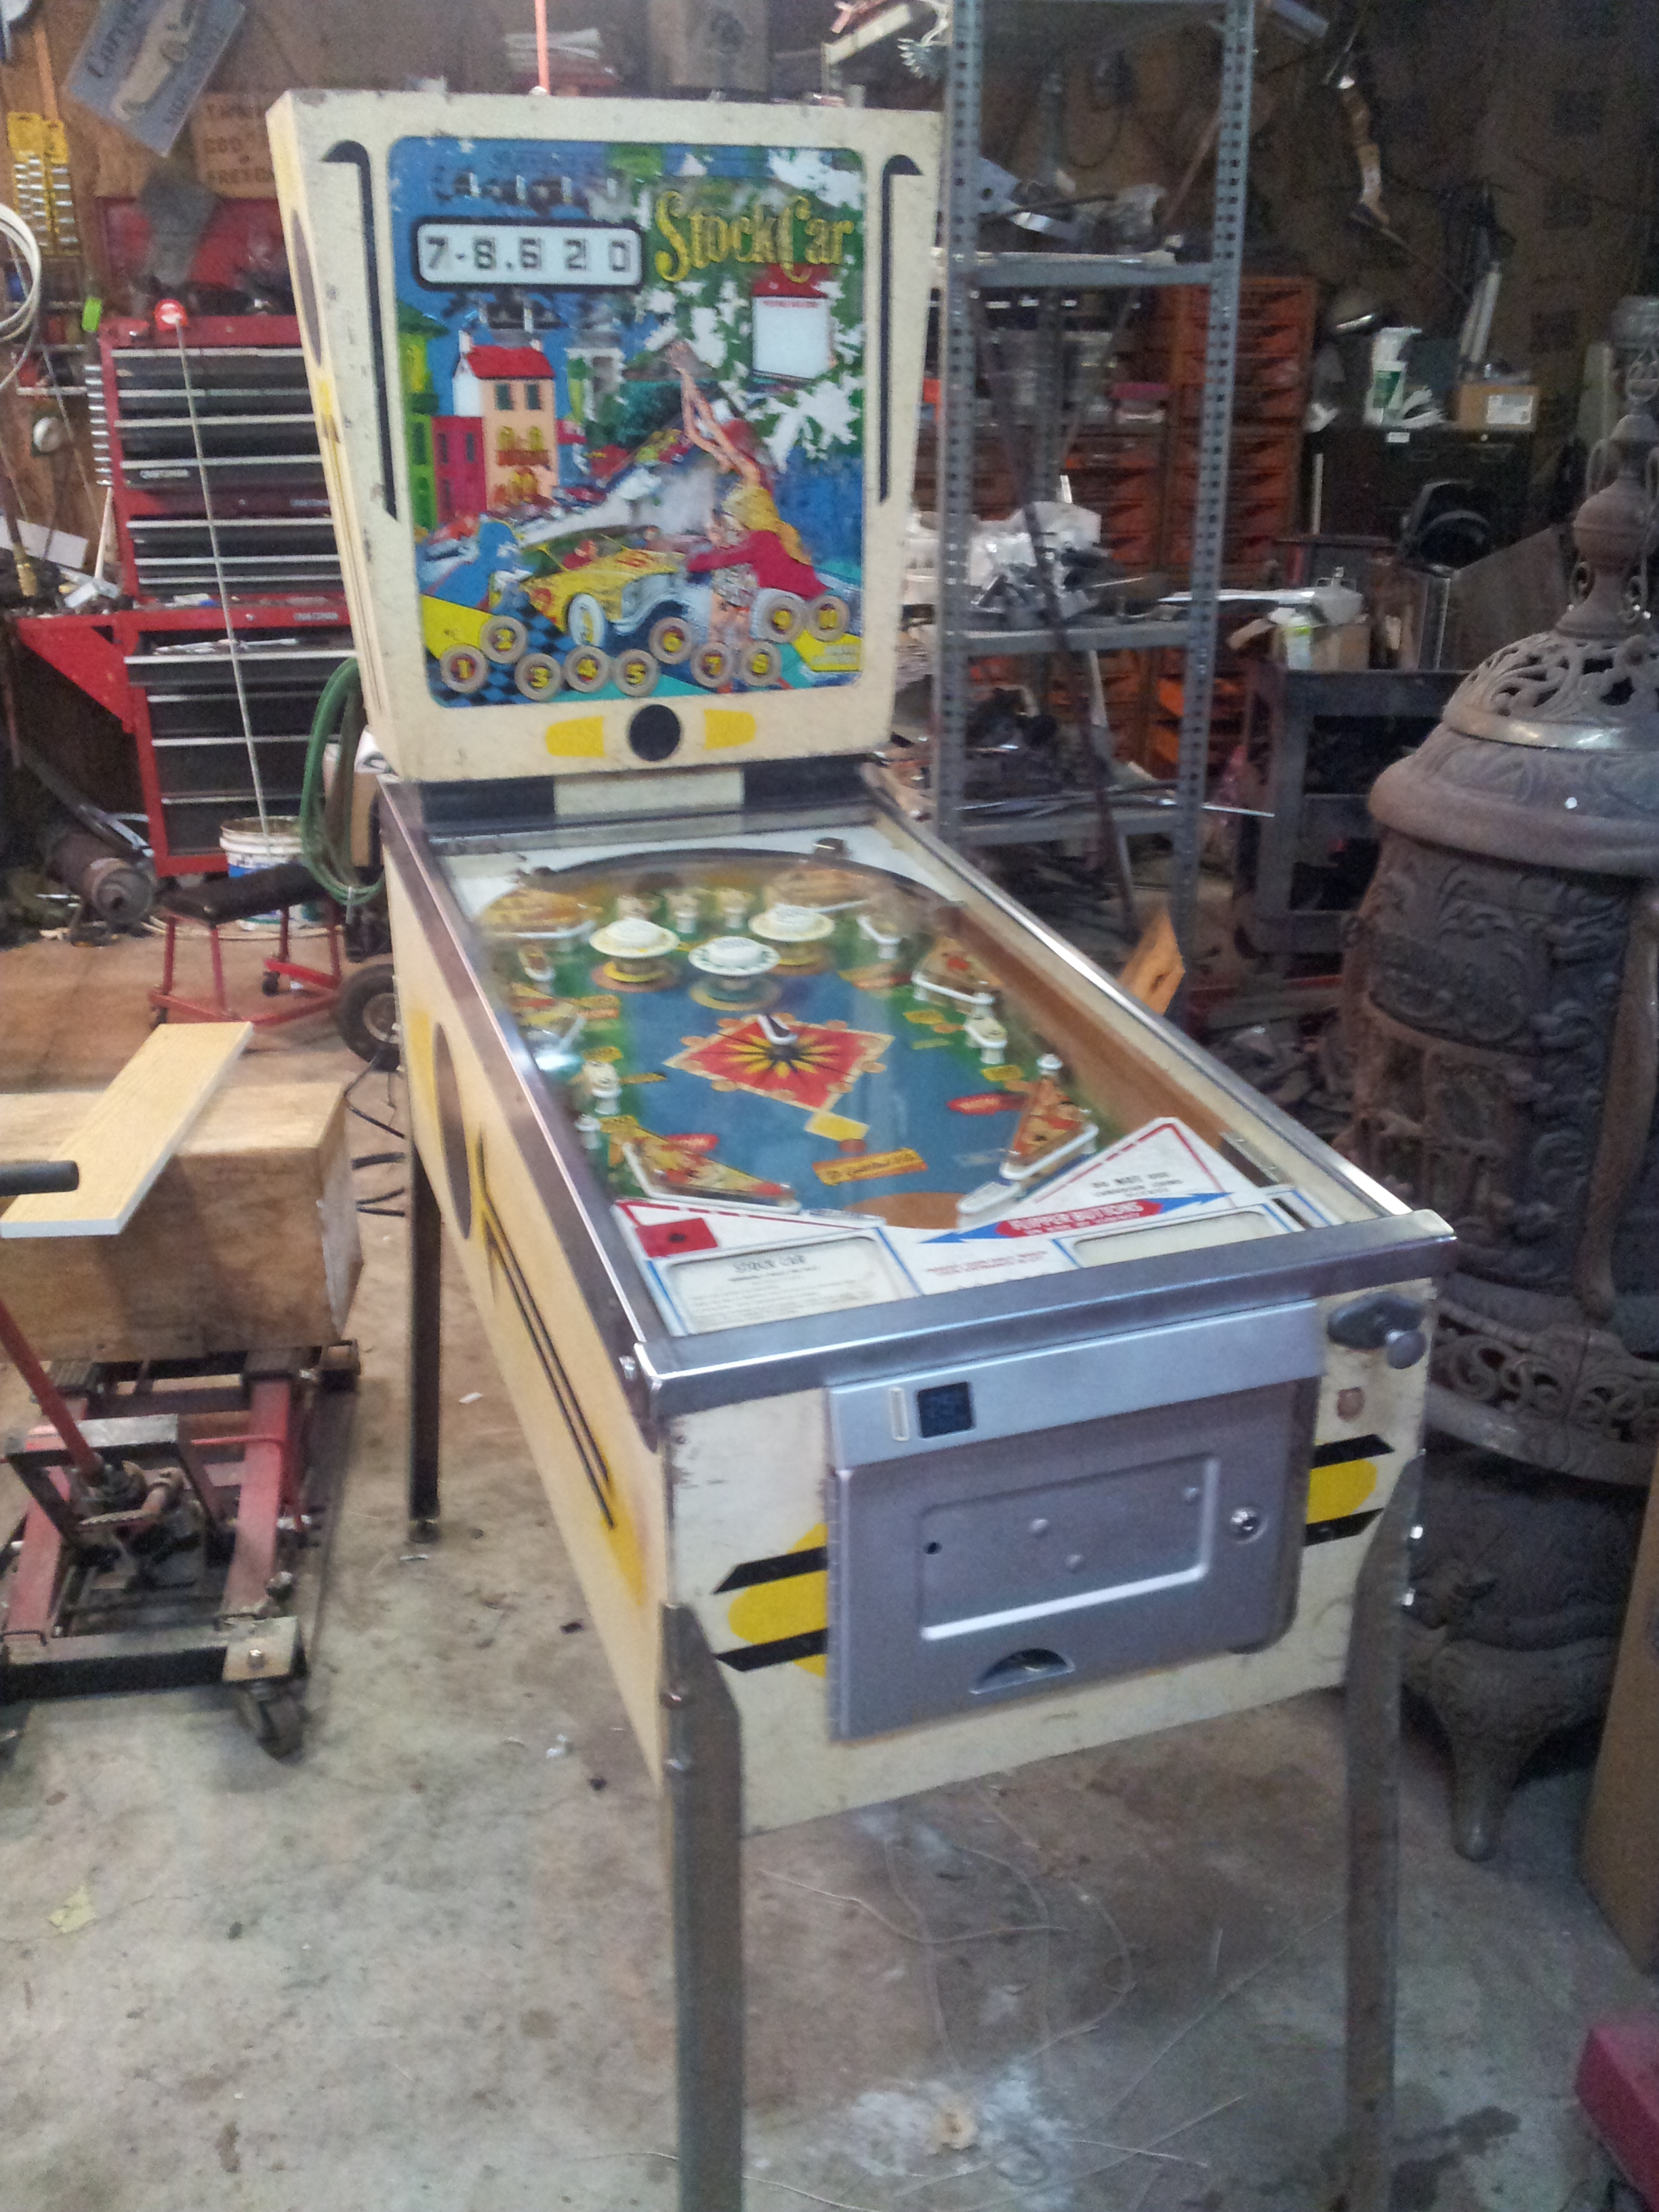
I managed to clean off the mold and dirt using a combination of extremely toxic solutions. The door and plunger needed to be sand-blasted and repainted. Luckily, the rails along the edges were stainless steel, so they only needed a quick cleaning.
If you've got any questions, feel free to email or tweet me; I'll be happy to elaborate
Posted Sunday, April 01, 2018
at 06:06 PM
Tags: Blog Post, Pinball, Stock Car, Arduino, Electronics, Project,
Arduino Pinball Repair, Pt. 1
I got a hold of an old EM Stock Car pinball machine a few weeks ago with the hopes of repairing it, but my first attempt ended in failure. The machine had been sitting in a damp, moldy garage against a wall, under a leaky window for at least twenty years, and it was beyond repair. About a third of the inside was covered in mold, all the moving parts were stuck, all the metal was rusted, and the back glass was damaged beyond repair.
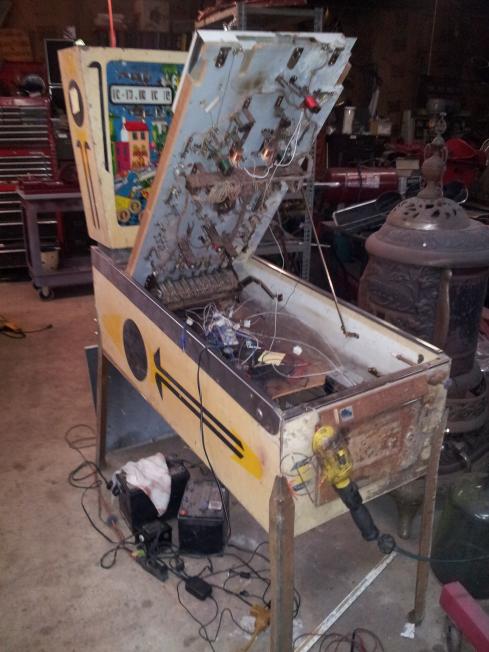
So instead I realized that this would be a good way to use an Arduino. I could just plug one into all the inputs and outputs of the machine and then program it to react in the same way all those complicated and broken electronics would have. I ordered an Arduino Mega, which has 54 I/O ports, and then got to work investigating how complicated it would be to interface it with the pinball machine.
Some quick testing revealed that all the moving parts of the pinball machine ran off 25V AC, which posed my first problem, as the Arduino runs off 5V DC. Asking about how to fix this online wasn't much help; the experts couldn't even agree on whether an AC coil would work with DC. Being the pragmatic and cautious individual that I am, I of course took the rational route, and hooked two old car batteries up (12V DC each x2=24V DC) to a solenoid to see if it would work. (It did). Of course, this still left the big problem, which is that even if the coils would work off DC, they still needed 25V.
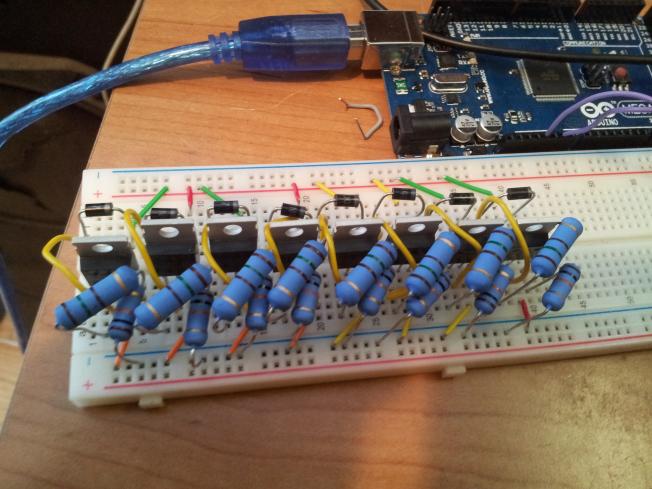
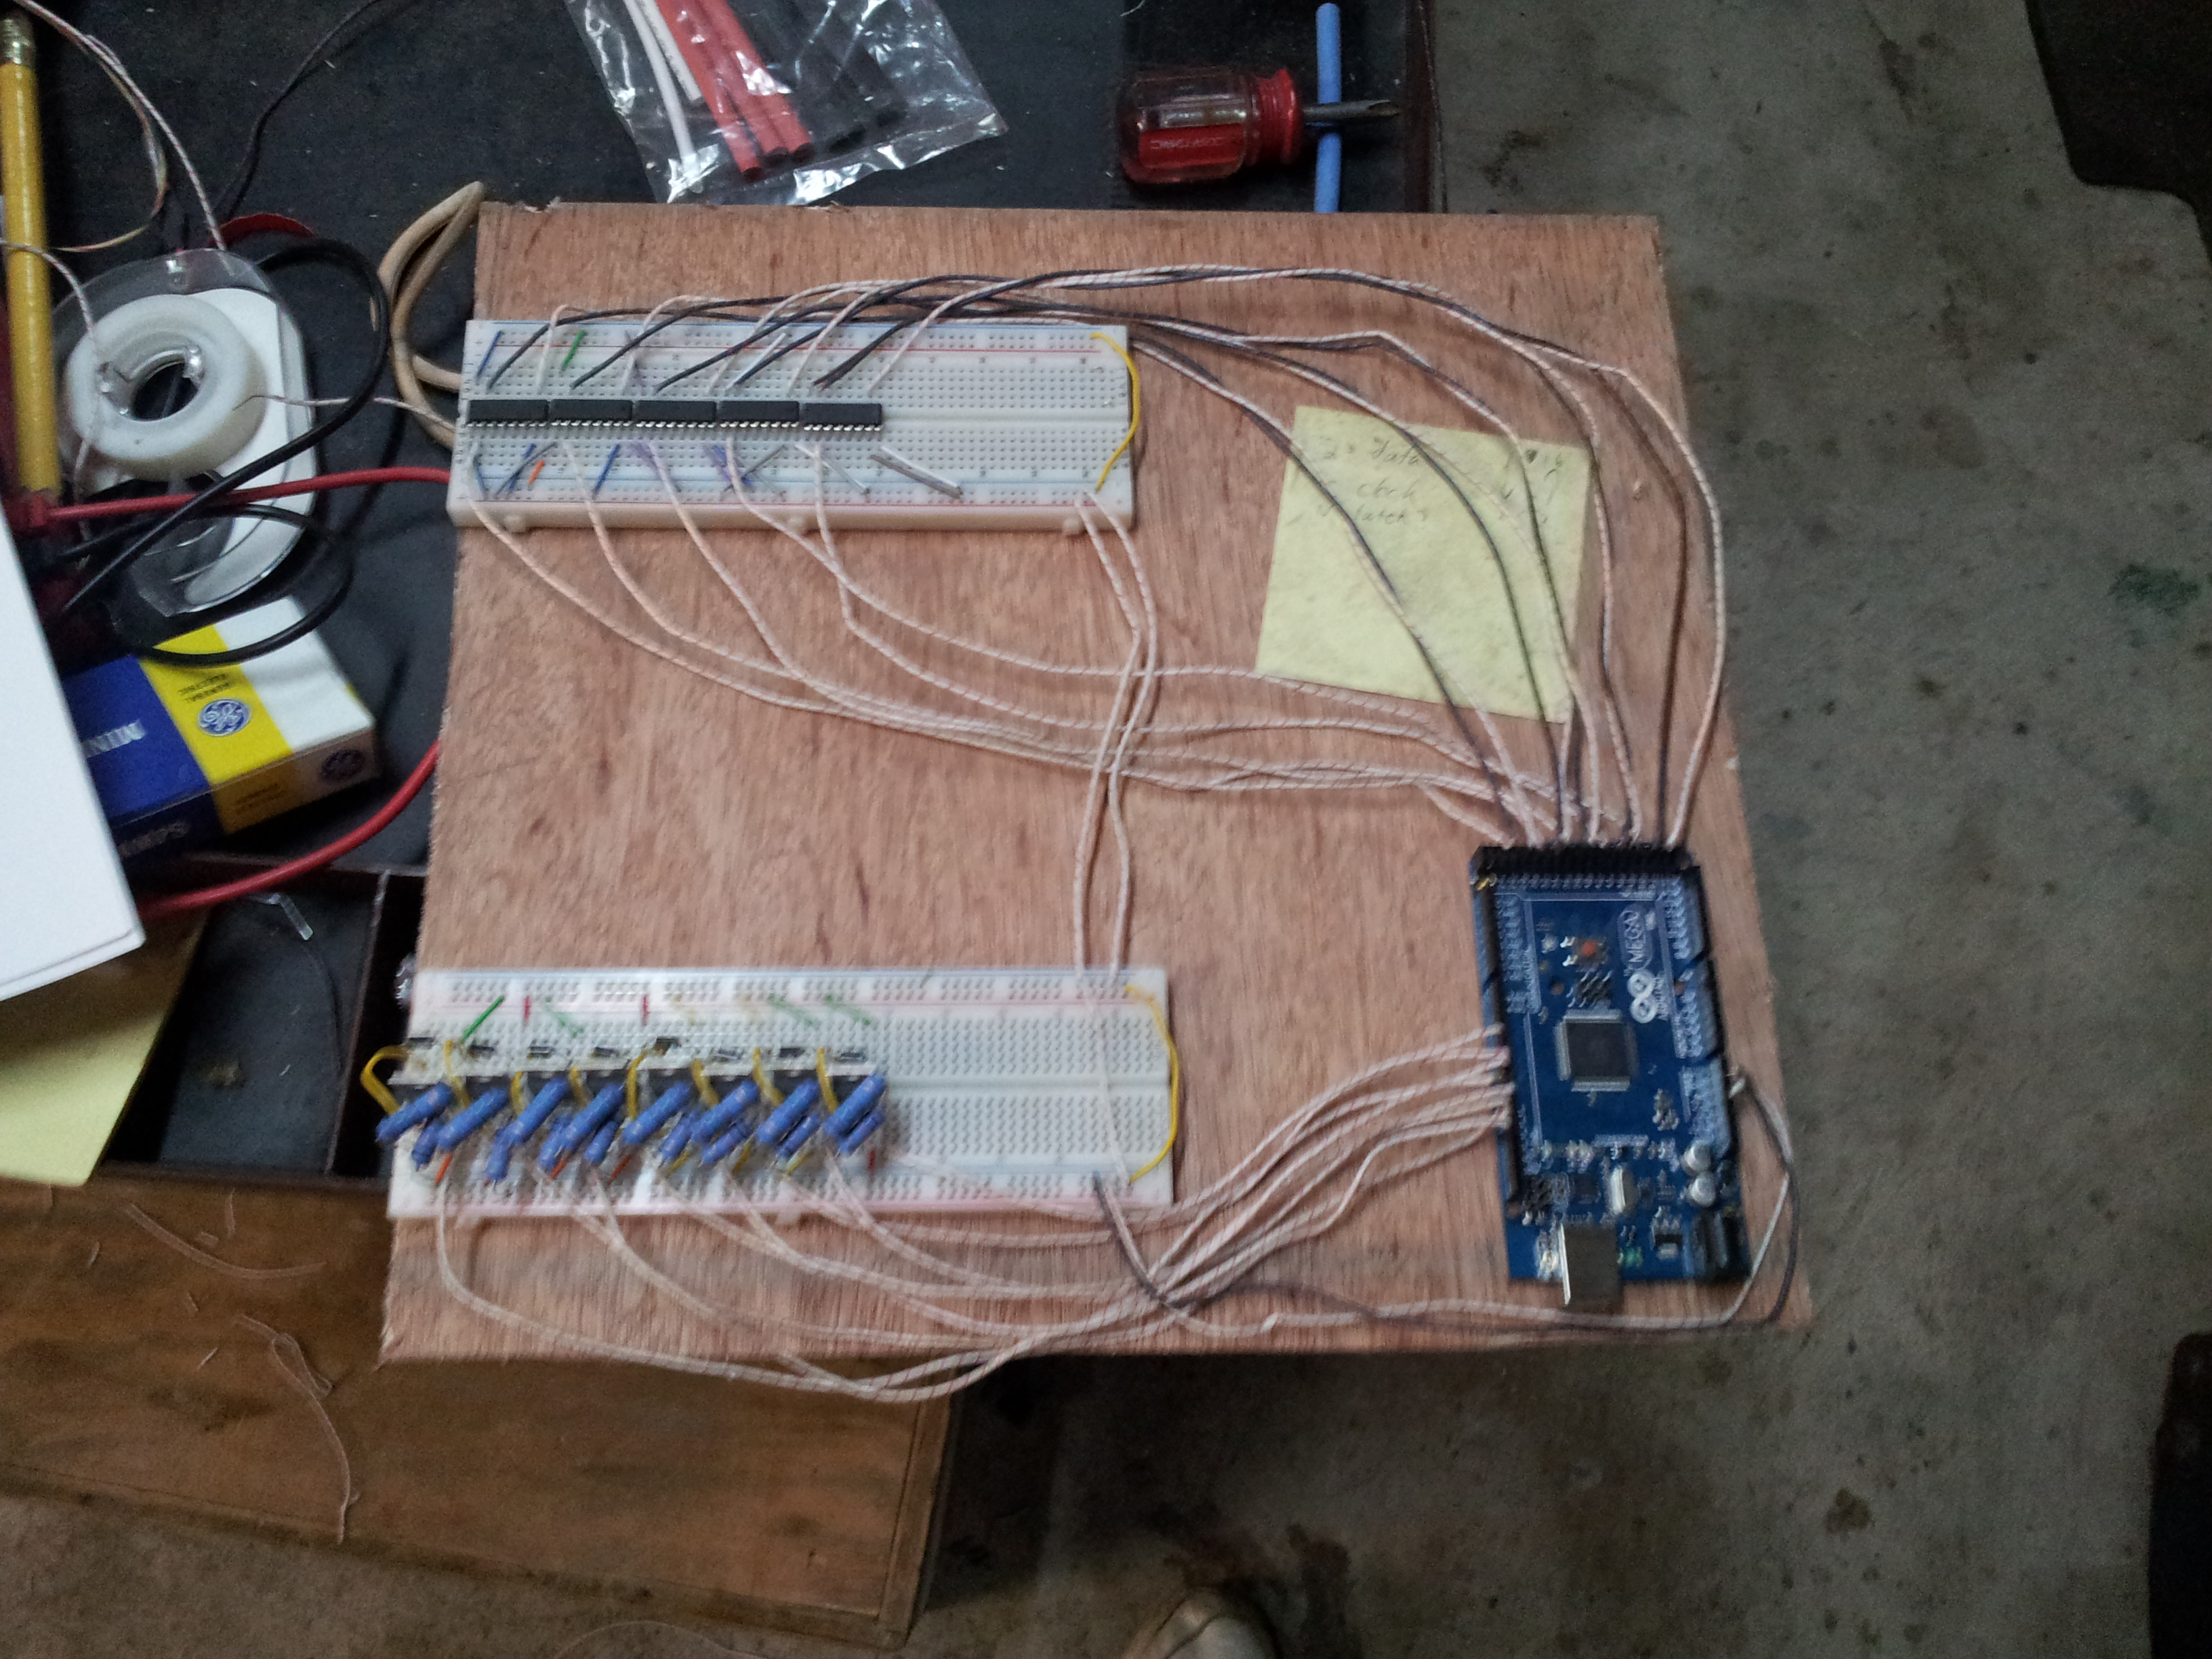
The answer, of course, was to use a transistor, or a MOSFET to be precise (I still haven't figured out the difference), to switch the high power current with a low power current from the Arduino. Three burned out husks of transistors later, I'd figured out how they worked, and rigged up this insane hodgepodge of circuitry to control the eight solenoids in the machine.

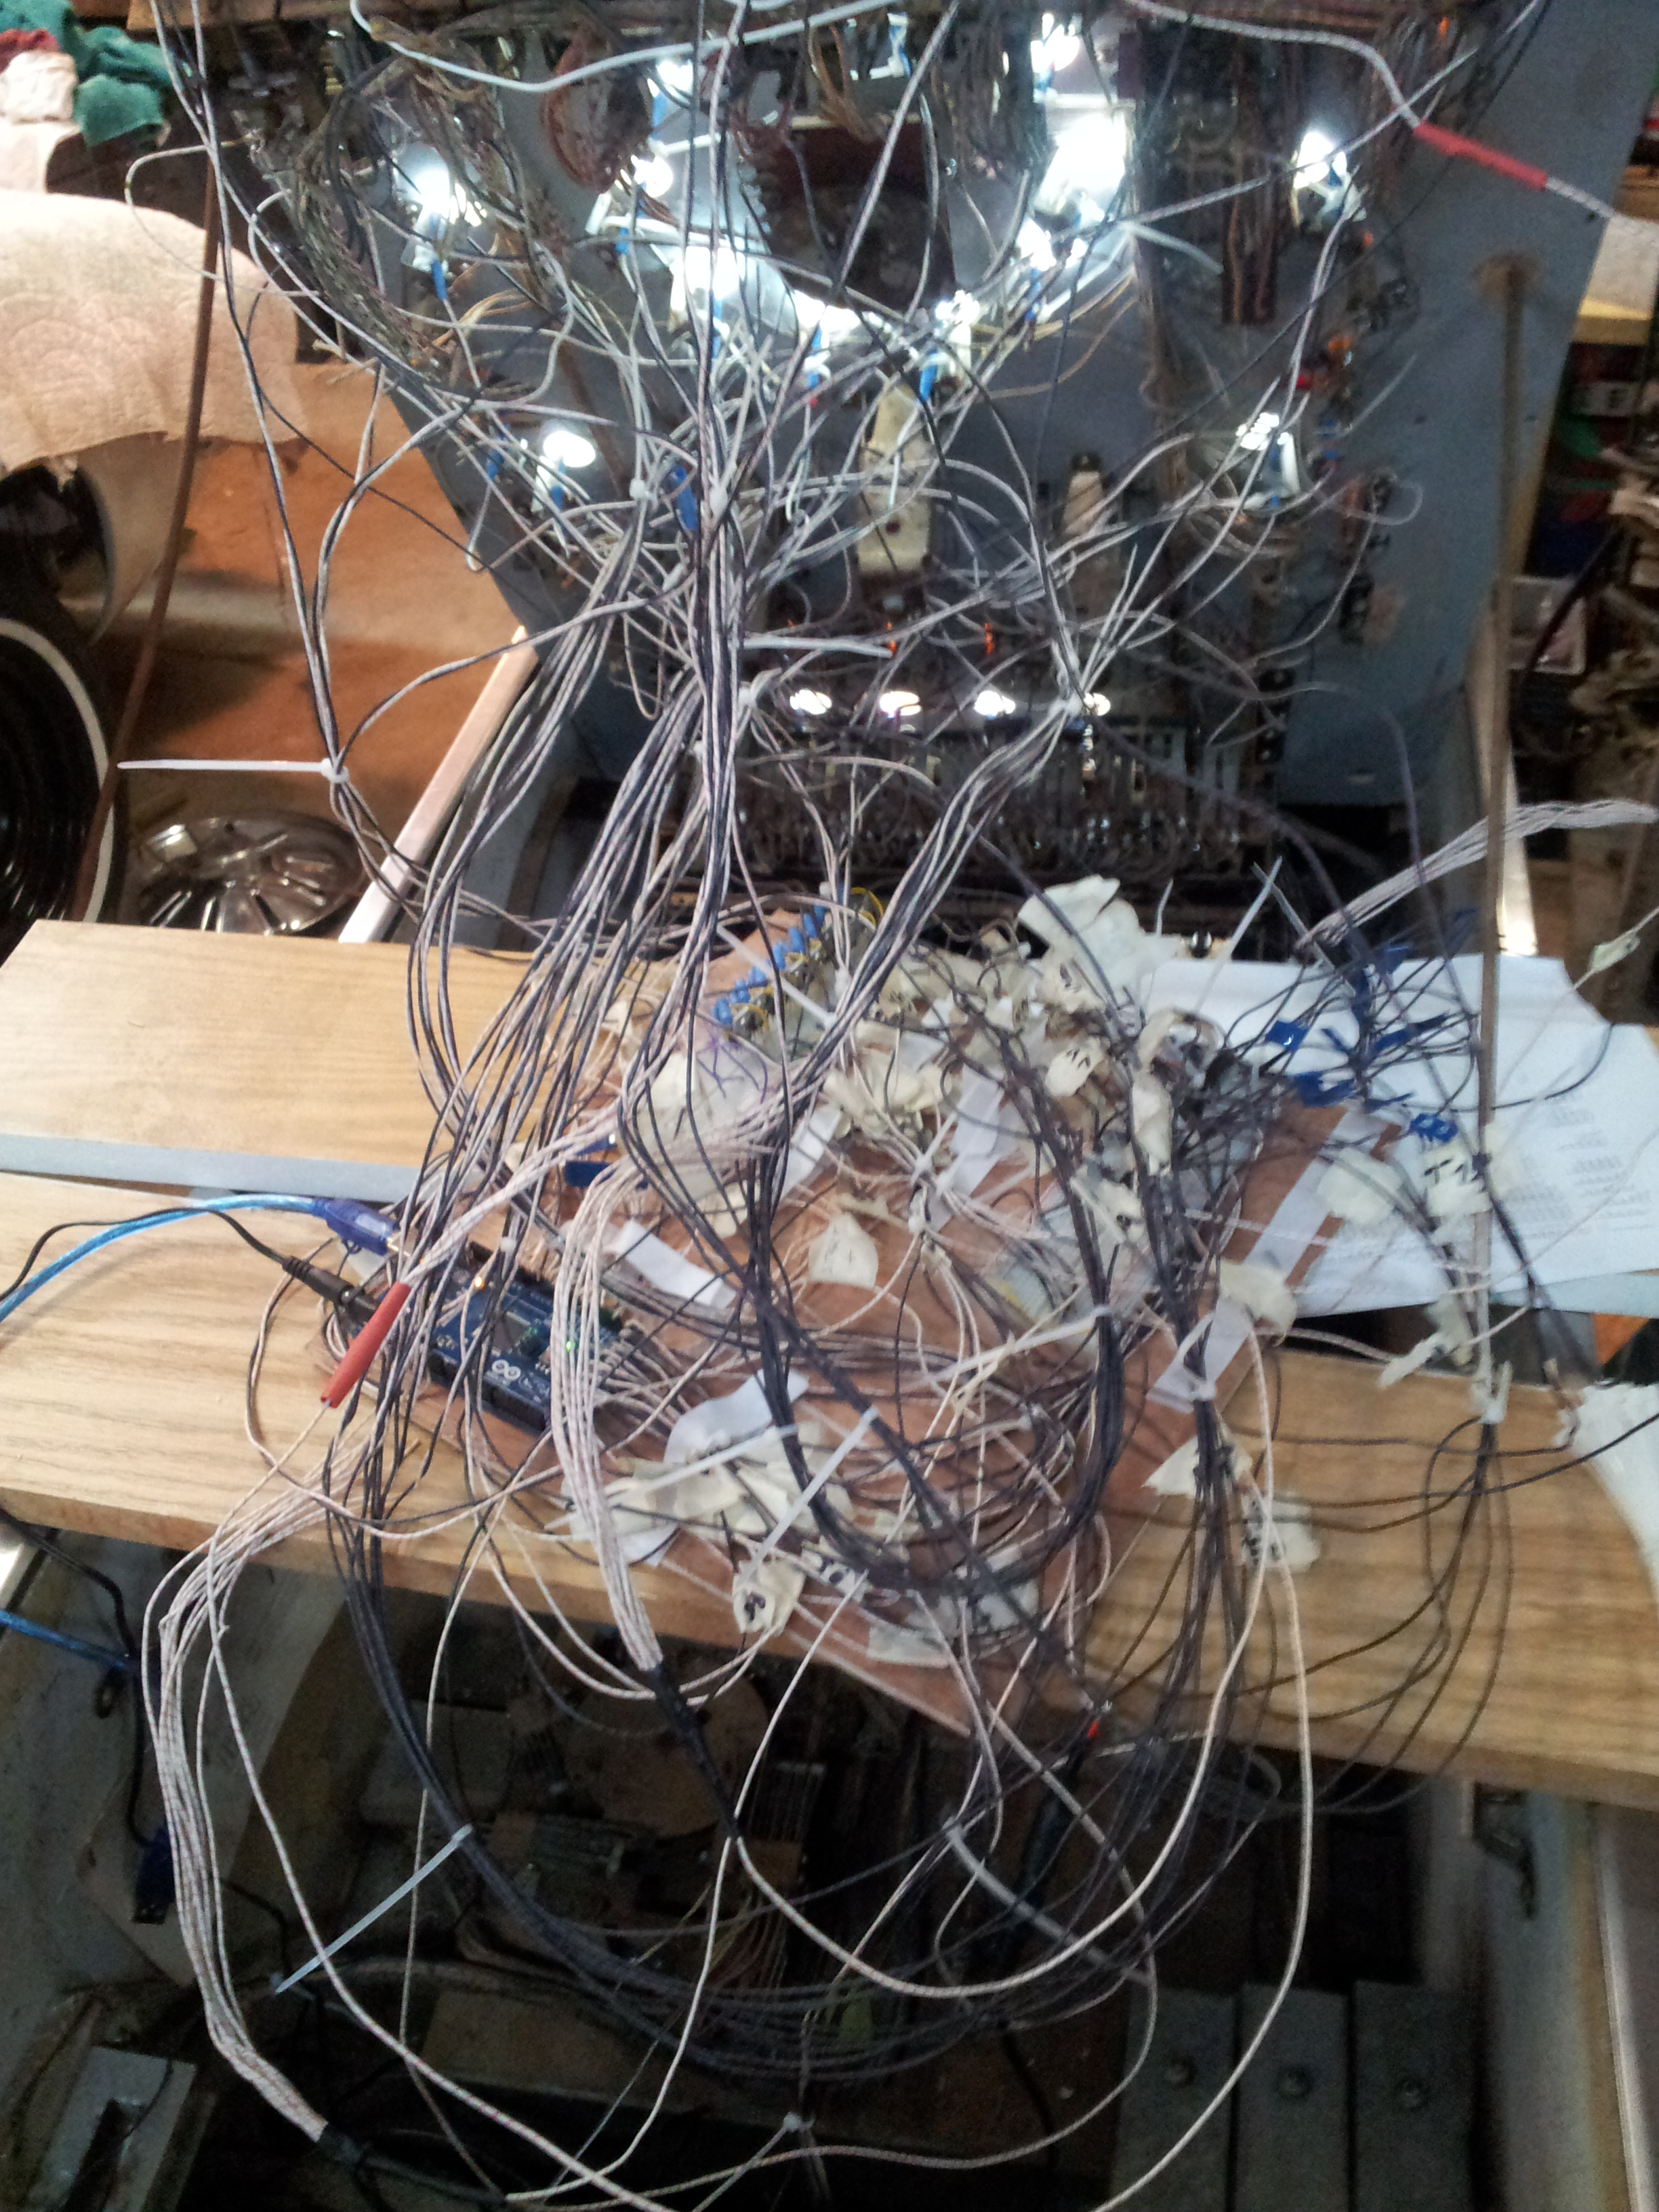
After an arduous day soldering wires to all the components and hooking them up, I now have control of all the moving parts of the machine from my Arduino.
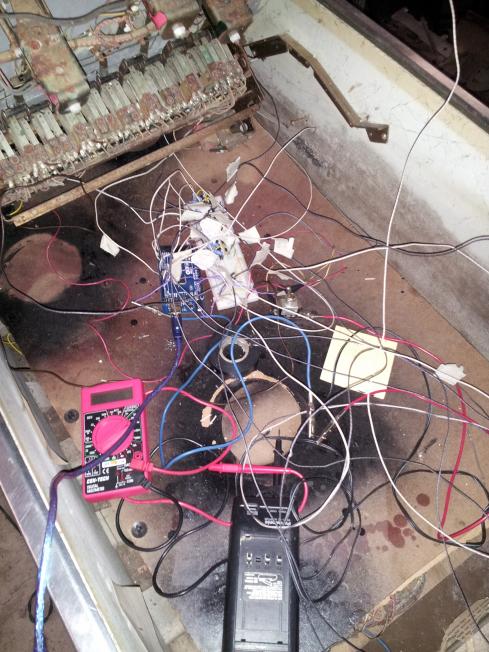

Tomorrow, I get to start working on wiring all the rollovers to the Arduino so it can begin actually scoring points
